Mini Pavlovas
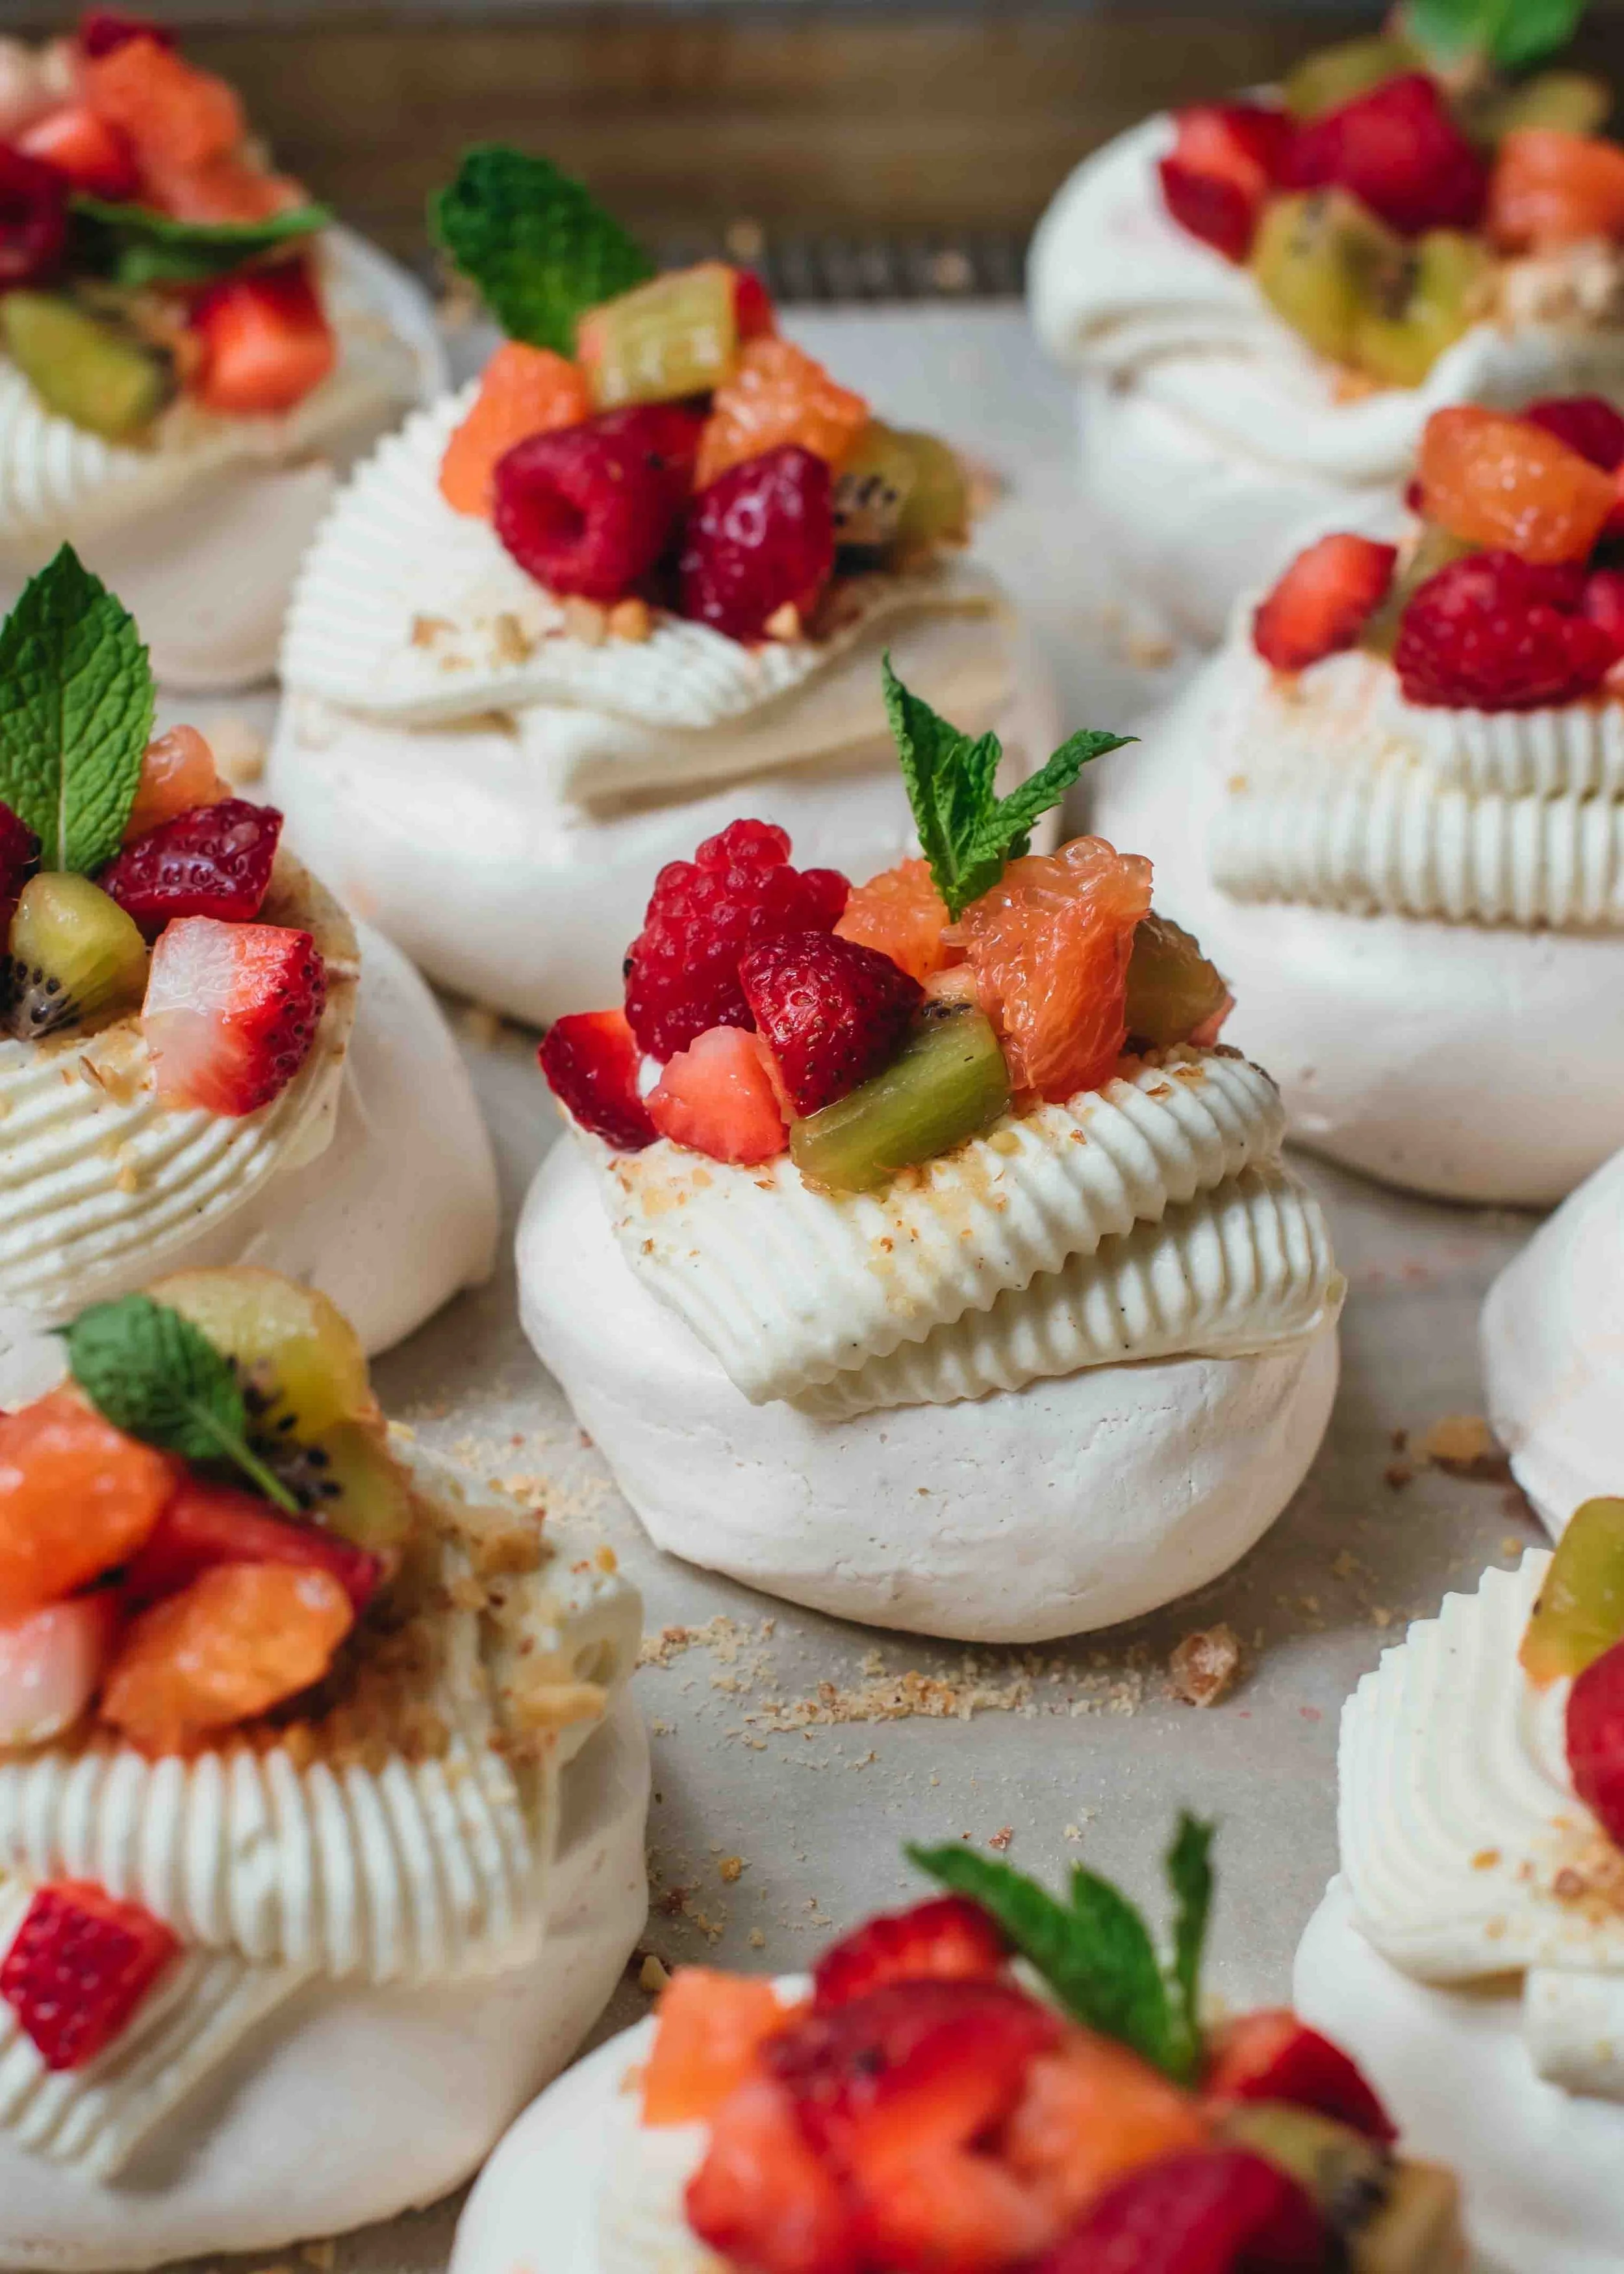
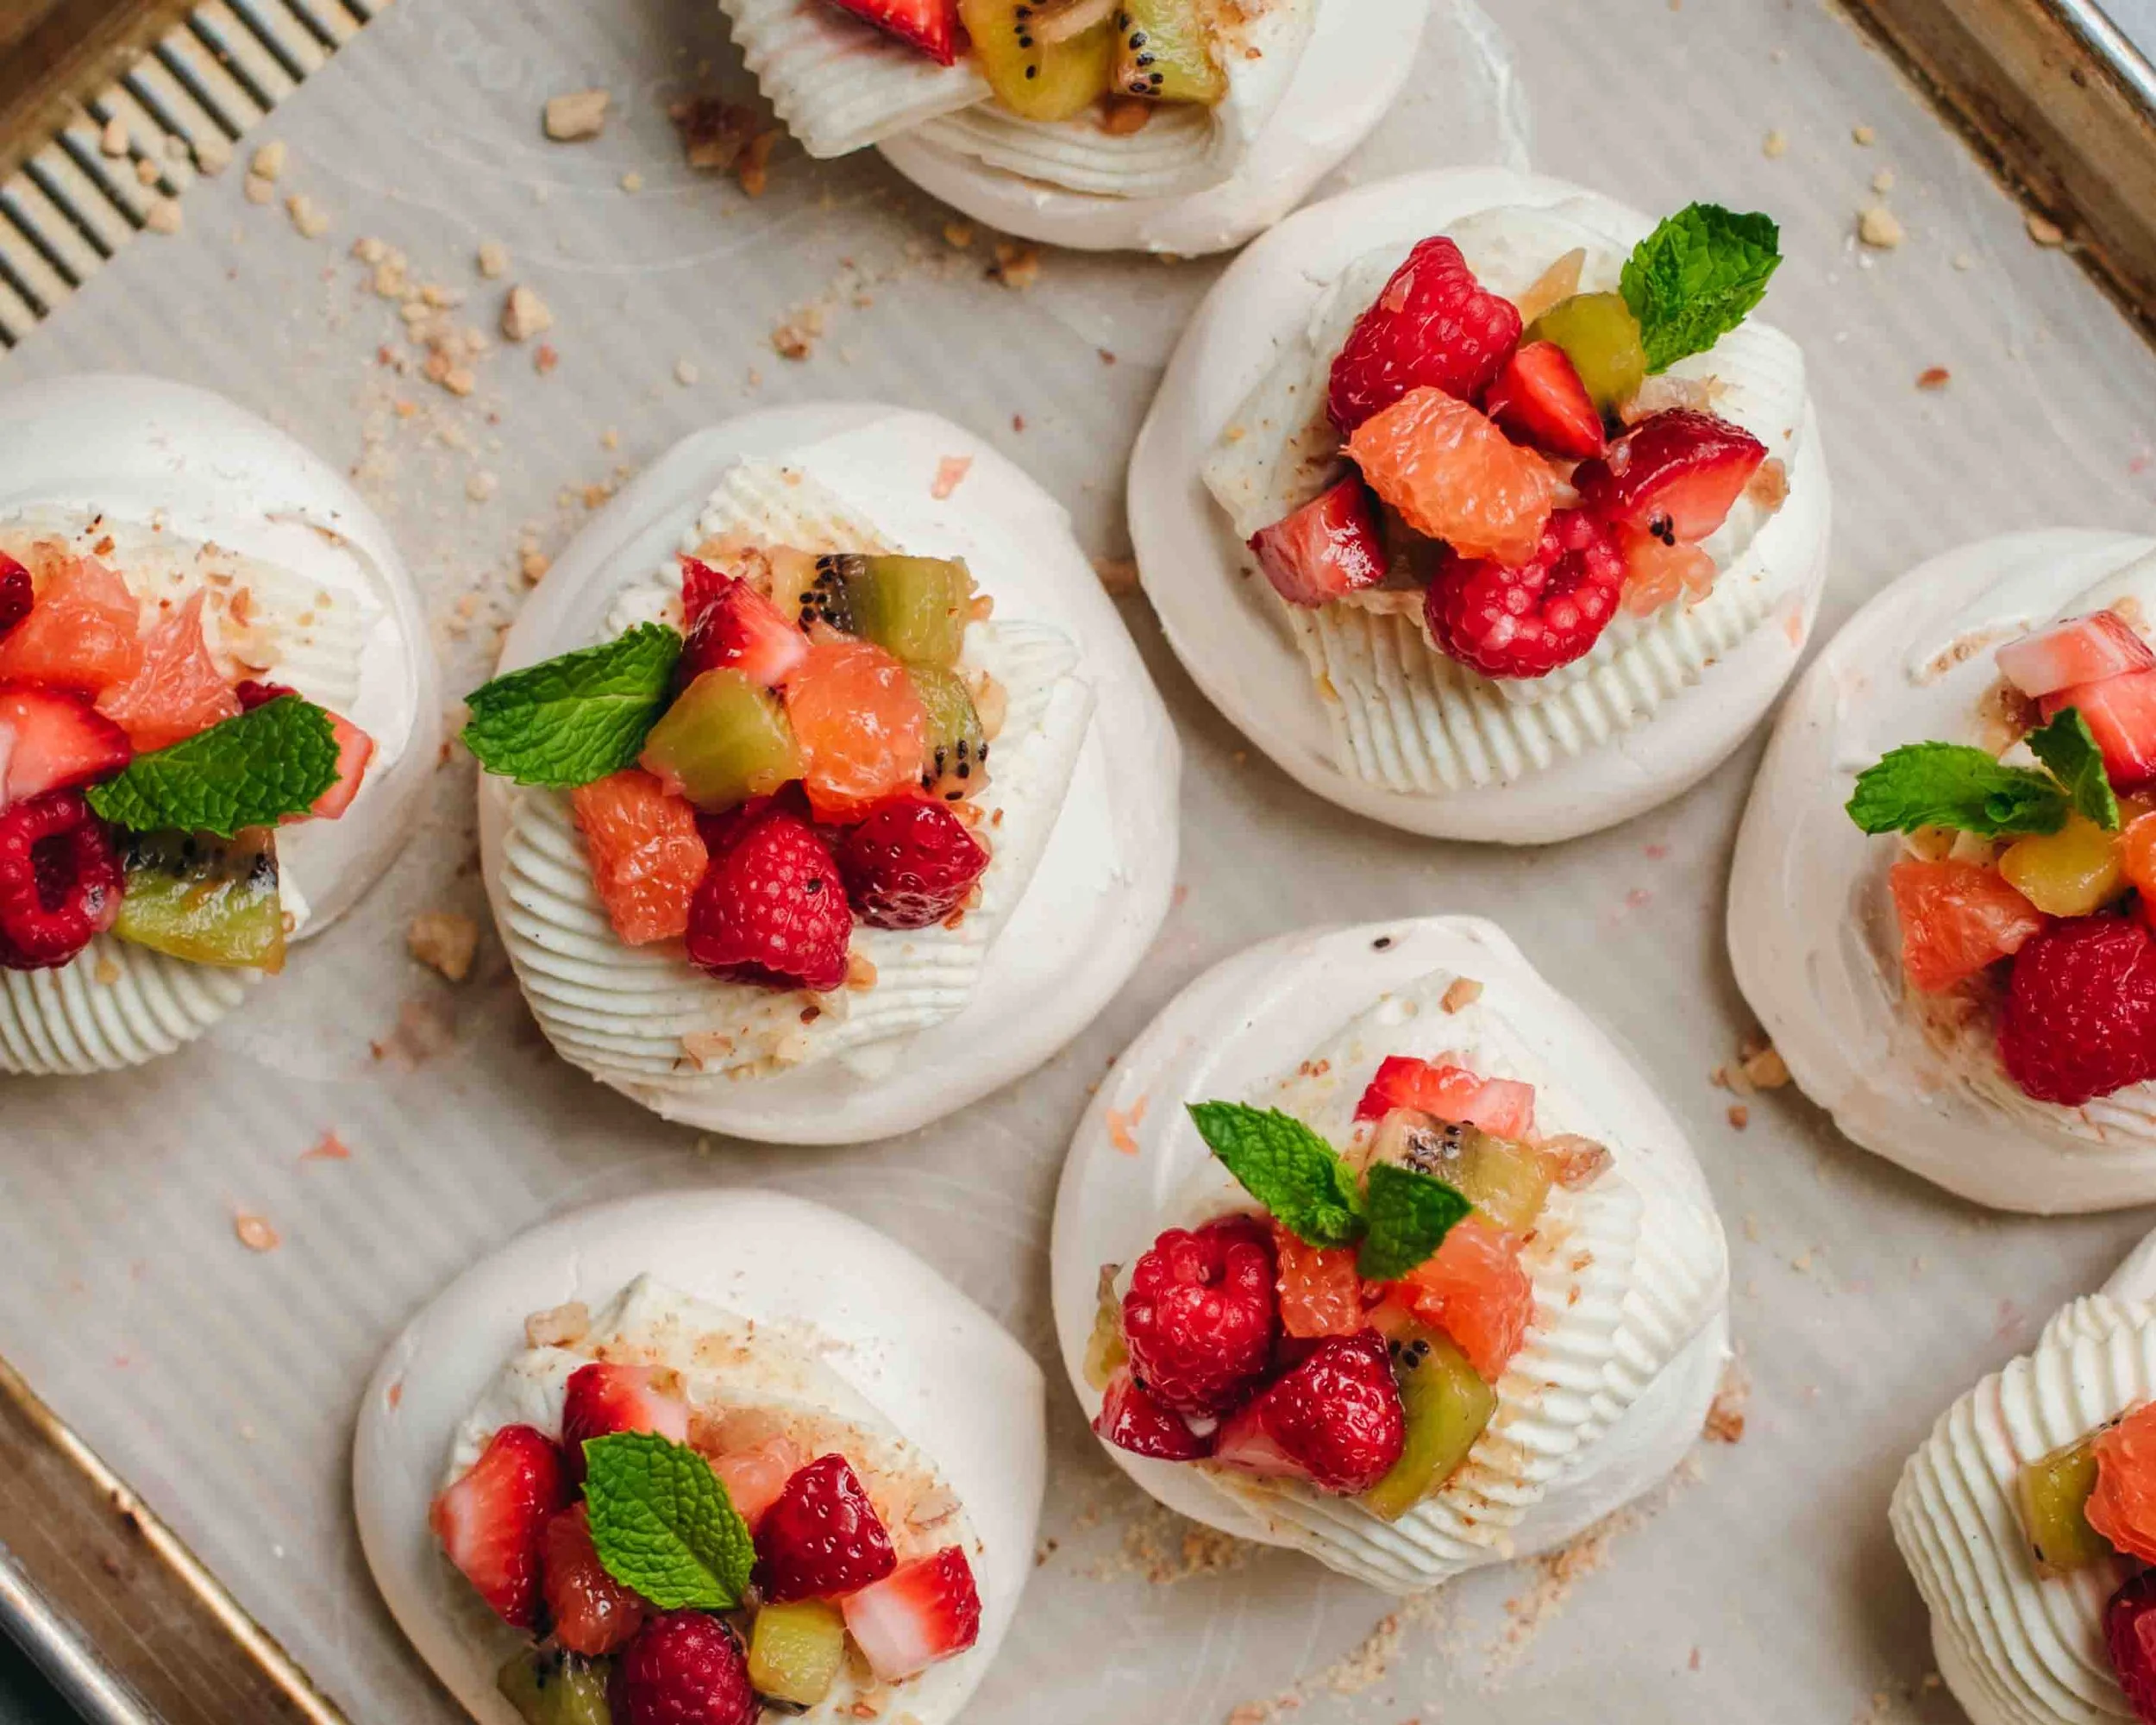
Crisp on the outside and marshmallowy inside, meringue pairs with rich mascarpone cream and fresh, juicy fruit in perfect balance. Pavlova always lands well, whether you make one large centrepiece or a batch of minis like these.
This is adapted from my trusty full-size Pavlova recipe into this recipe to make 10 individual-sized Mini Pavlovas. The baking temp and time are adapted to ensure they bake perfectly crisp/chewy with marshmallowy centers, and no over-browning.
If you’ve felt intimated by pavlovas, I urge you to push past that and give this a try. They are actually not difficult to make once you know all the little tricks, and believe it or not, take less active prep time than many other desserts e.g. a layer cake. My recipe includes a ton of details — and make sure to read my 10 Tips for Meringue Success below!
🎥 Watch video for Mini Pavlovas
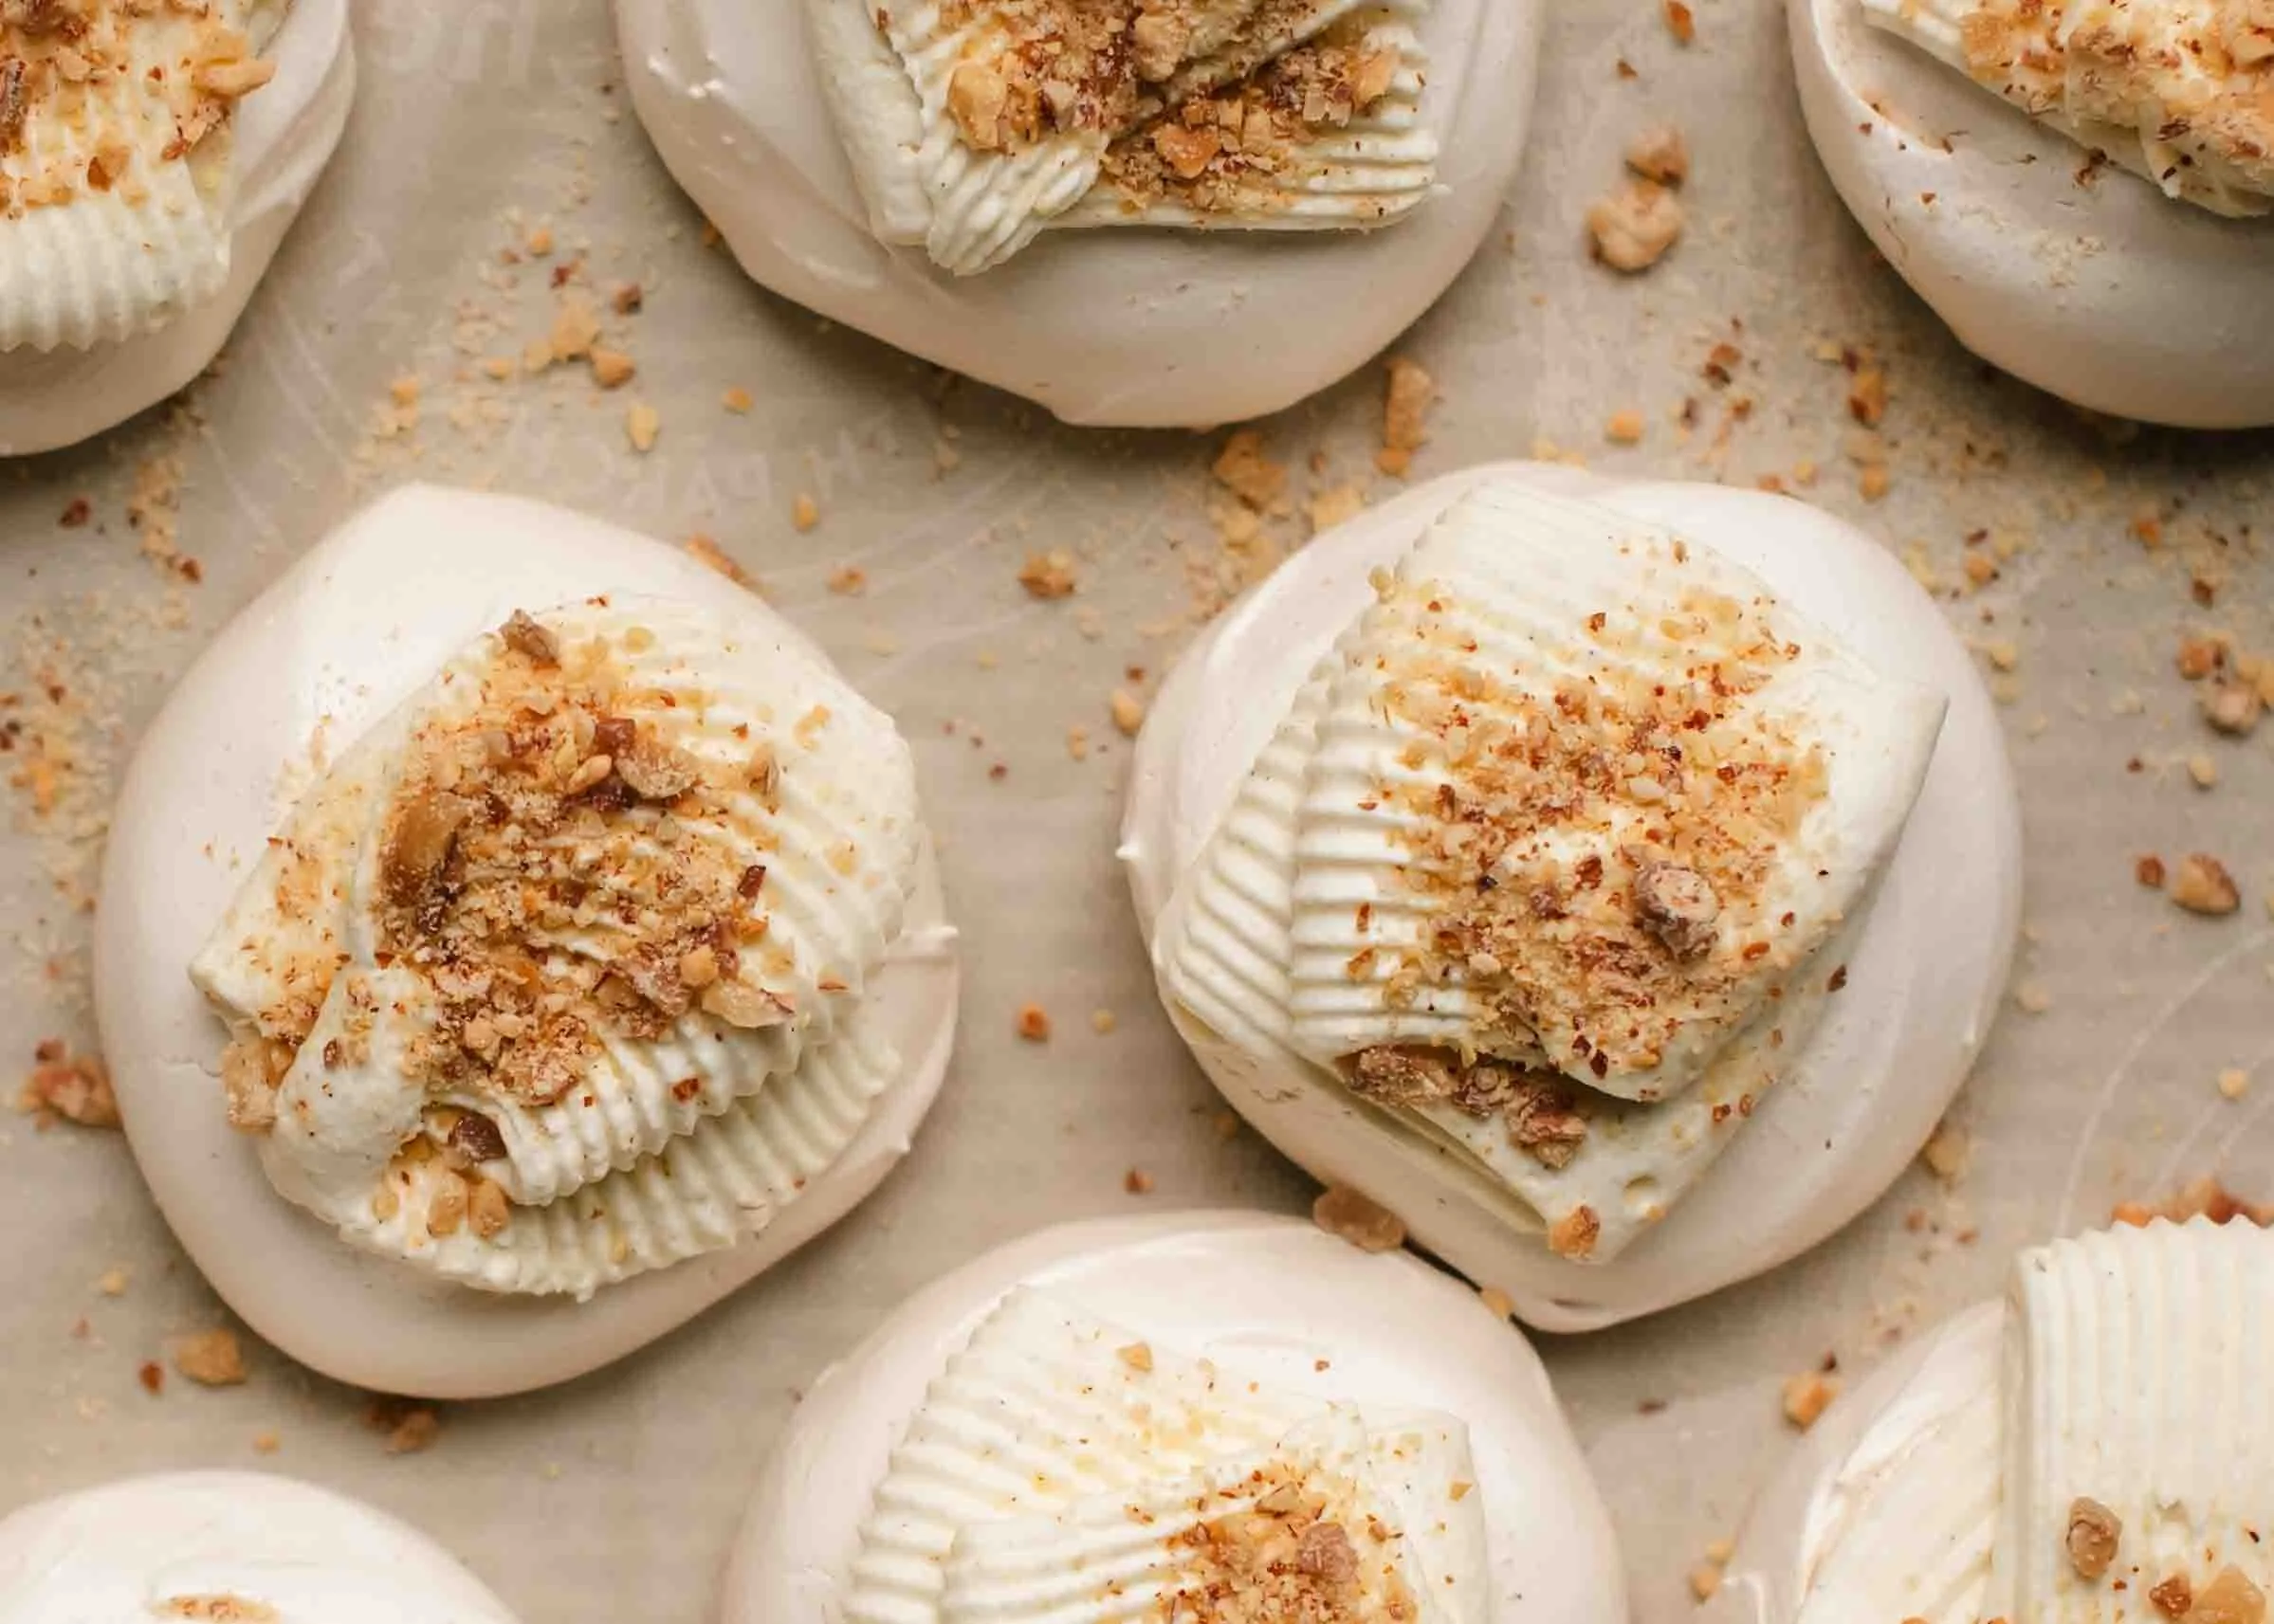
Crushed praline sprinkle on top! The praline recipe is from my recent Dacquoise post. Alternatively, you can sprinkle toasted almonds or pistachios, or omit nuts altogether.
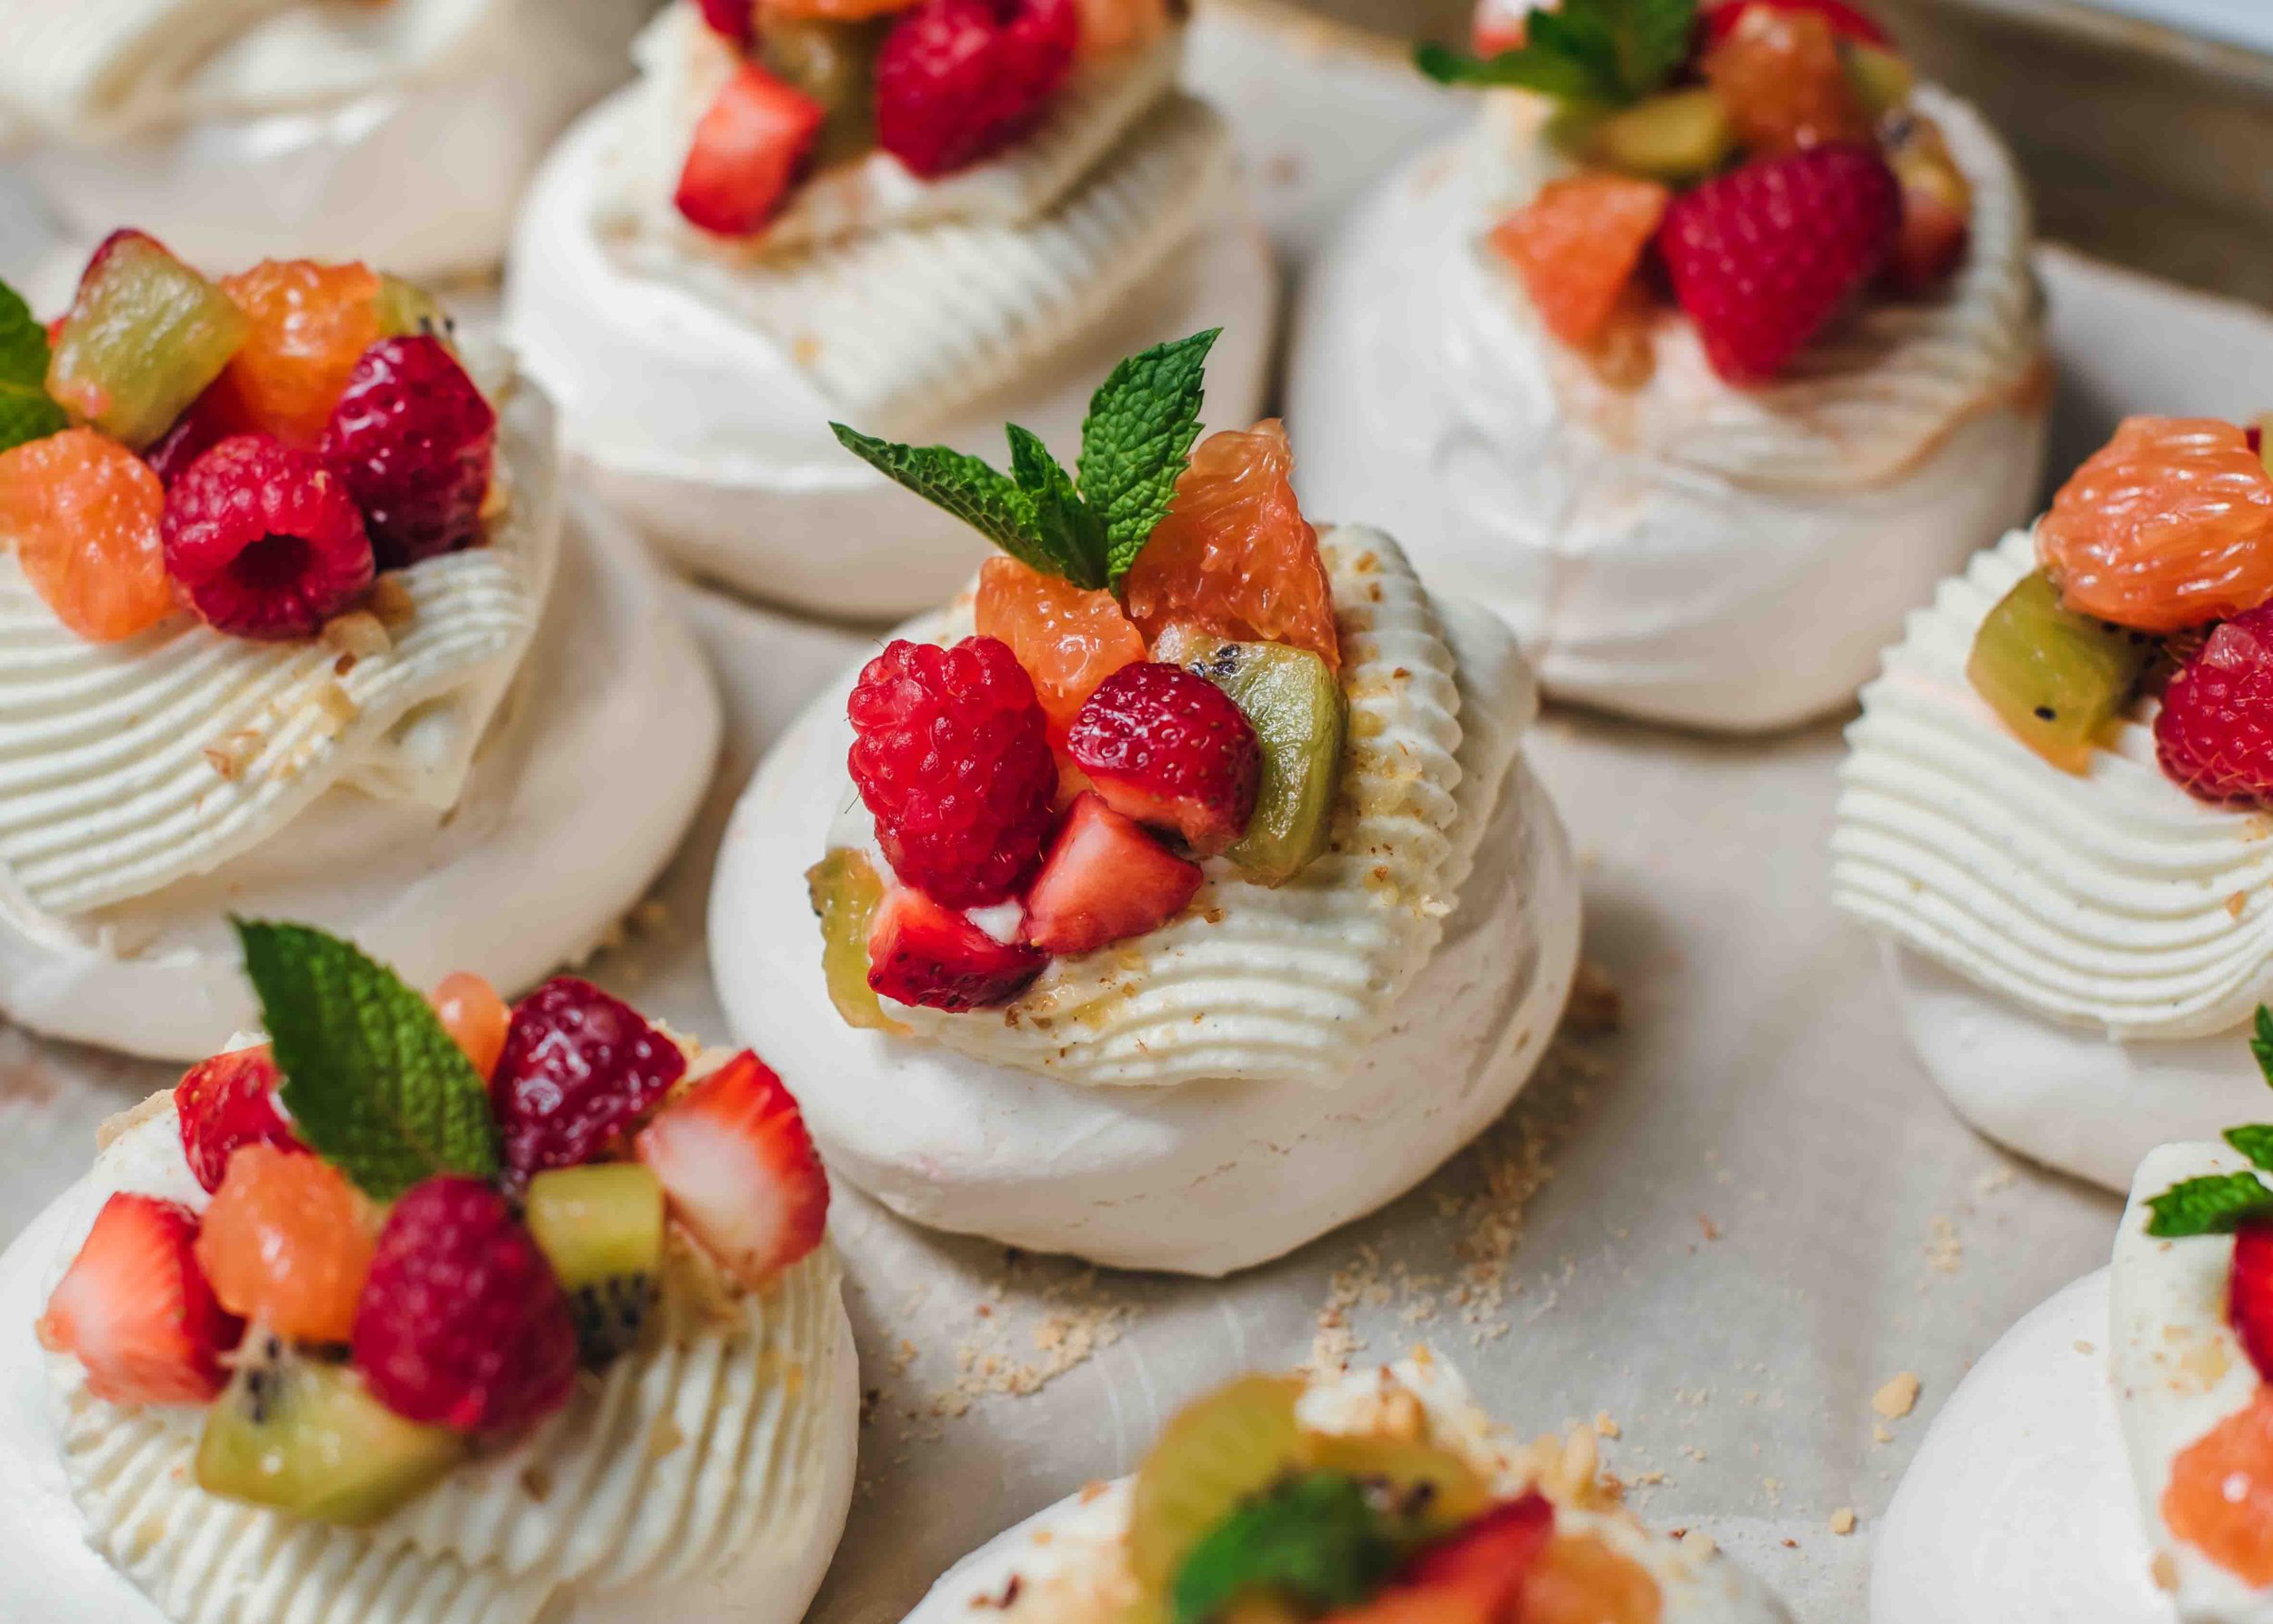
Pavlovas don’t need to be topped with any hard-to-make toppings to be delightful. Most of the time, my go-to is simply billowy whipped cream and fresh fruit (often macerated), and maybe a little lemon curd if I felt like making it with the orphaned yolks. See FAQs for how to macerate fruit and where to find the praline recipe if you fancy them.
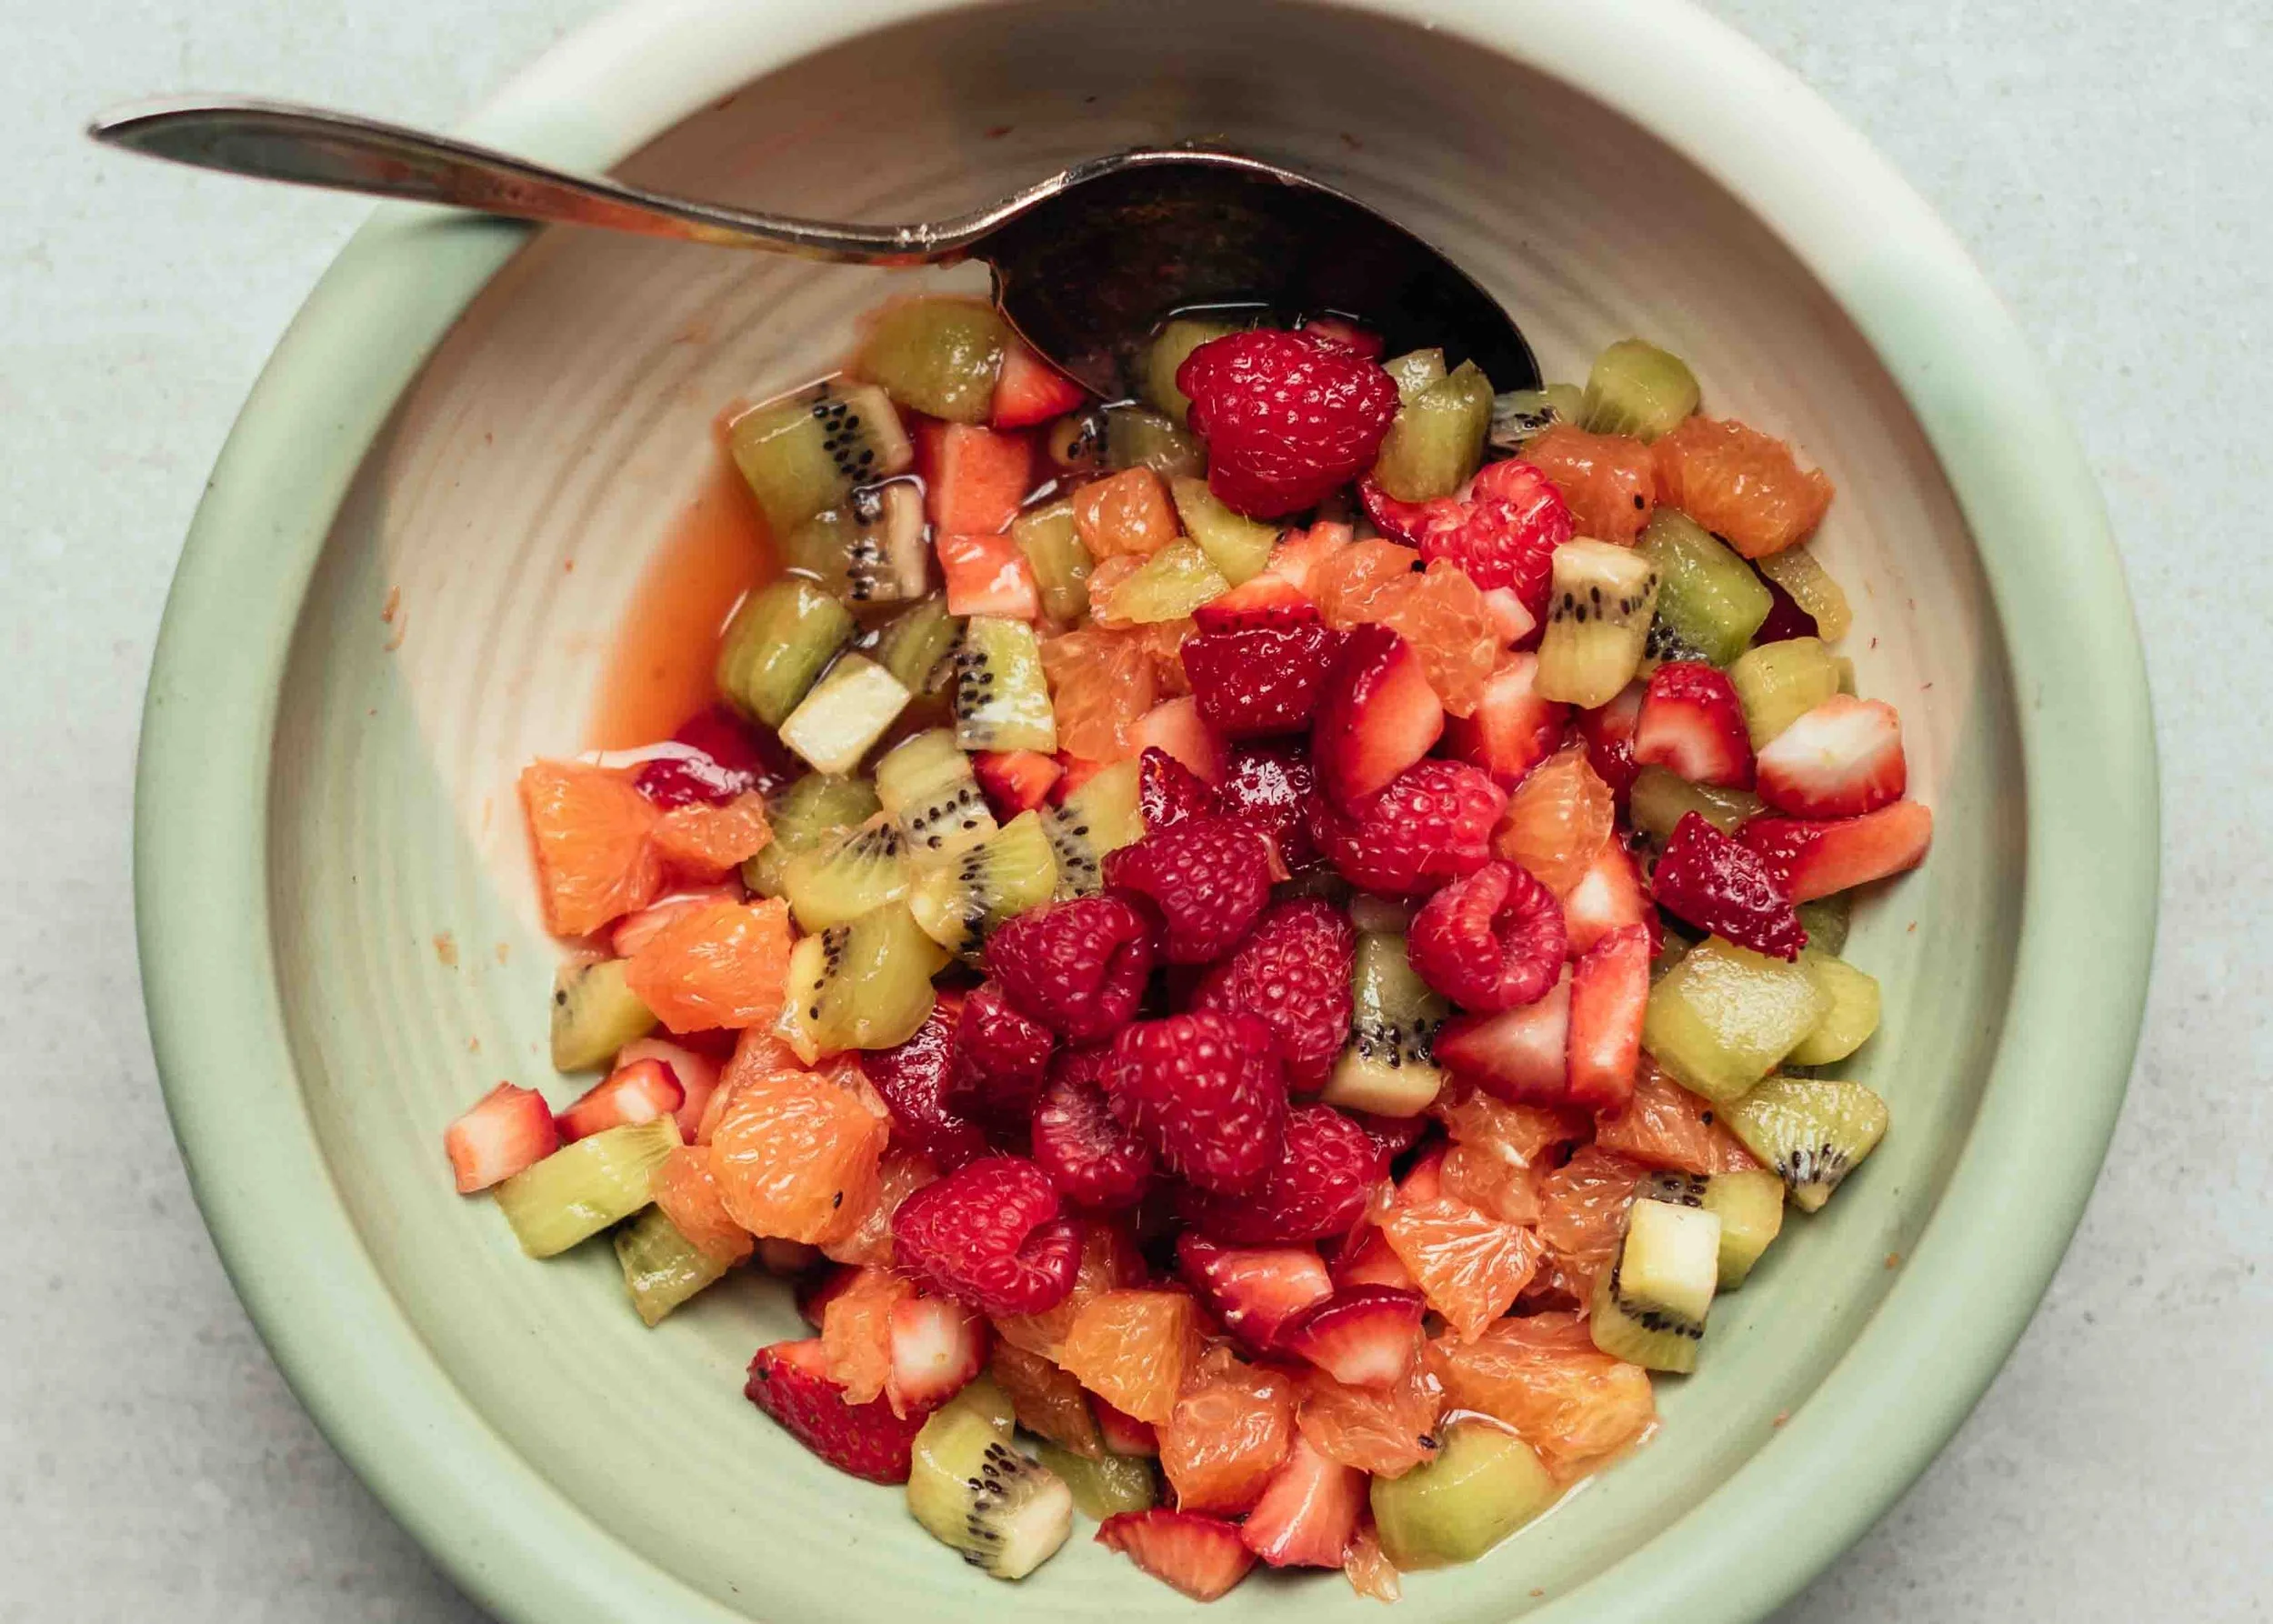
Strawberries, kiwis, cara cara oranges tossed in a tablespoon of sugar to macerate. Delicate raspberries added after.
This time, I made a “mascarpone mousse” which sounds fancy but so easy to make. It is essentially whipped cream with Italian mascarpone cheese folded into it for a slightly more luxurious, thicker topping. The mascarpone creates a much more stabilized topping compared to whipped cream alone, making it ideal if you need to assemble many hours in advance without concern for weeping cream and wet meringue. It’s also thicker therefore pipe-able which makes for a fun design. I used Ateco #790 piping tip for the mascarpone mouse and love how it turned out.
Let me know what you think or if you have any questions about this recipe for Mini Pavlovas — I’m always happy to help!
Eat well and be well,
Sonia x
10 Tips for Meringue Success:
1.Squeaky clean mixing bowl and whisk
Make sure your mixing bowl, whisk, spatula, hands, etc are all clean and free of any oil or water, which can interfere with the egg whites whisking up properly.
2.Separate eggs while still cold from the fridge
Cold eggs separate a little bit more easily than eggs that have come to room temperature. For meringue to whip up properly, there must be no traces of egg yolk remaining in the whites which is why I recommend separating the whites and yolks while still cold from the fridge, then letting the whites come to room temperature before whipping.
3.Use kitchen scale to weigh egg whites and sugar
Egg whites to sugar ratio is important for structurally sound meringue. I provide weight measurements in the recipe because it is the most accurate. A “large” egg can vary in size depending on the country. The average large egg has 30g of egg whites in US and Canada. However, based on experience weighing many eggs for meringues, one large grade A egg in Canada can range from 30g to 35g in reality. I’m not saying you can’t make meringue without a scale, but it is a great way to ensure your white-to-sugar ratio is right.
4.Use superfine sugar
Sugar is crucial for creating structure of the meringue so you want to ensure it is dissolved fully in the meringue for a glossy, stiff result. Also called “caster sugar”, superfine sugar is simply sugar that has been processed to a finer ground than regular granulated sugar. While regular granulated sugar can be used for meringues (I have used it), using superfine sugar is a safeguard against over whipping the egg whites since it dissolves more easily. Rub a bit of meringue between your fingers to ensure it is smooth, glossy and mostly free of grit from undissolved sugar.
5.Whip egg whites to stiff peaks
Take the time to whip the meringue to a stiff peak. This means, when your whisk is lifted off the mixture, the meringue stands up on its own. A fun way to test is to flip mixing bowl upside down to confirm the meringue does not budge or slide out of the bowl.
6.Forming the meringue for maximum stability
Pavlovas come in various sizes and shapes. These mini sizes are much more stable than baking a single, large pavlova. Have fun forming them. You’ll want to dome the centres to ensure a marshmallowy centre. Push a little indent in the centres before baking to create a nook for toppings later that won’t slide right off.
7.Bake low and slow in the oven
To minimize cracking during baking, the meringue is baked at a low temperature. Note that I preheat the oven to 250°F (120°C) and TURN IT DOWN TO 225°F (110°C)immediately after placing meringue in the oven. The initial higher heat helps to lift the meringue and the slightly lower heat for the remaining bake time ensures the meringue bakes low and slow without over-browning and retains a marshmallowy center.
8.Cool baked meringue slowly and gradually
To prevent cracking, the baked meringue should also cool down to room temperature gradually. For this reason, I always bake my meringues the night before, turn off the oven and let them cool slowly overnight. If you don’t have the time, allow a minimum of 2 hours (but ideally at least 6 hours) to cool in the oven before taking it out of the oven to cool the rest of the way on a wire rack. In the event the meringue does crack, it will still taste amazing under some lovely toppings!
9.Top with cream and fruit close to serving
Even in the fridge, baked meringue will absorb moisture from the cream and fruit, becoming softer over time. To keep it crisp, leave prepared mascarpone mousse and fruit separate to top the meringues as close to serving as you can.
10.Avoid exposing meringue to humidity
Humidity is the enemy of meringues! As mentioned above, they absorb moisture from the toppings and from the air. On humid days, baked meringues don’t stand a chance against getting soggy. Once, I had dozens of mini pavlovas weep into soggy puddles because I brought them to a non air-conditioned party during a downpour. I’ll never forget that lesson. If you’re making this on a humid/wet day, make sure the environment is well air-conditioned! You can also freeze naked baked meringues to keep dry, if making ahead. They are delicate so make sure to use a hard container to protect them from getting crushed or banged around by other things in the freezer.
Now that you’re armed with all my tips, go forth and make yourself a glorious pavlova!
FAQs for Mini Pavlovas
Why does meringue take so long to bake and cool?
It's preferable to bake the meringue low and slow in advance (night before or morning of serving) and allow it to cool down gradually while still inside the oven overnight or as long as you can. The slow cooling helps prevent collapsing and cracking. But don’t dismay even if there is cracking or collapsing in the middle - this does happen and won’t affect the taste of the pavlova whatsoever.
Do I have to use superfine sugar?
Also called “castor sugar” in some countries, superfine sugar is a consistency between regular granulated sugar and powdered sugar. It can be store-bought or made by blending granulated sugar in the food processor until you achieve a finer grain. While it is definitely possible to make meringues with regular granulated sugar, I highly recommend using superfine sugar in meringues as it dissolves more quickly than granulated sugar, ensuring a smooth meringue with less risk of over-beating the meringue. Especially if you’re a meringue beginner.
Can I omit corn starch?
In short, yes you can omit. The cornstarch creates a chewier, less brittle texture in the baked meringue. I used to omit this out of practicality because I stopped buying cornstarch during our Paleo grain-free days. Nowadays I use organic non-gmo corn starch. Without it, the pavlova is a little more crisp but still absolutely wonderful under a pile of cream and fruit.
What can I do with orphaned egg yolks?
For sweet options, make lemon (or other citrus) curd, crème brulée or ice cream. For savoury options, add the yolks to other whole eggs for a breakfast scramble, fried rice or egg drop soup. One of my favourite uses for a bunch of orphaned egg yolks is making Chinese Golden Fried Rice where the yolks are separately mixed with the cooked rice before frying. You can also add a couple yolks to the mashed potatoes à la Gordon Ramsay shephard’s pie!
What it means to “macerate” fruit
It’s a fancy name for tossing fruit with sugar (and optional lemon juice) and letting it sit for 30 minutes until juices are drawn out of the fruit, creating a shiny and slightly syrupy coating. The longer it sits, the softer and more syrupy it gets. For a boozy version, you can add a splash of Grand Marnier, Elderflower liqueur, prosecco, rum, etc.
Crushed Praline topping
I made a batch of crushed praline to sprinkle on these pavlovas. It is also so good on ice cream and other desserts that benefit from a little nutty crunch. You can find the crushed praline recipe in my Dacquoise recipe. Praline (whole or crushed) can be stored in an airtight container in the fridge for 3 weeks or frozen for even longer.
Piping tip used for mascarpone mousse topping
Ateco #790.
Mini Pavlovas

Mini Pavlovas
Crisp-marshmallowy meringue, luxurious mascarpone cream and bright, juicy fruit are a perfect trifecta in this dessert.
Ingredients
Instructions
- Read Tips and FAQs in the blog post before beginning especially if you are new to meringue :)
- Prepare mixing bowl and whisk: Take out stand mixer bowl and whisk attachment. Make sure everything is completely clean and free of any grease or water.
- Separate egg whites: While eggs are still cold (for easier separation), separate whites from yolks. Tip: Be careful not to get a single drop of yolk in the whites. Egg whites contaminated with yolk will not whip up properly. Separate one egg at a time into a small bowl first and only place uncontaminated whites in stand mixer bowl. If time permits, allow egg whites to come to room temperature – this helps them whip up fluffier. 142g or 5oz egg whites (from 5 large eggs).
- Preheat oven and prepare baking sheet: Preheat oven to 250°F (120°C) – note that you will turn the oven down to 225°F (110°C) immediately after putting the meringue in the oven. Line 2 large baking sheets with parchment paper.
- Prepare meringue: Whisk egg whites on medium high (level 6 of 10 on KitchenAid stand mixer) until soft peaks i.e. peaks are just starting to form but falls back onto itself when the whisk is turned upside down, 2-3 minutes. Add cream of tartar (or vinegar or lemon juice). Turn mixer to high speed (level 8) and start adding sugar by the tablespoon while machine is running, waiting 3 seconds before adding the next. After all sugar is in, stop mixer to scrape bowl down once. Add corn starch. Then turn to high speed (level 8) and continue beating 3-4 minutes more or until thick and glossy, and sugar is completely dissolved. Do a final check by rubbing a bit of meringue between your fingers to confirm little to no sugar granules. If there are a lot, whisk another minute longer but do not over whip as this can deflate the meringue. The meringue should be stiff and glossy, with a stiff peak that points straight up when you remove and invert the whisk. ⅛ tsp cream of tartar or 1 tsp vinegar/lemon juice, 1 tbsp cornstarch
- Form meringue: Dab a bit of meringue on the underside of each four corner of the parchment to hold it in place. Use a spring-loaded ice cream scoop or two spoons to dollop 10 mounds between the two baking sheets, spaced at least 1" apart. Use the back of a spoon to push an indent in the center for toppings later.
- Bake: Place baking sheet(s) in the oven and close oven door. **TURN OVEN DOWN TO 225°F (110°C)**. Bake until meringue bottoms are dry, lifts easily off the parchment and sounds hollow when you tap it, about 90 minutes. Oven true temperature varies so the exact time can vary too. Turn oven off, close oven door and allow meringues to gradually cool at least 2 hours preferably longer up to overnight. If in a hurry, it’s possible to cool out of the oven on a wire rack but there will definitely be cracks. Meringues keep in an airtight container in a cool, dry place (away from humidity) for at least a week. Freeze if storing longer.
- Prepare vanilla mascarpone mousse: In a small mixing bowl, vigorously hand-whisk mascarpone until smooth then whisk in vanilla. Put heavy cream into the clean bowl of a stand mixer fitted with whisk attachment. Start whisking at low speed gradually increasing to high, until it has started to thicken. Add powdered sugar. Whip on high speed (8 on KitchenAid) until it holds thick and billowy soft peaks. Be careful not to over whip. It should only take 1-2 minutes. Fold a quarter of the whipped cream into the mascarpone mixture until combined, then fold in the rest. Keep refrigerated until ready to serve. Mousse keeps refrigerated in an airtight container for 2 days. 1 cup (230g) mascarpone cheese, 2 tsp vanilla, 6 tbsp powdered sugar, 1 cup (240ml) whipping cream
- Serve (do this as close to serving as possible, up to several hours in advance): Into each serving bowl or coupe, layer vanilla mascarpone mousse at the bottom, a meringue, a dollop more vanilla mascarpone mousse and top as desired.
Nutrition Facts
Calories
321Fat
21 gSat. Fat
12 gCarbs
30 gFiber
0 gNet carbs
30 gSugar
28 gProtein
5 gSodium
53 mgCholesterol
49 mgDisclaimer: nutritional information is auto-generated and should be used as an approximation.


Did you make this recipe? If so, let me know how it went!