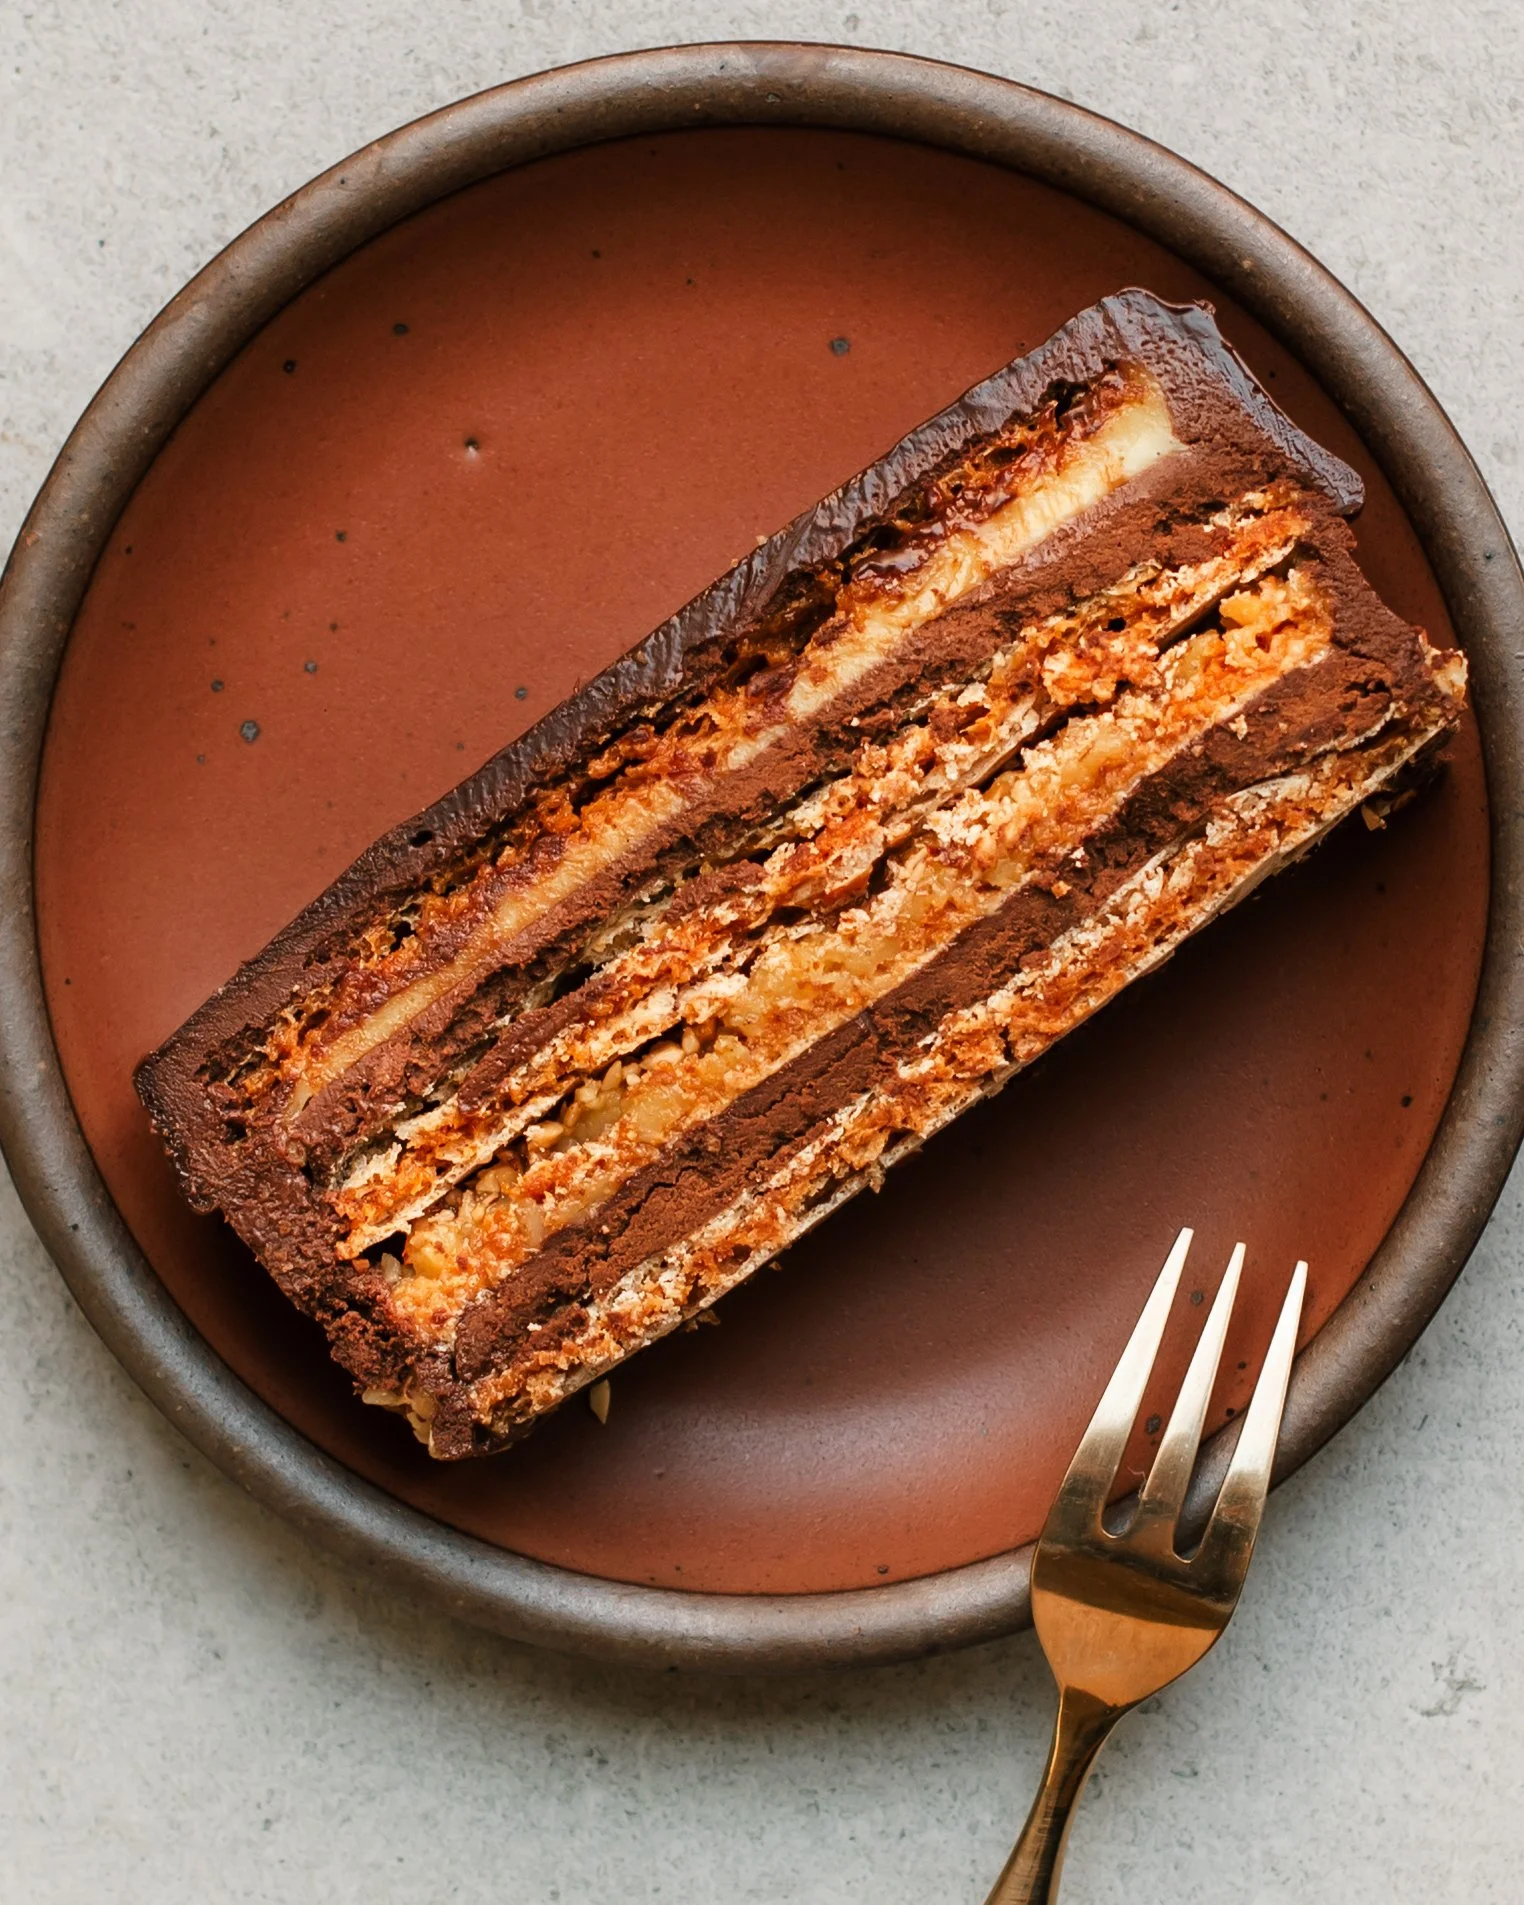
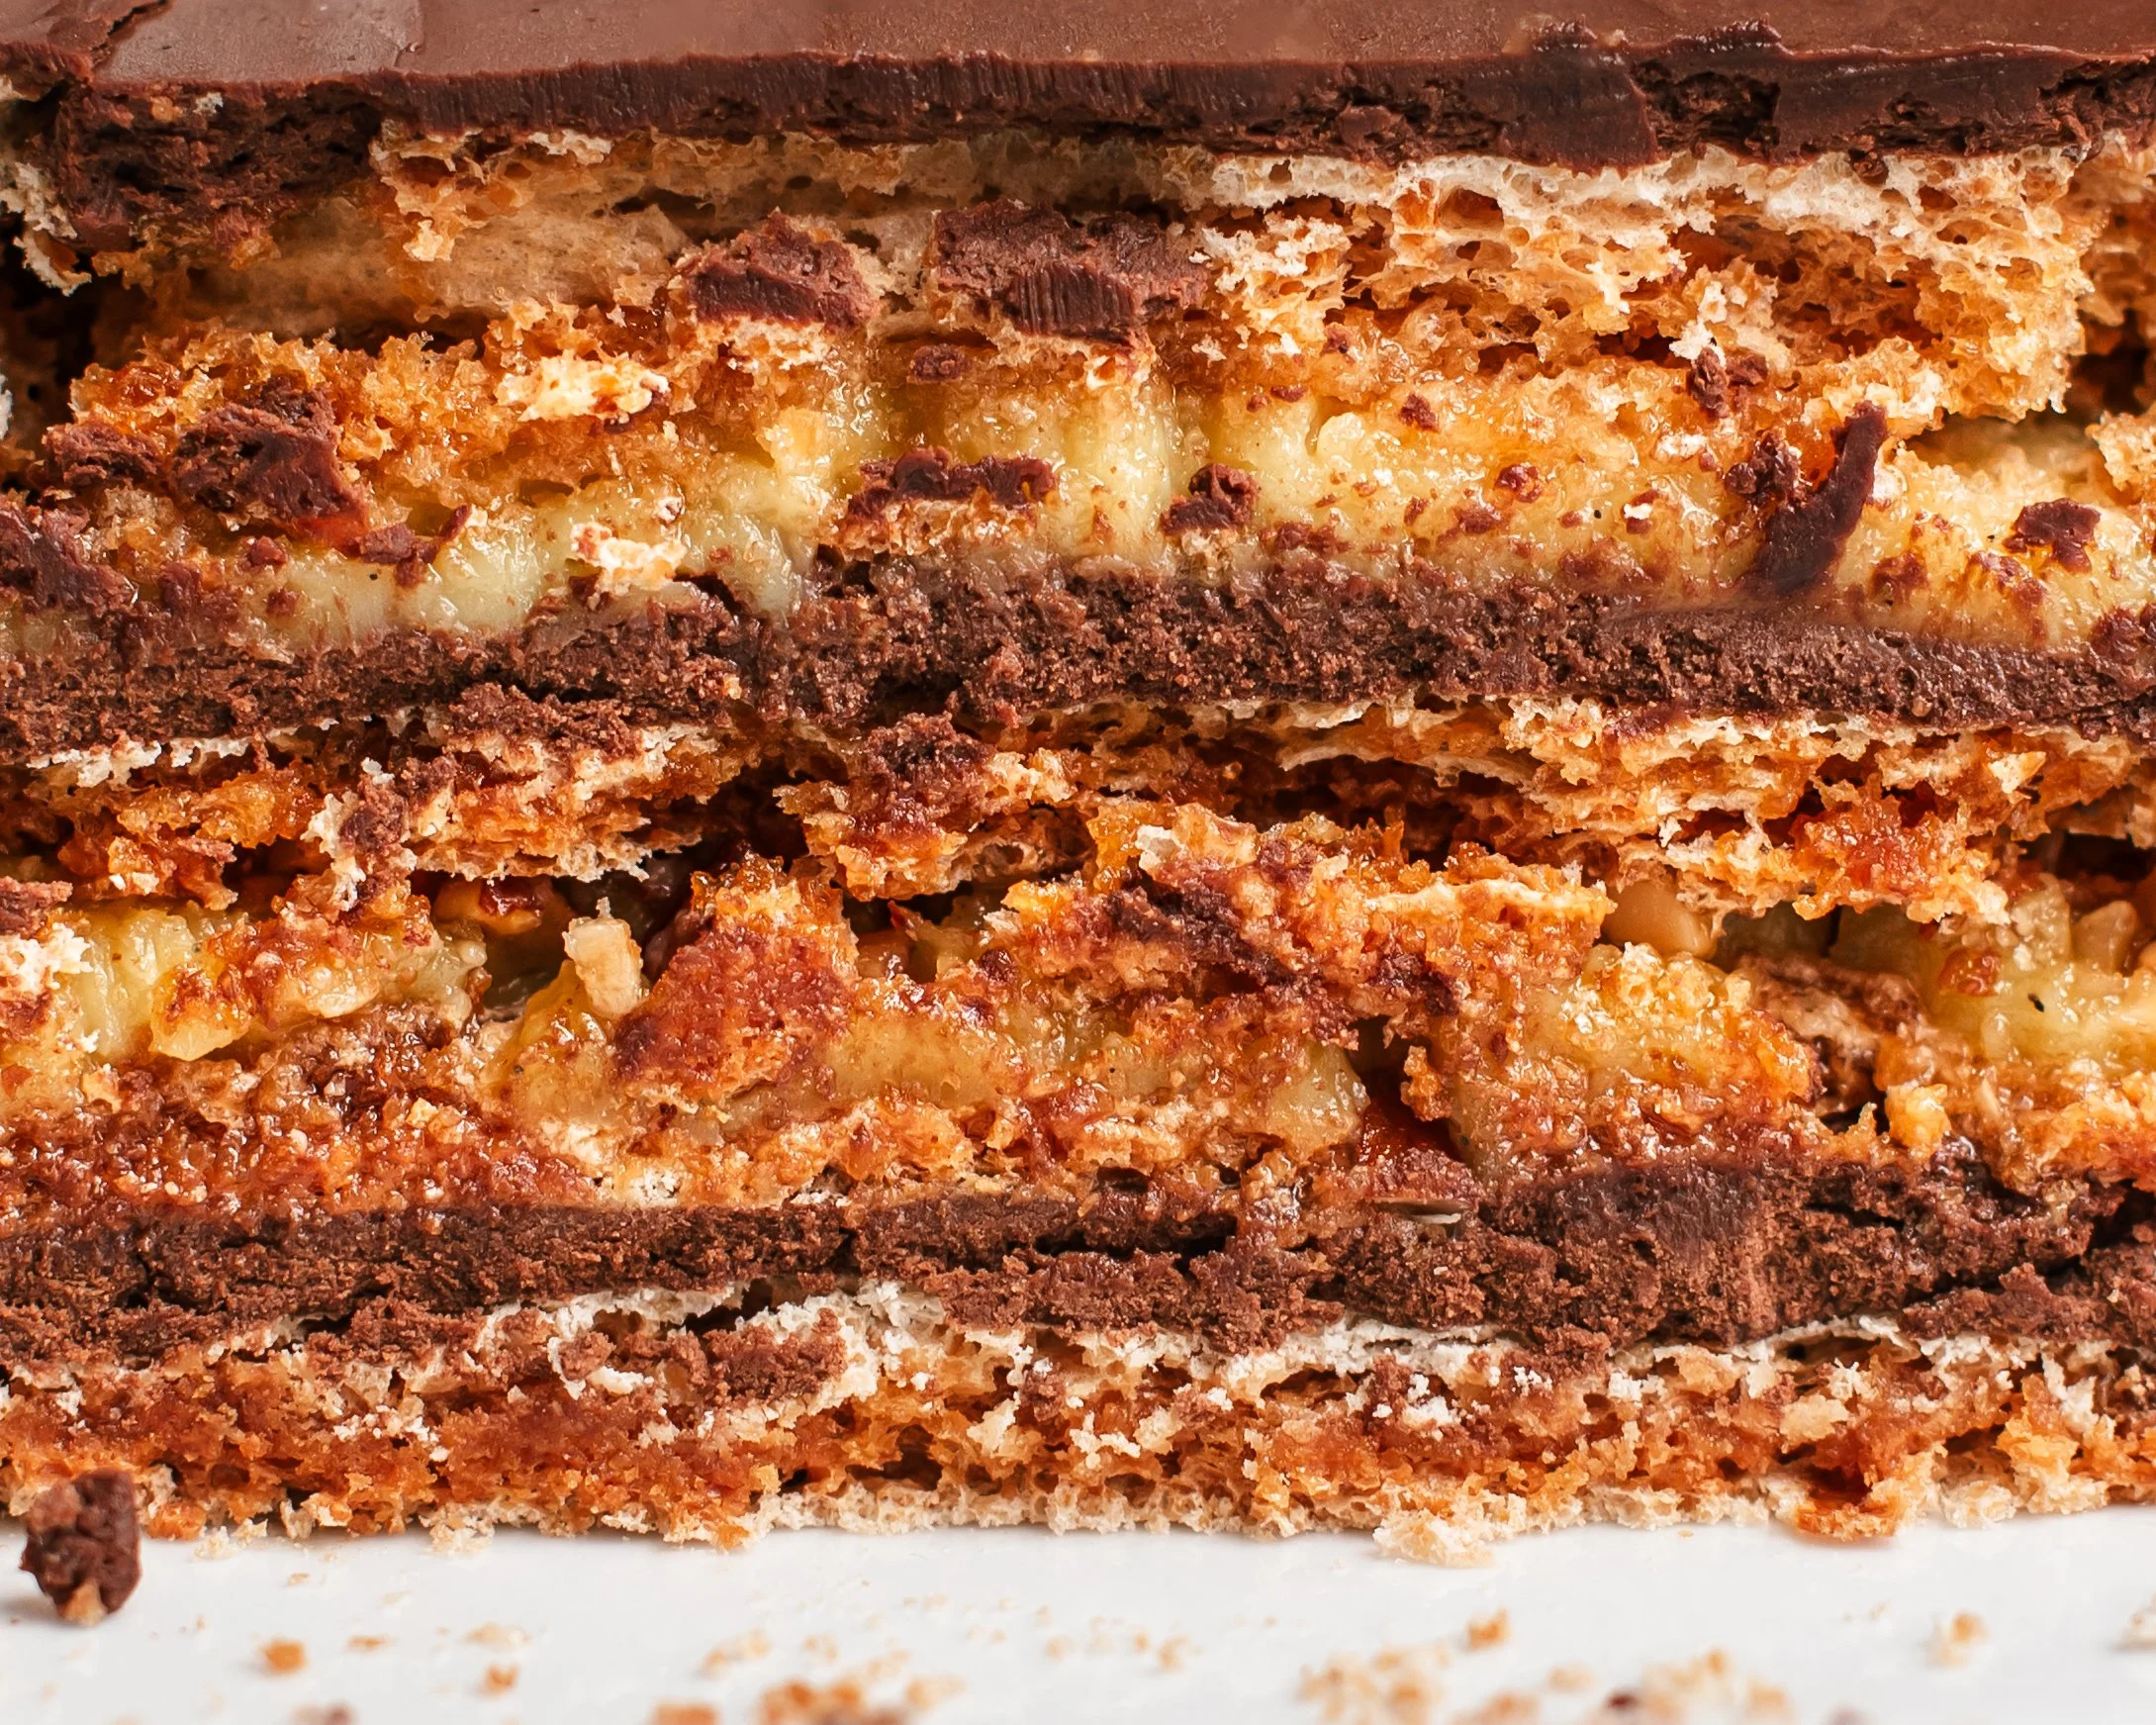
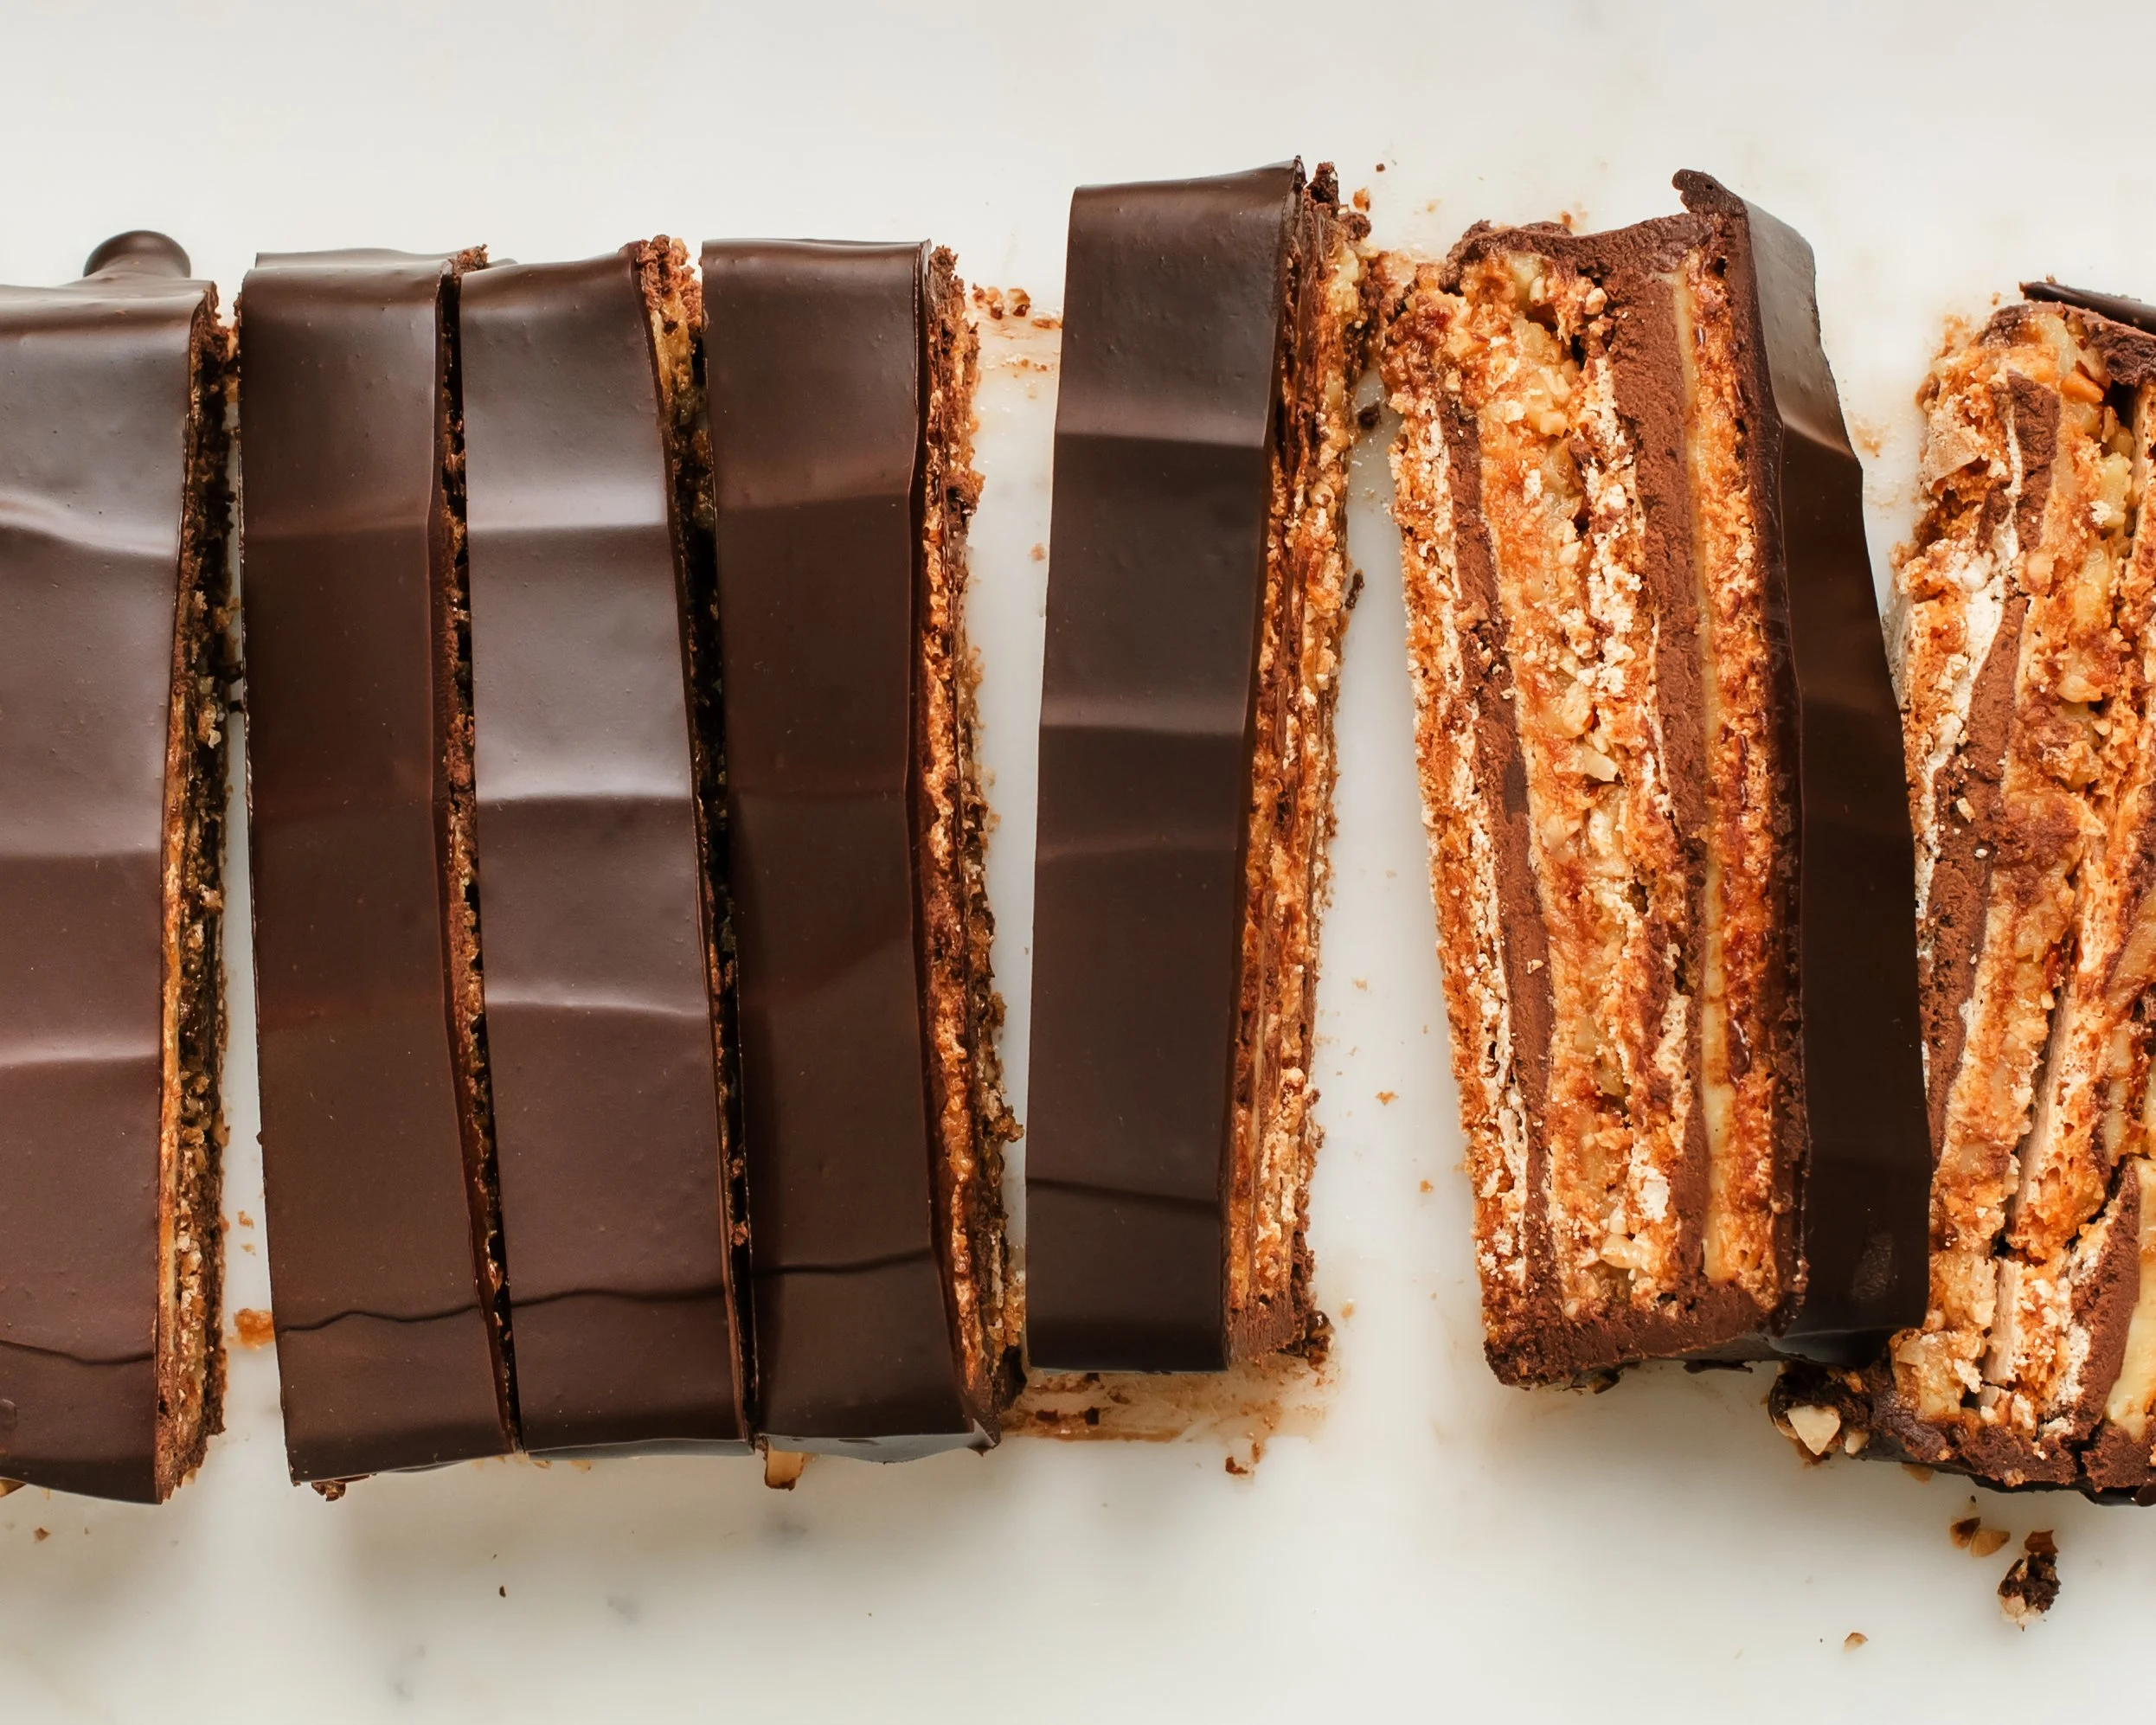
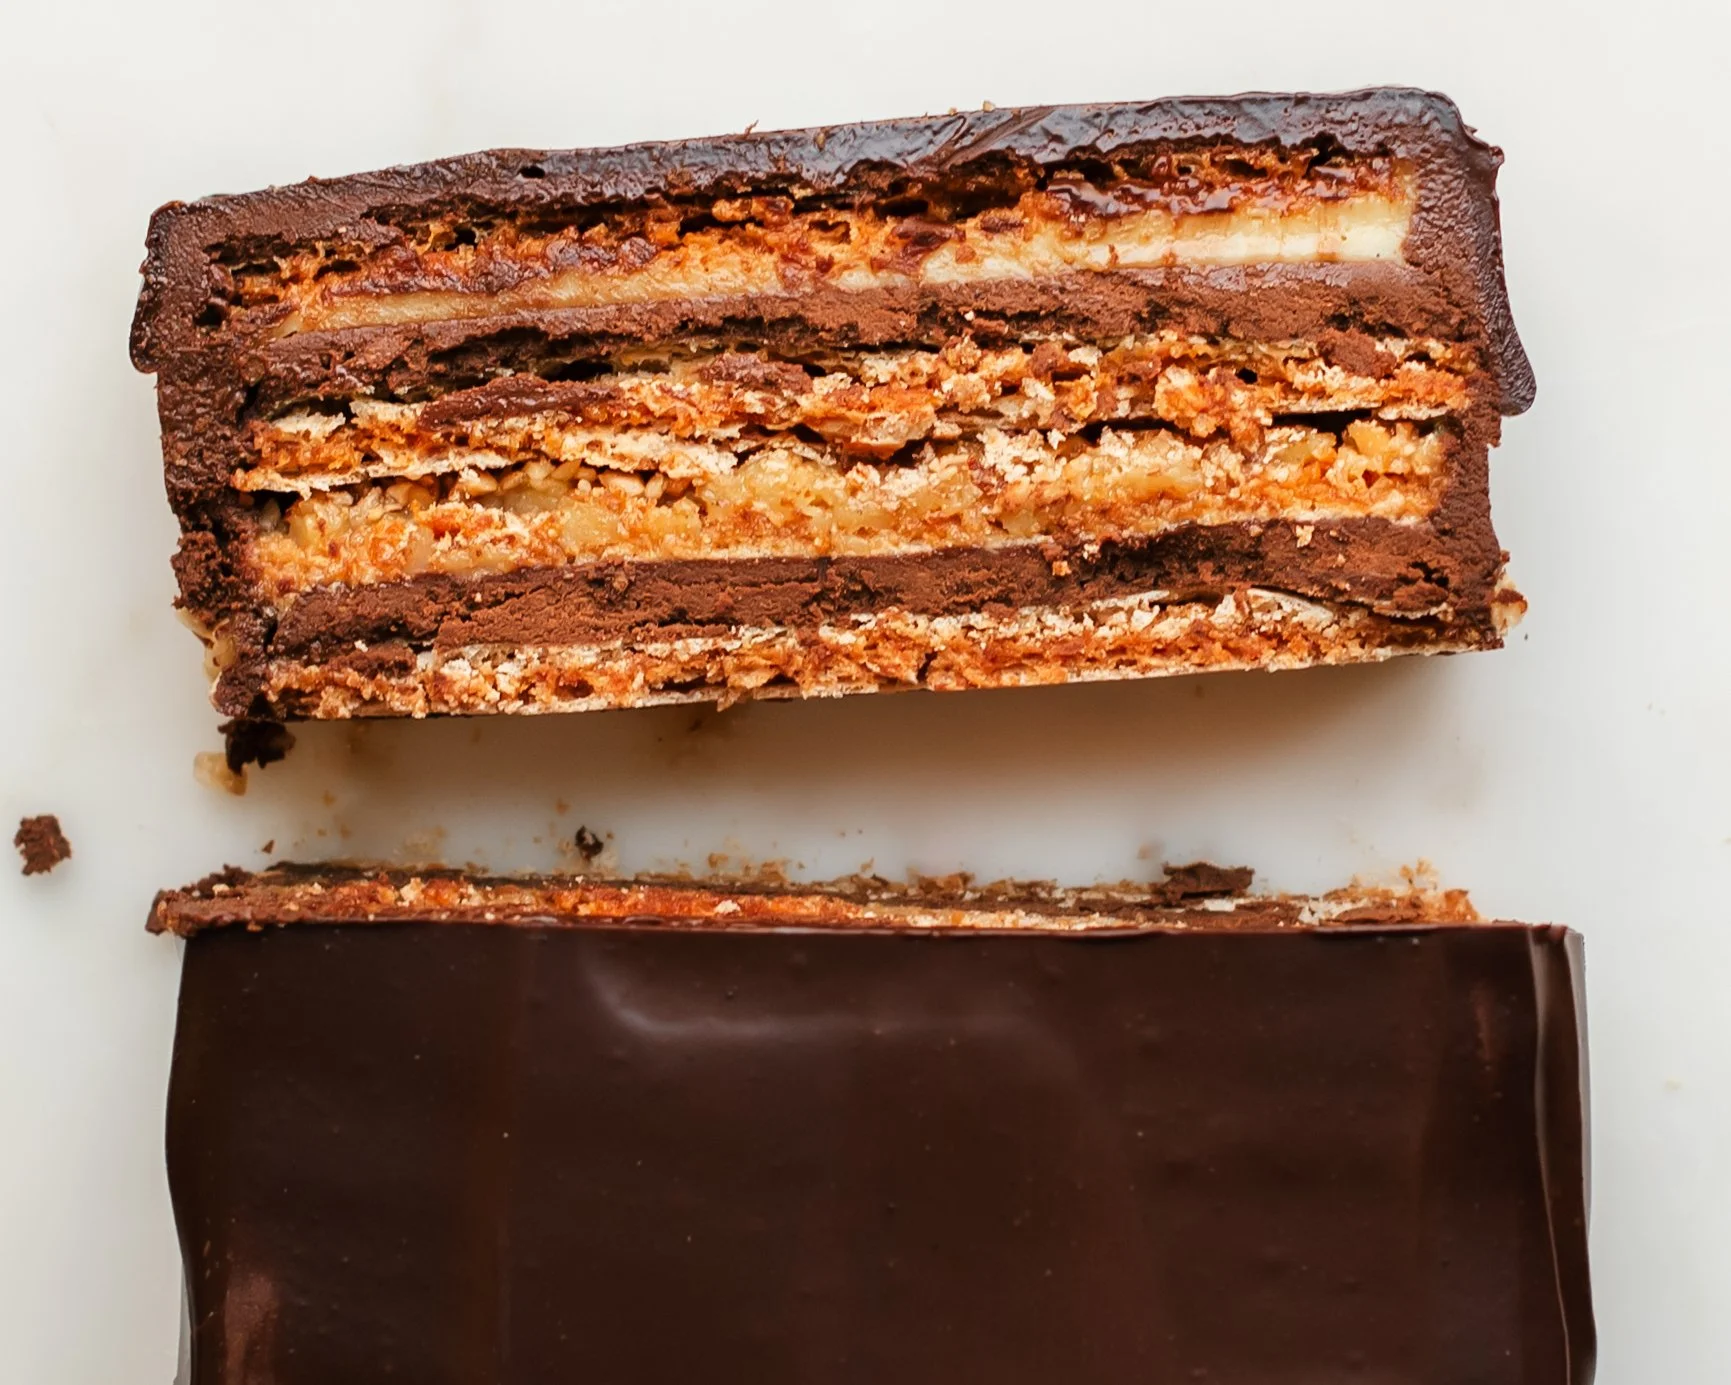
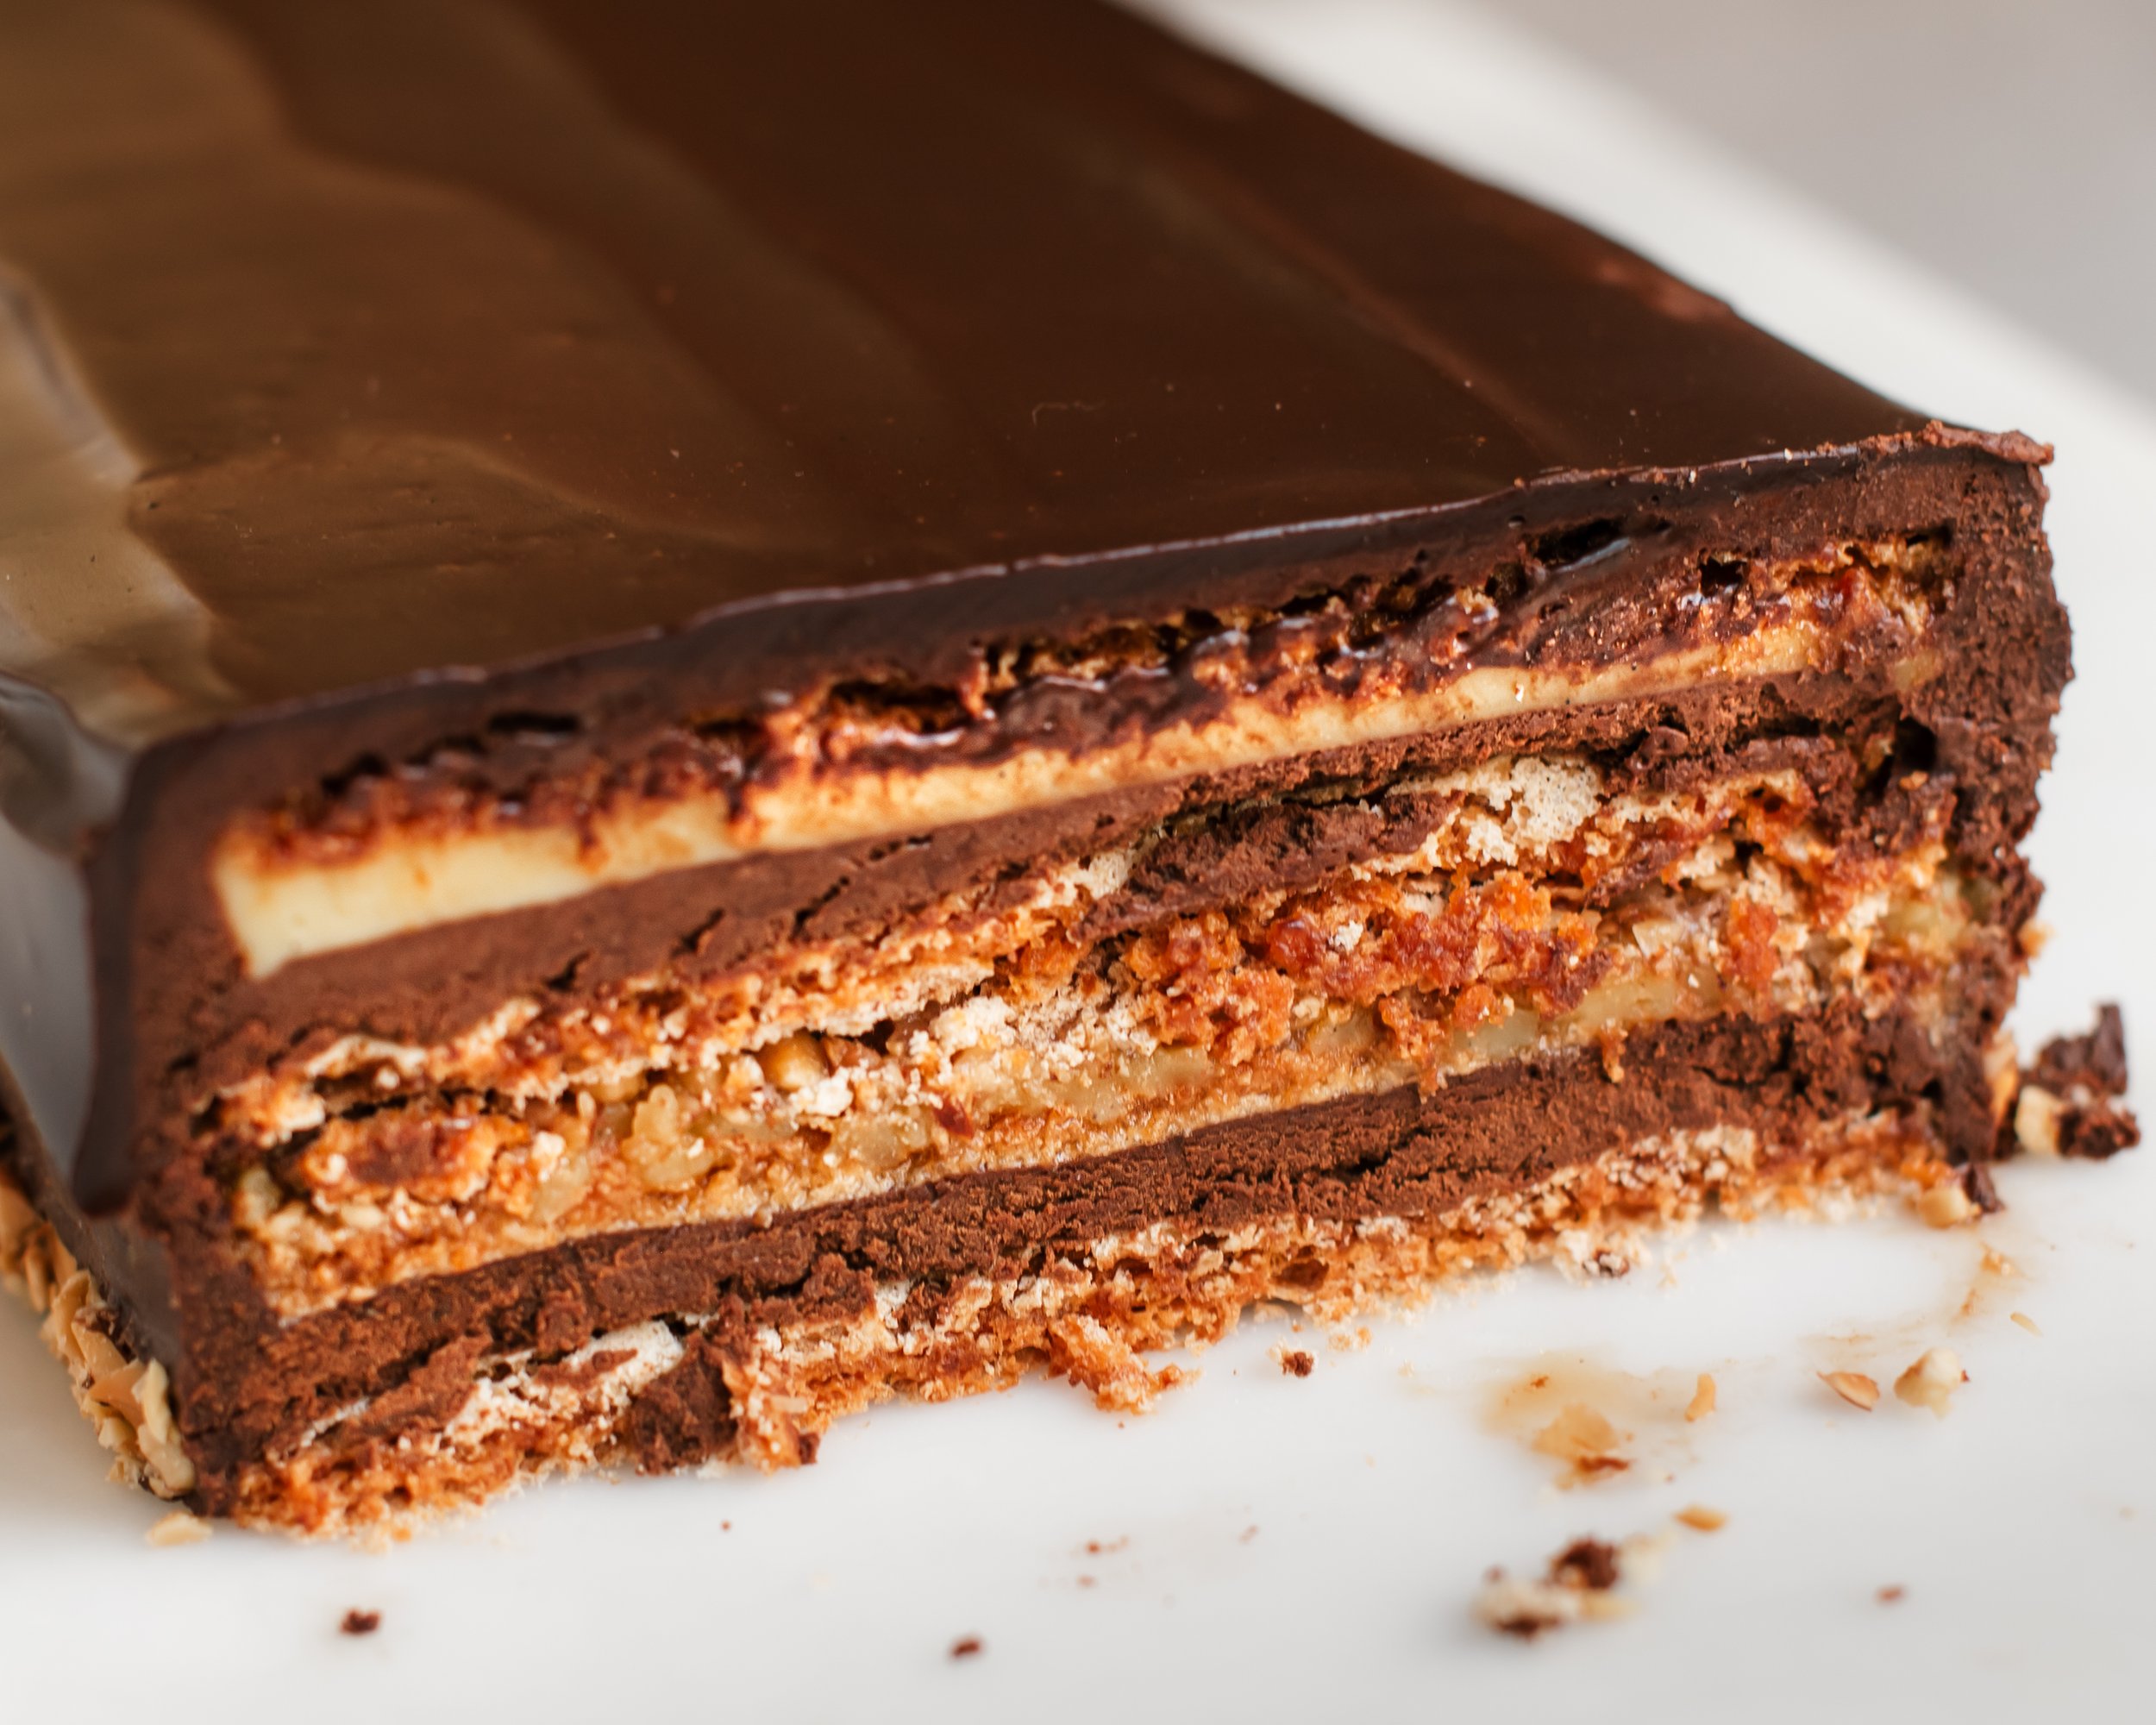
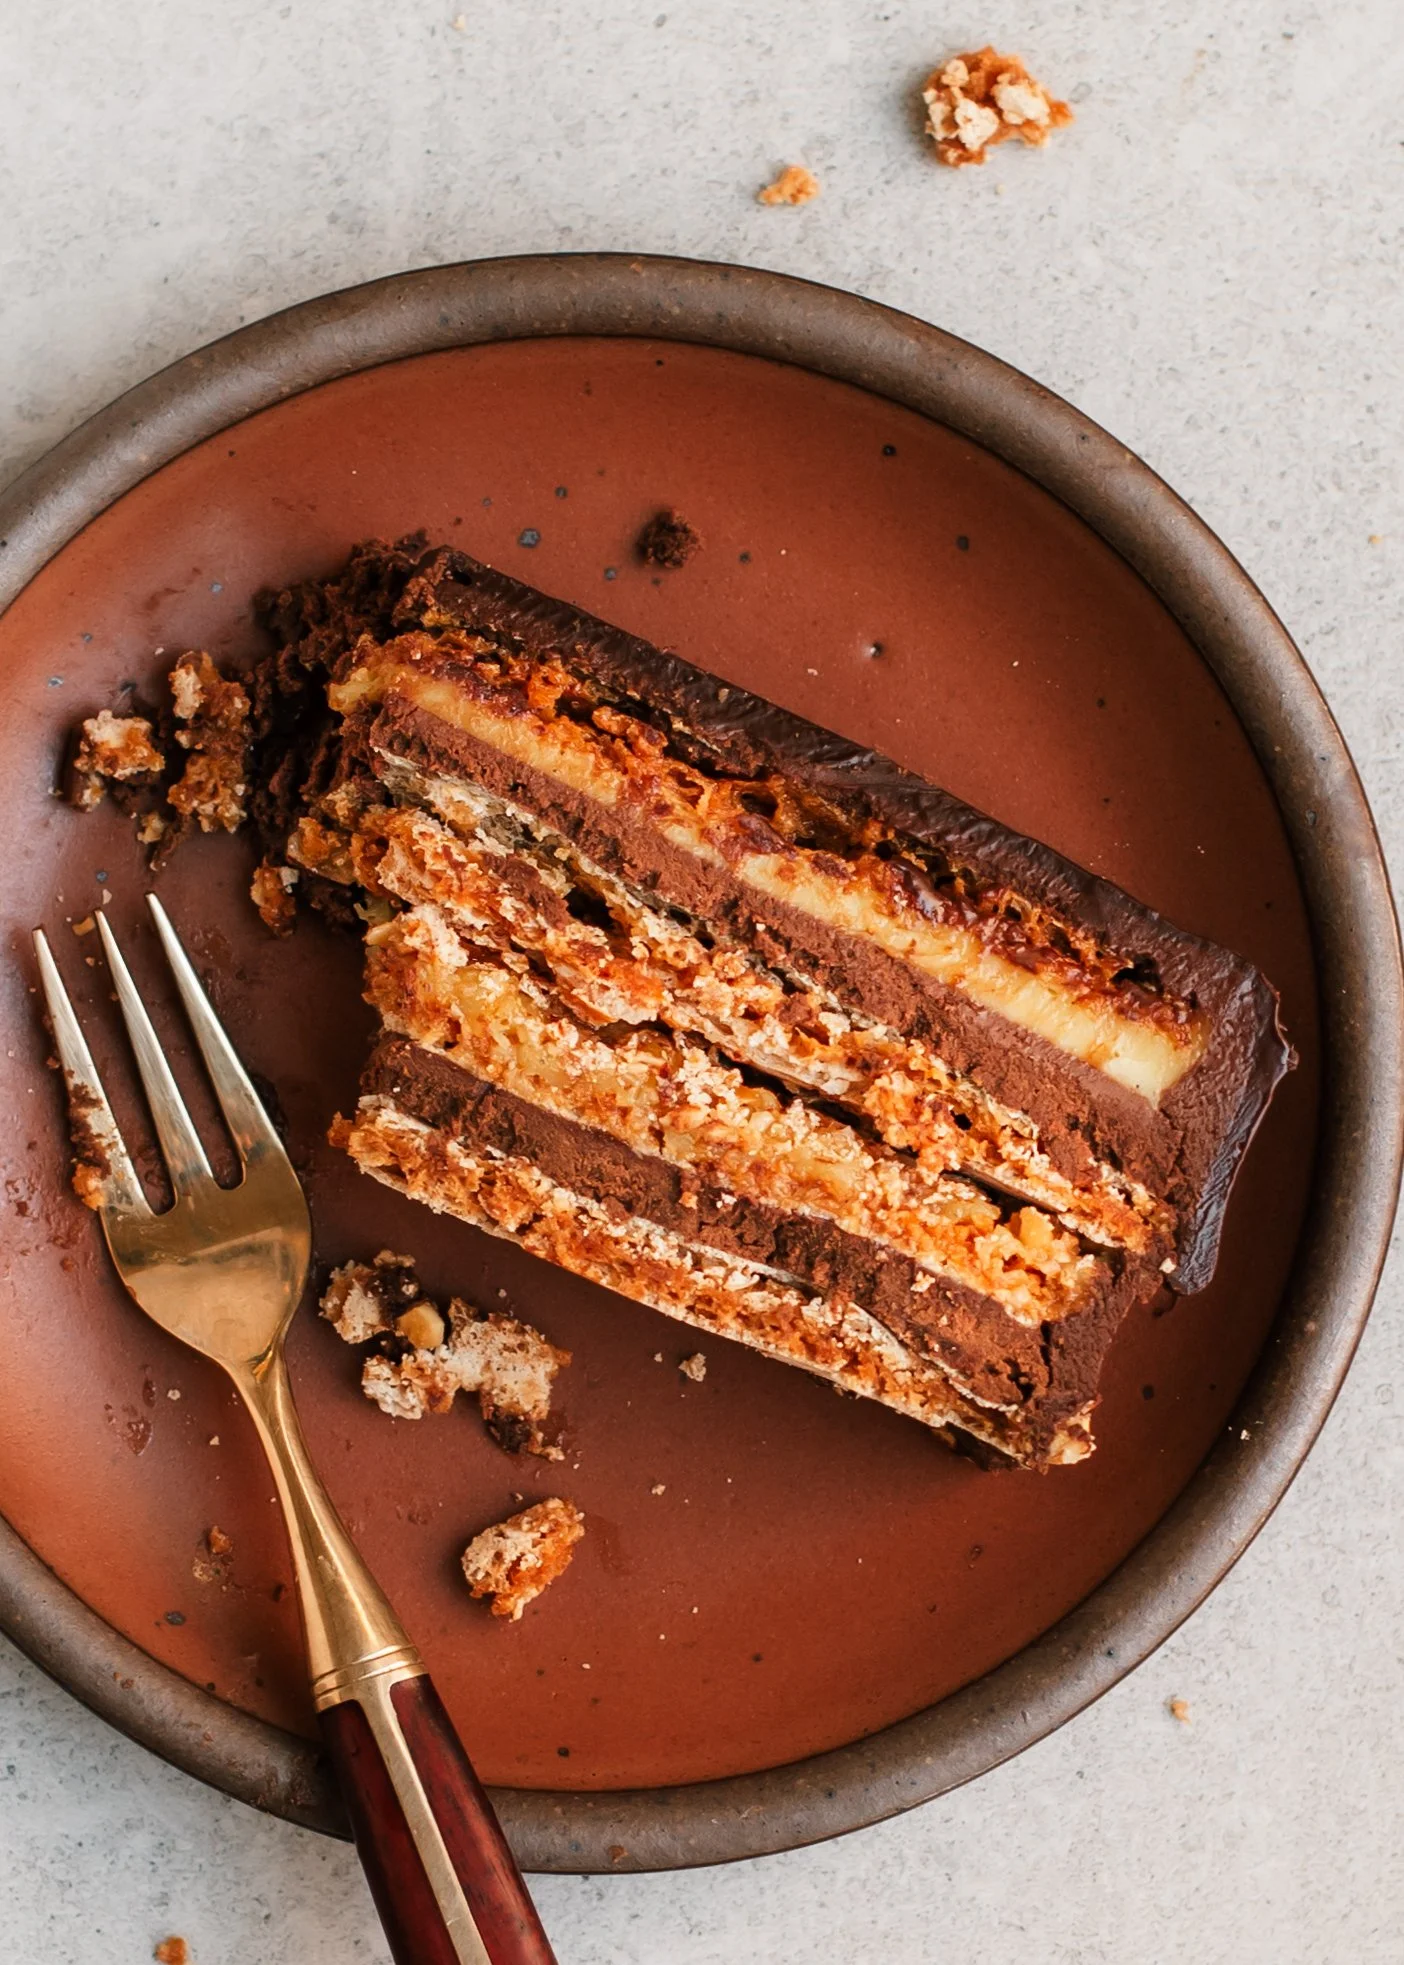
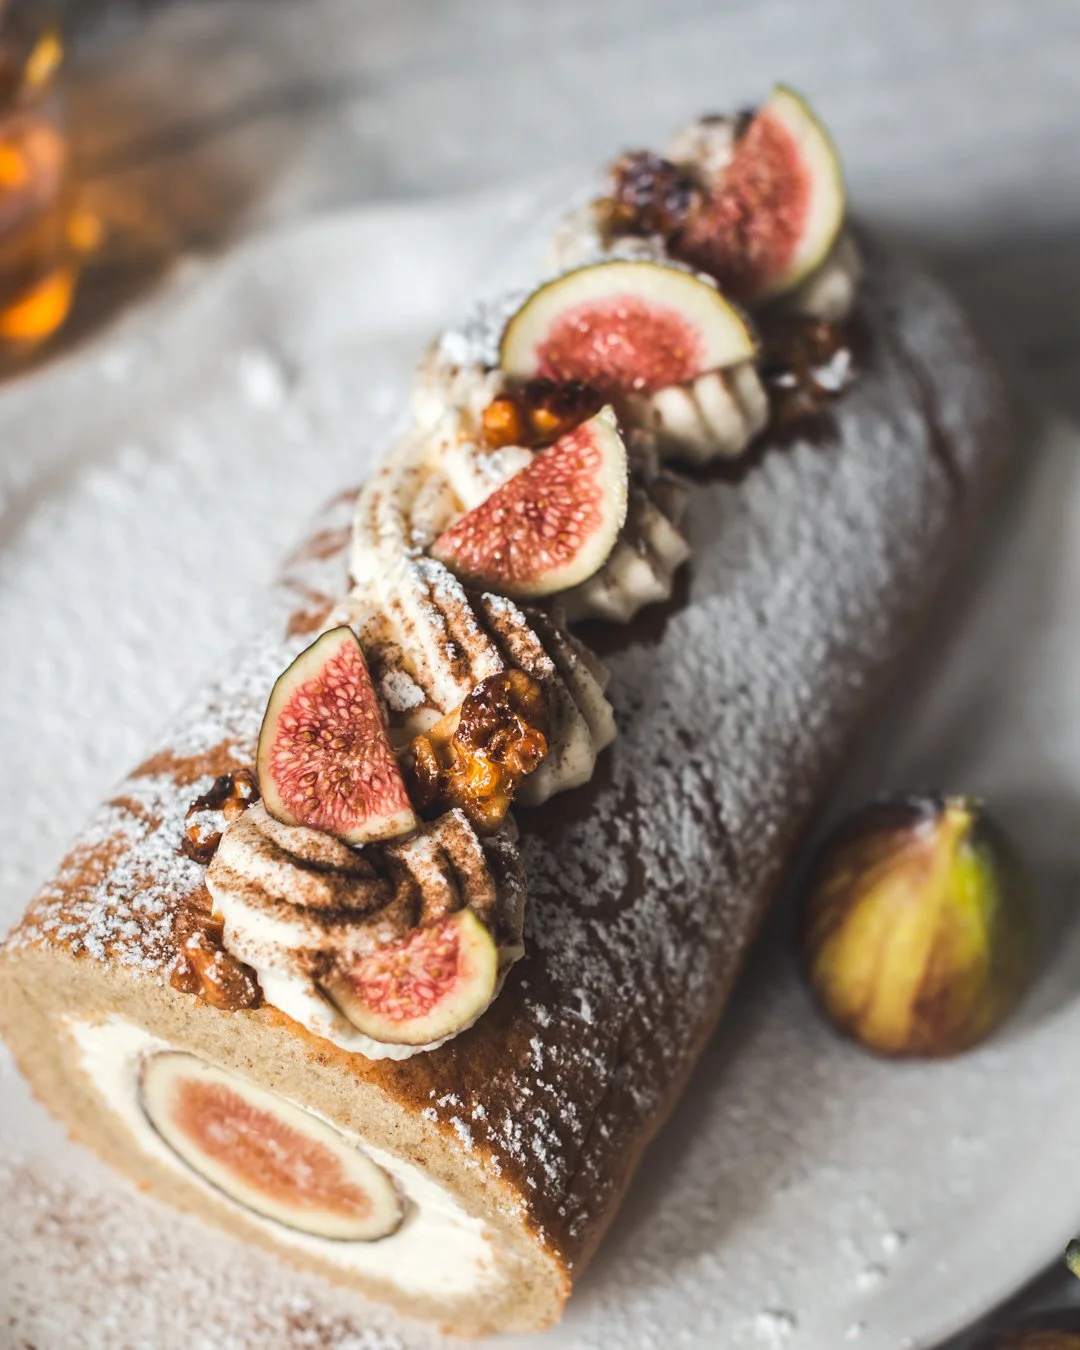
Dacquoise with Chocolate and Praline Cream
Crisp, nutty meringues layered with praline pastry cream and dark chocolate ganache — this intensely rich and indulgent multilayered dessert is like a refined chocolate bar in cake form!
I sure love a pavlova but what I haven’t shared as much is my equal love of its meringue cousin dacquoise (pronounced dah-kwahz), a French dessert that starts out the same way as the meringue in a pavlova, with fine nut flour folded in at the end and baked into thin, chewy-crisp layers which impart nutty aroma and a delicate crunch.
(Fun fact: The word “dacquoise” is the name for both the nut meringue layers and for the composed cake made with them. I have no idea why lol.)
More specifically, this cake takes inspiration from Marjolaine, another classic French pastry to know! It was created in the 1930s by Fernand Point, chef of the renowned fine-dining restaurant La Pyramide in France. A Marjolaine can be thought of as a more specific dacquoise that follows a structured format — sandwiching the nut meringue layers with chocolate, vanilla pastry cream and praline elements — which are then intentionally rested for hours so everything melds into one cohesive bite. It is often (aptly) described as an elevated chocolate bar!
I’ll be honest, this Dacquoise with Chocolate and Praline Cream is a project bake. It is not a same-day dessert and there’s nothing casual about it. Four components are required before everything comes together, each with their own cooling/setting times. After layers are assembled, the whole thing is frosted in whipped chocolate ganache and topped with a lovely final coat of ganache. The good news is, all the elements hold well and benefit from being made in advance so the work is manageably done over several days. Here’s a simple timeline to keep things smooth:
Day 1: make the praline, bake the nut meringue layers, prepare the chocolate ganache
Day 2: make the vanilla pastry cream, whip the ganache, assemble the layers
Day 3: frost the cake, pour ganache drip, serve
You can start even earlier if needed. Or frost the cake on Day 2 as long as you start early enough to chill the assembled layers first. Each component has its own make-ahead window, so check the recipe and map it out in a way that fits your schedule.
🎥 Watch video for Dacquoise with Chocolate and Praline Cream
If you make this Dacquoise with Chocolate and Praline Cream, let me know how it goes! Or if you have any questions about the recipe, drop them in the comments section — I’m happy to help!
Eat well and be well,
Sonia x
What you’ll need:
Ingredients for Dacquoise with Chocolate and Praline Cream
Scroll down to recipe card for full printable recipe with measurements.
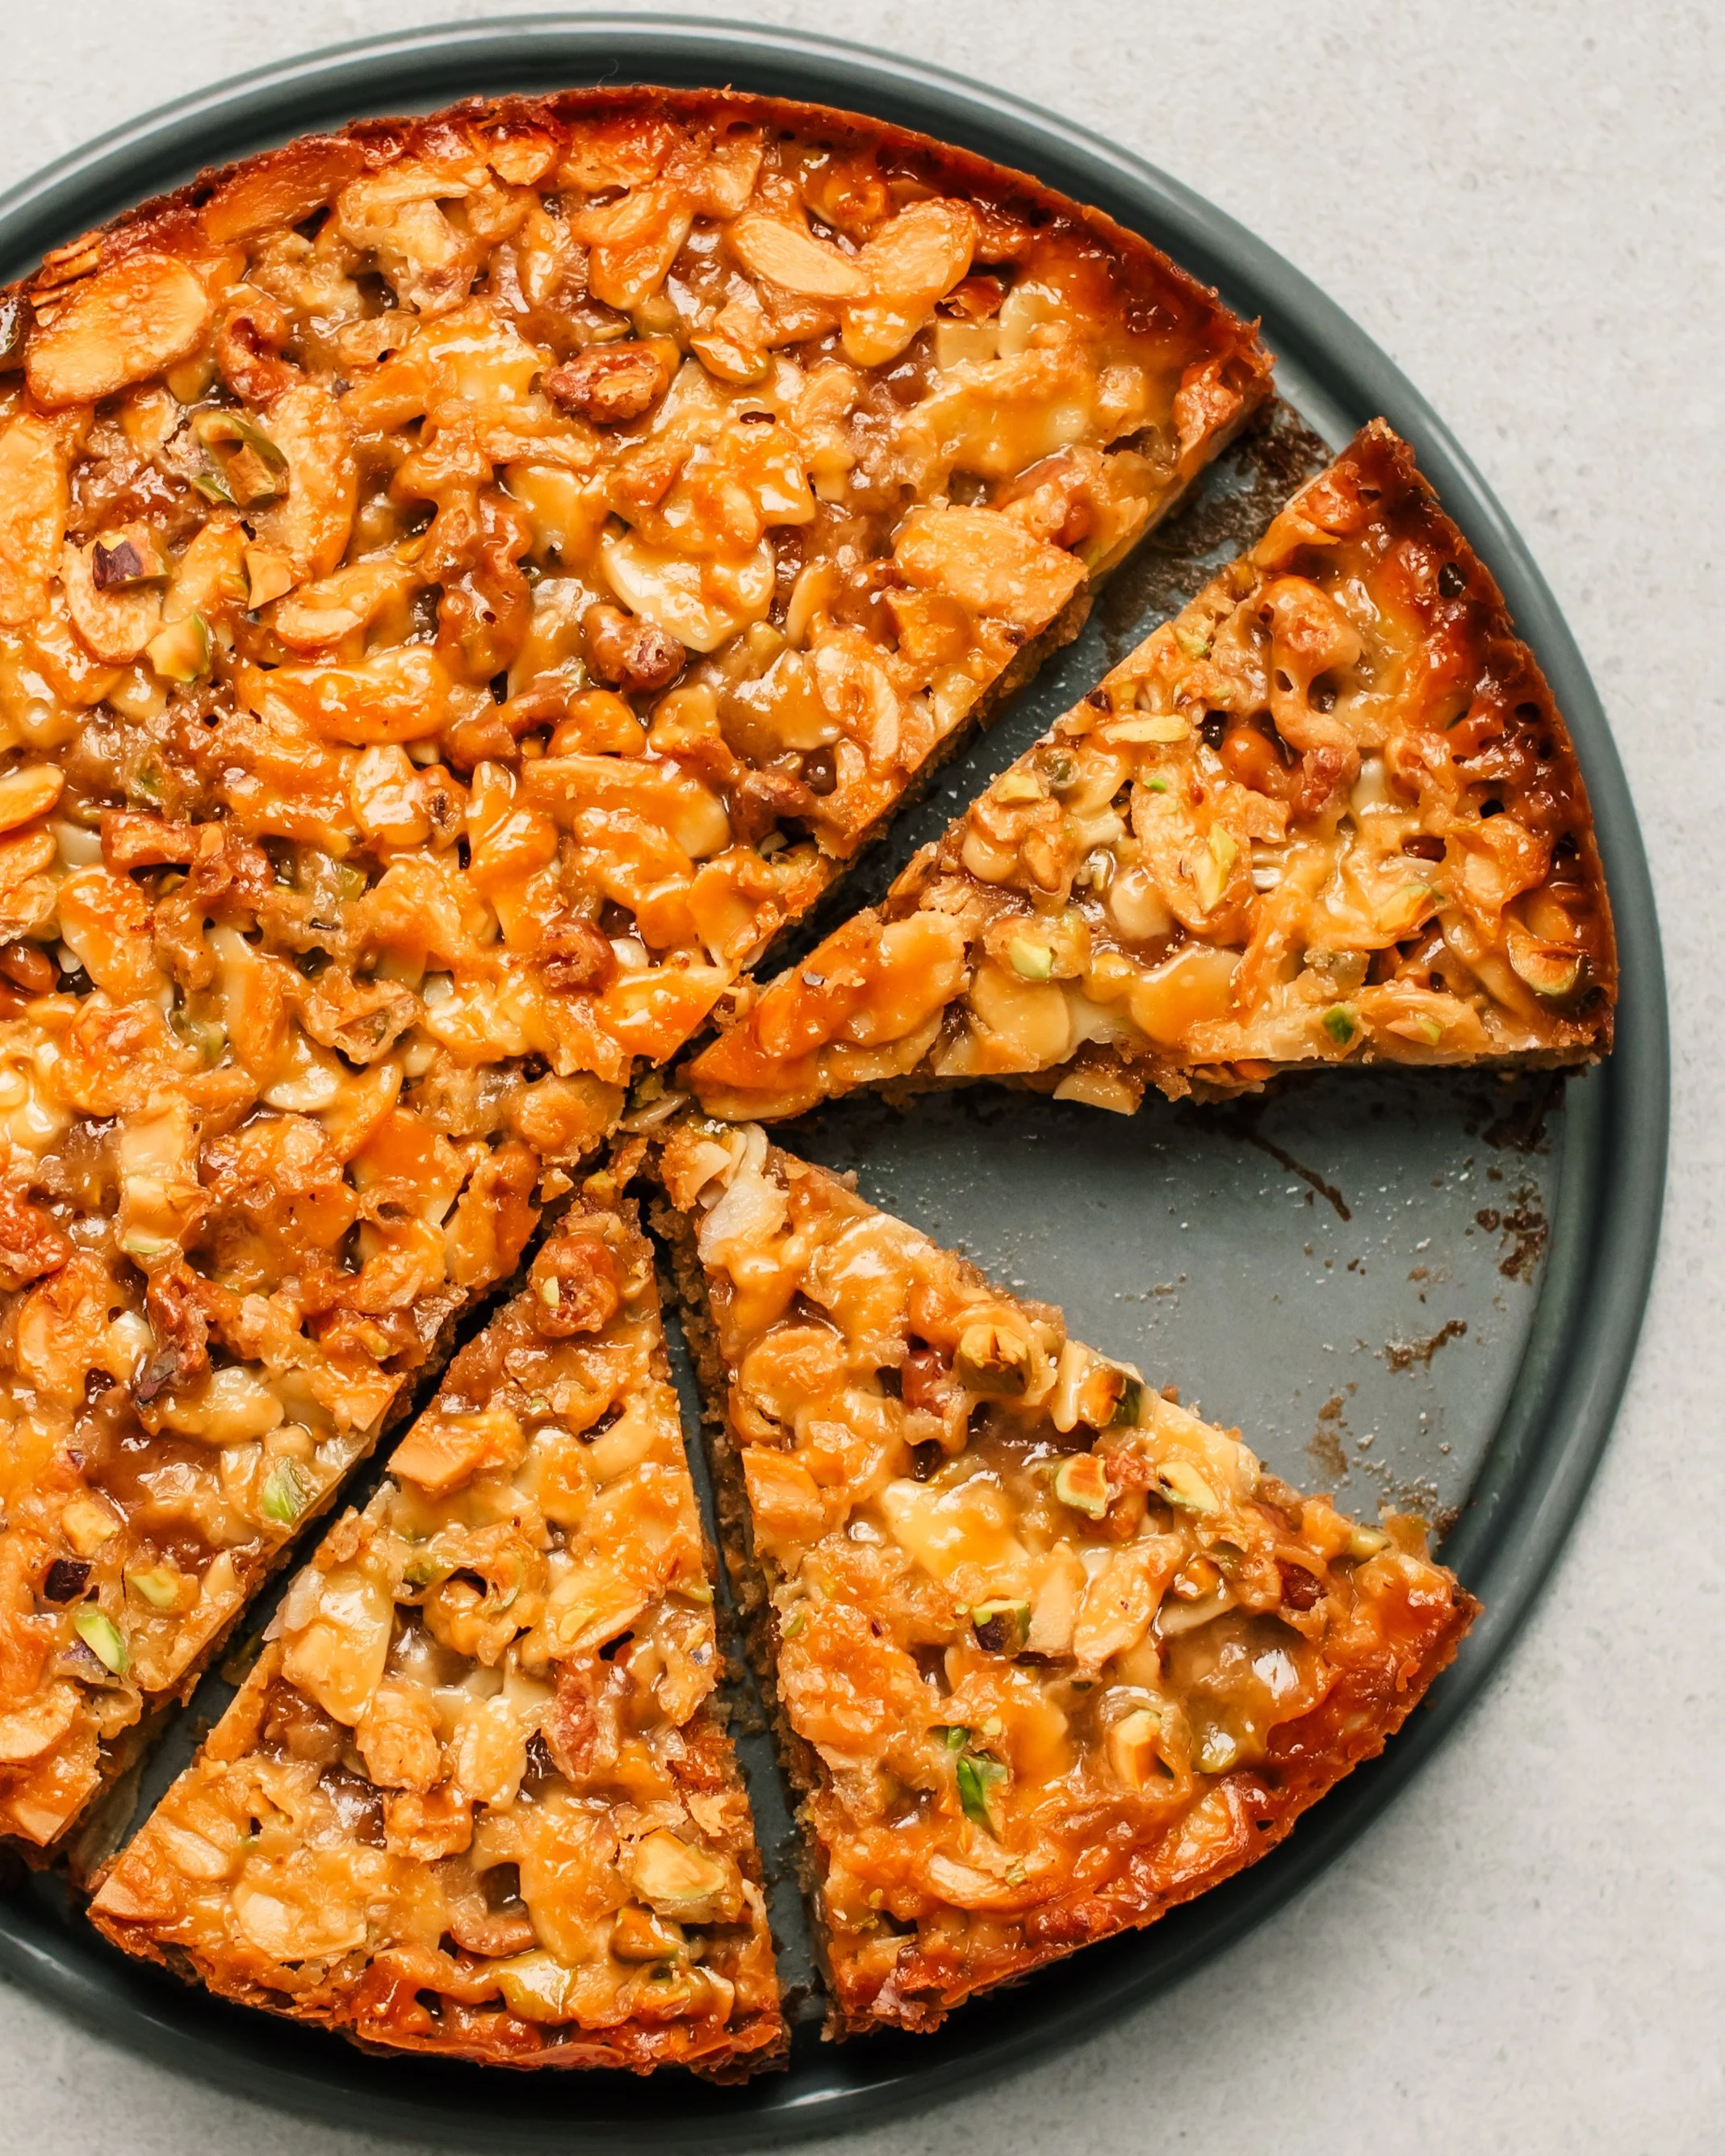
Praline
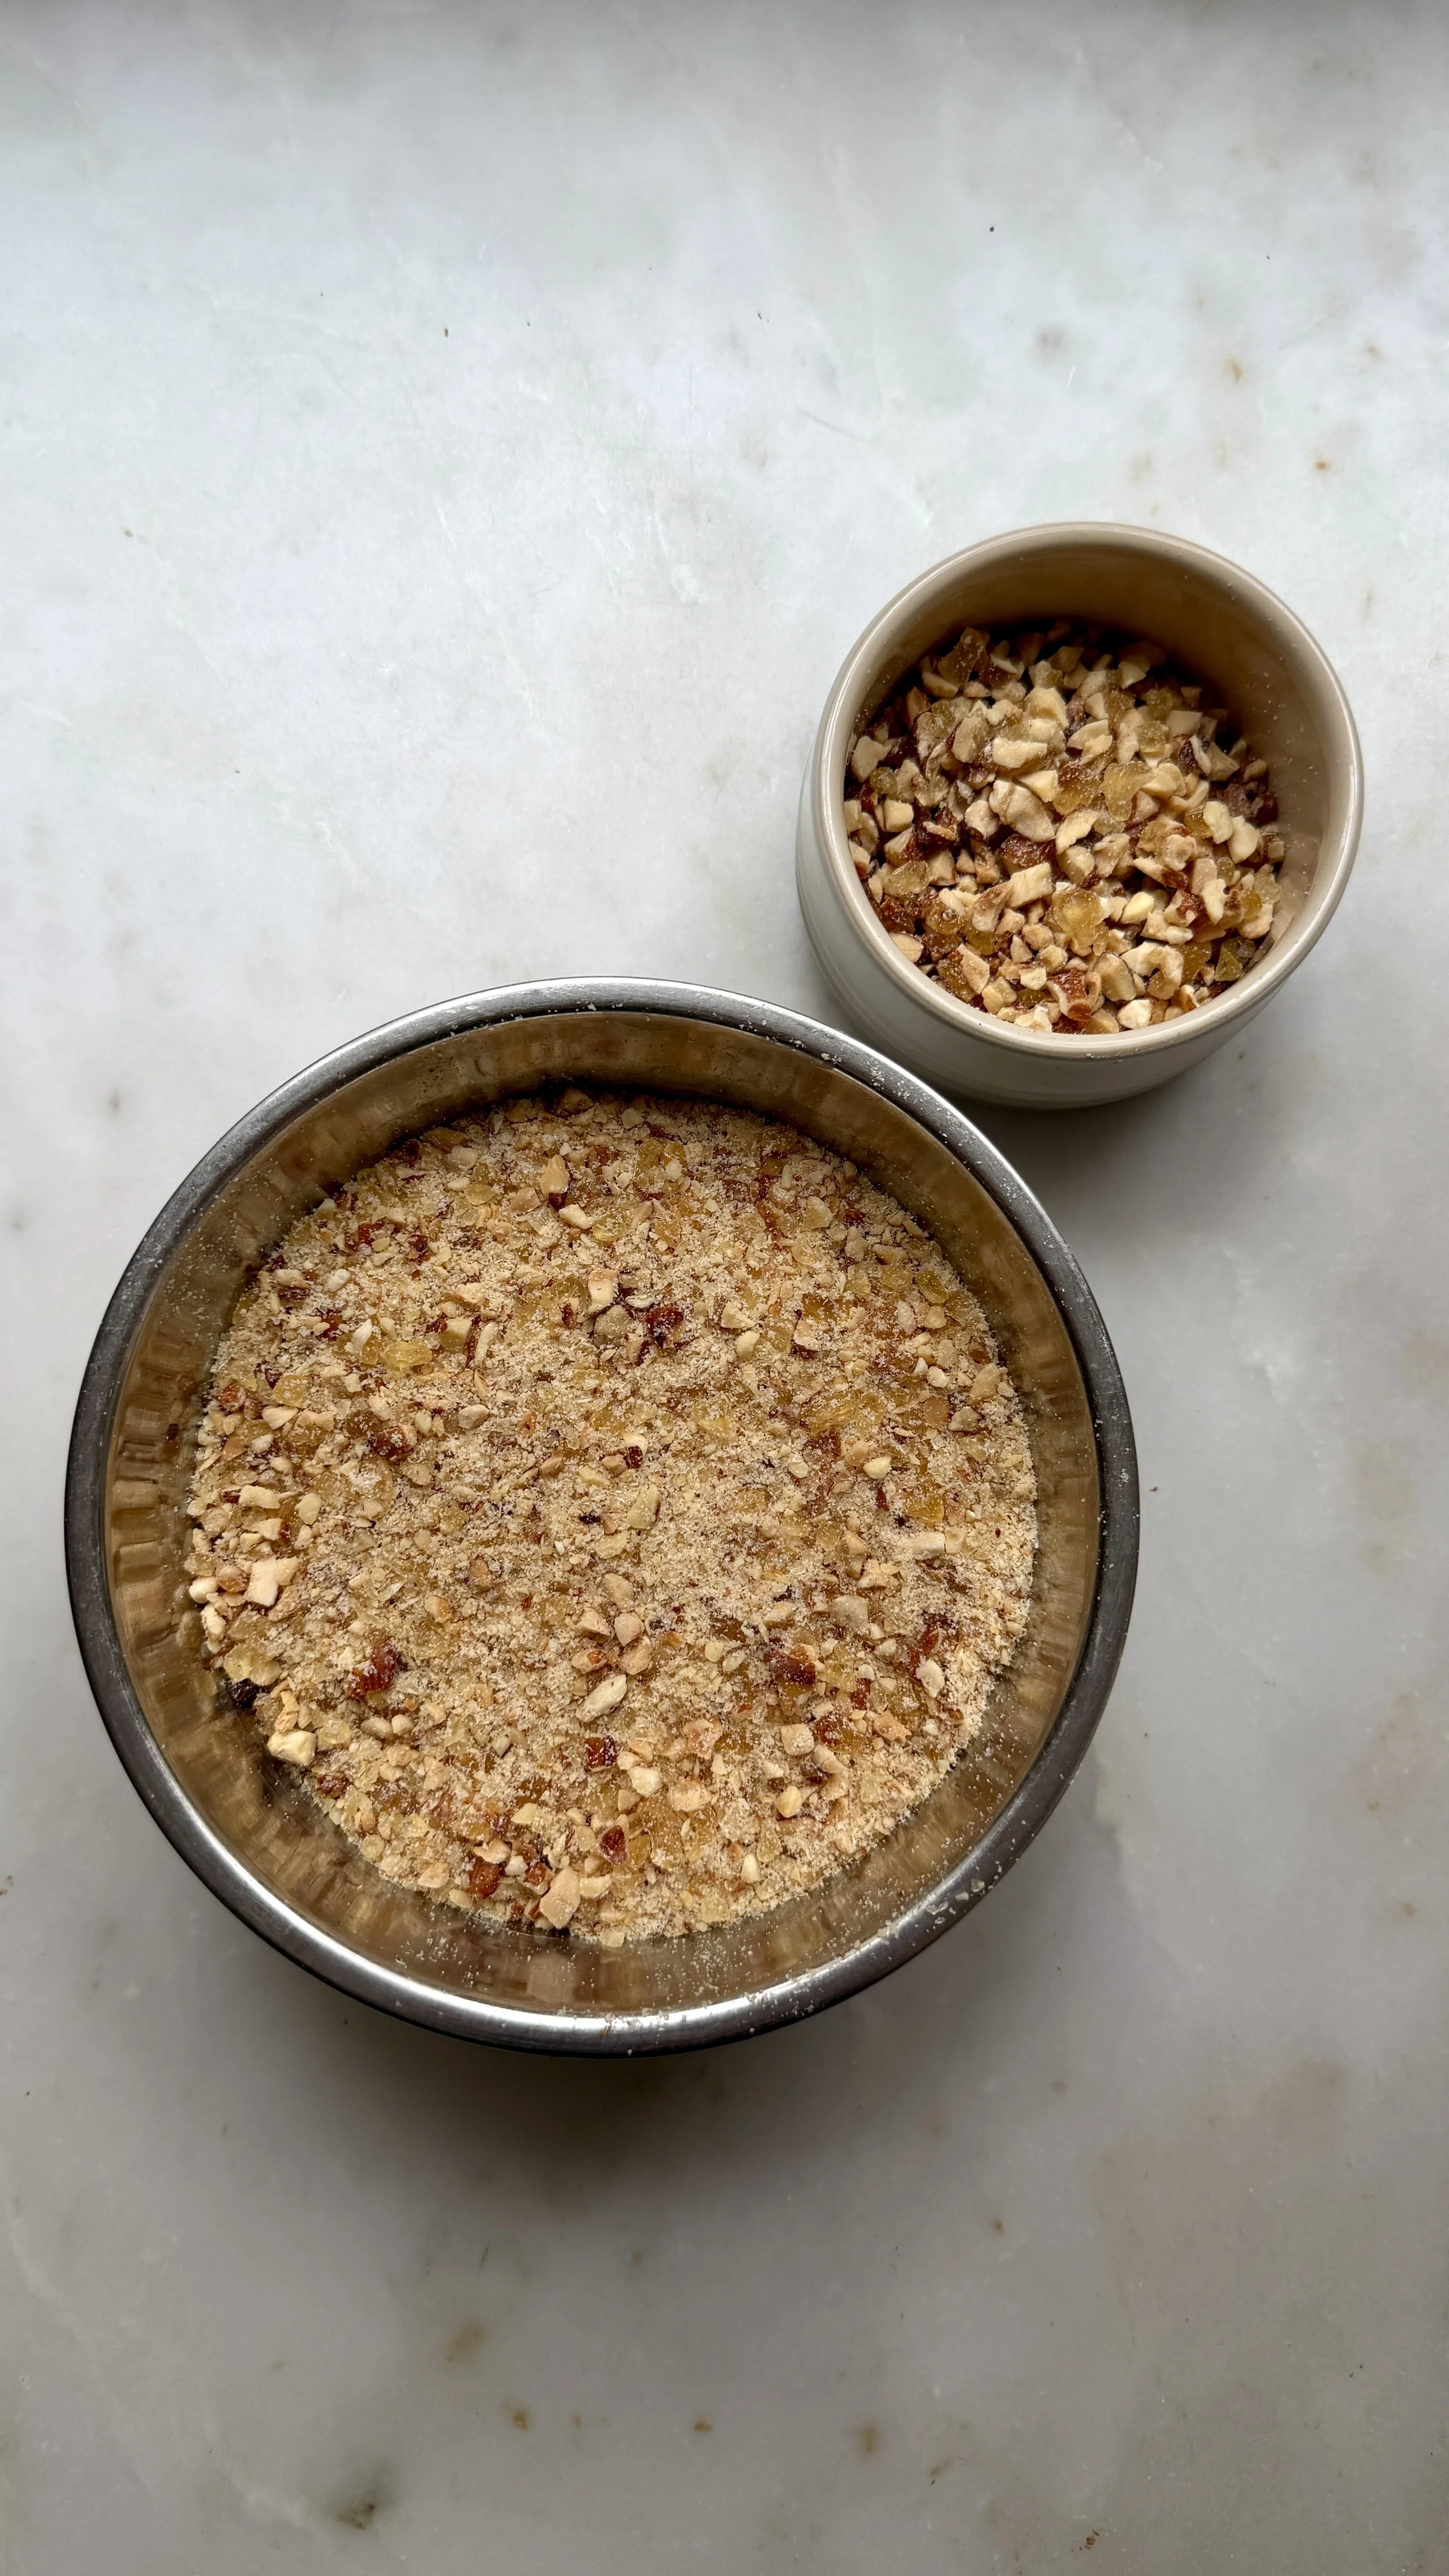
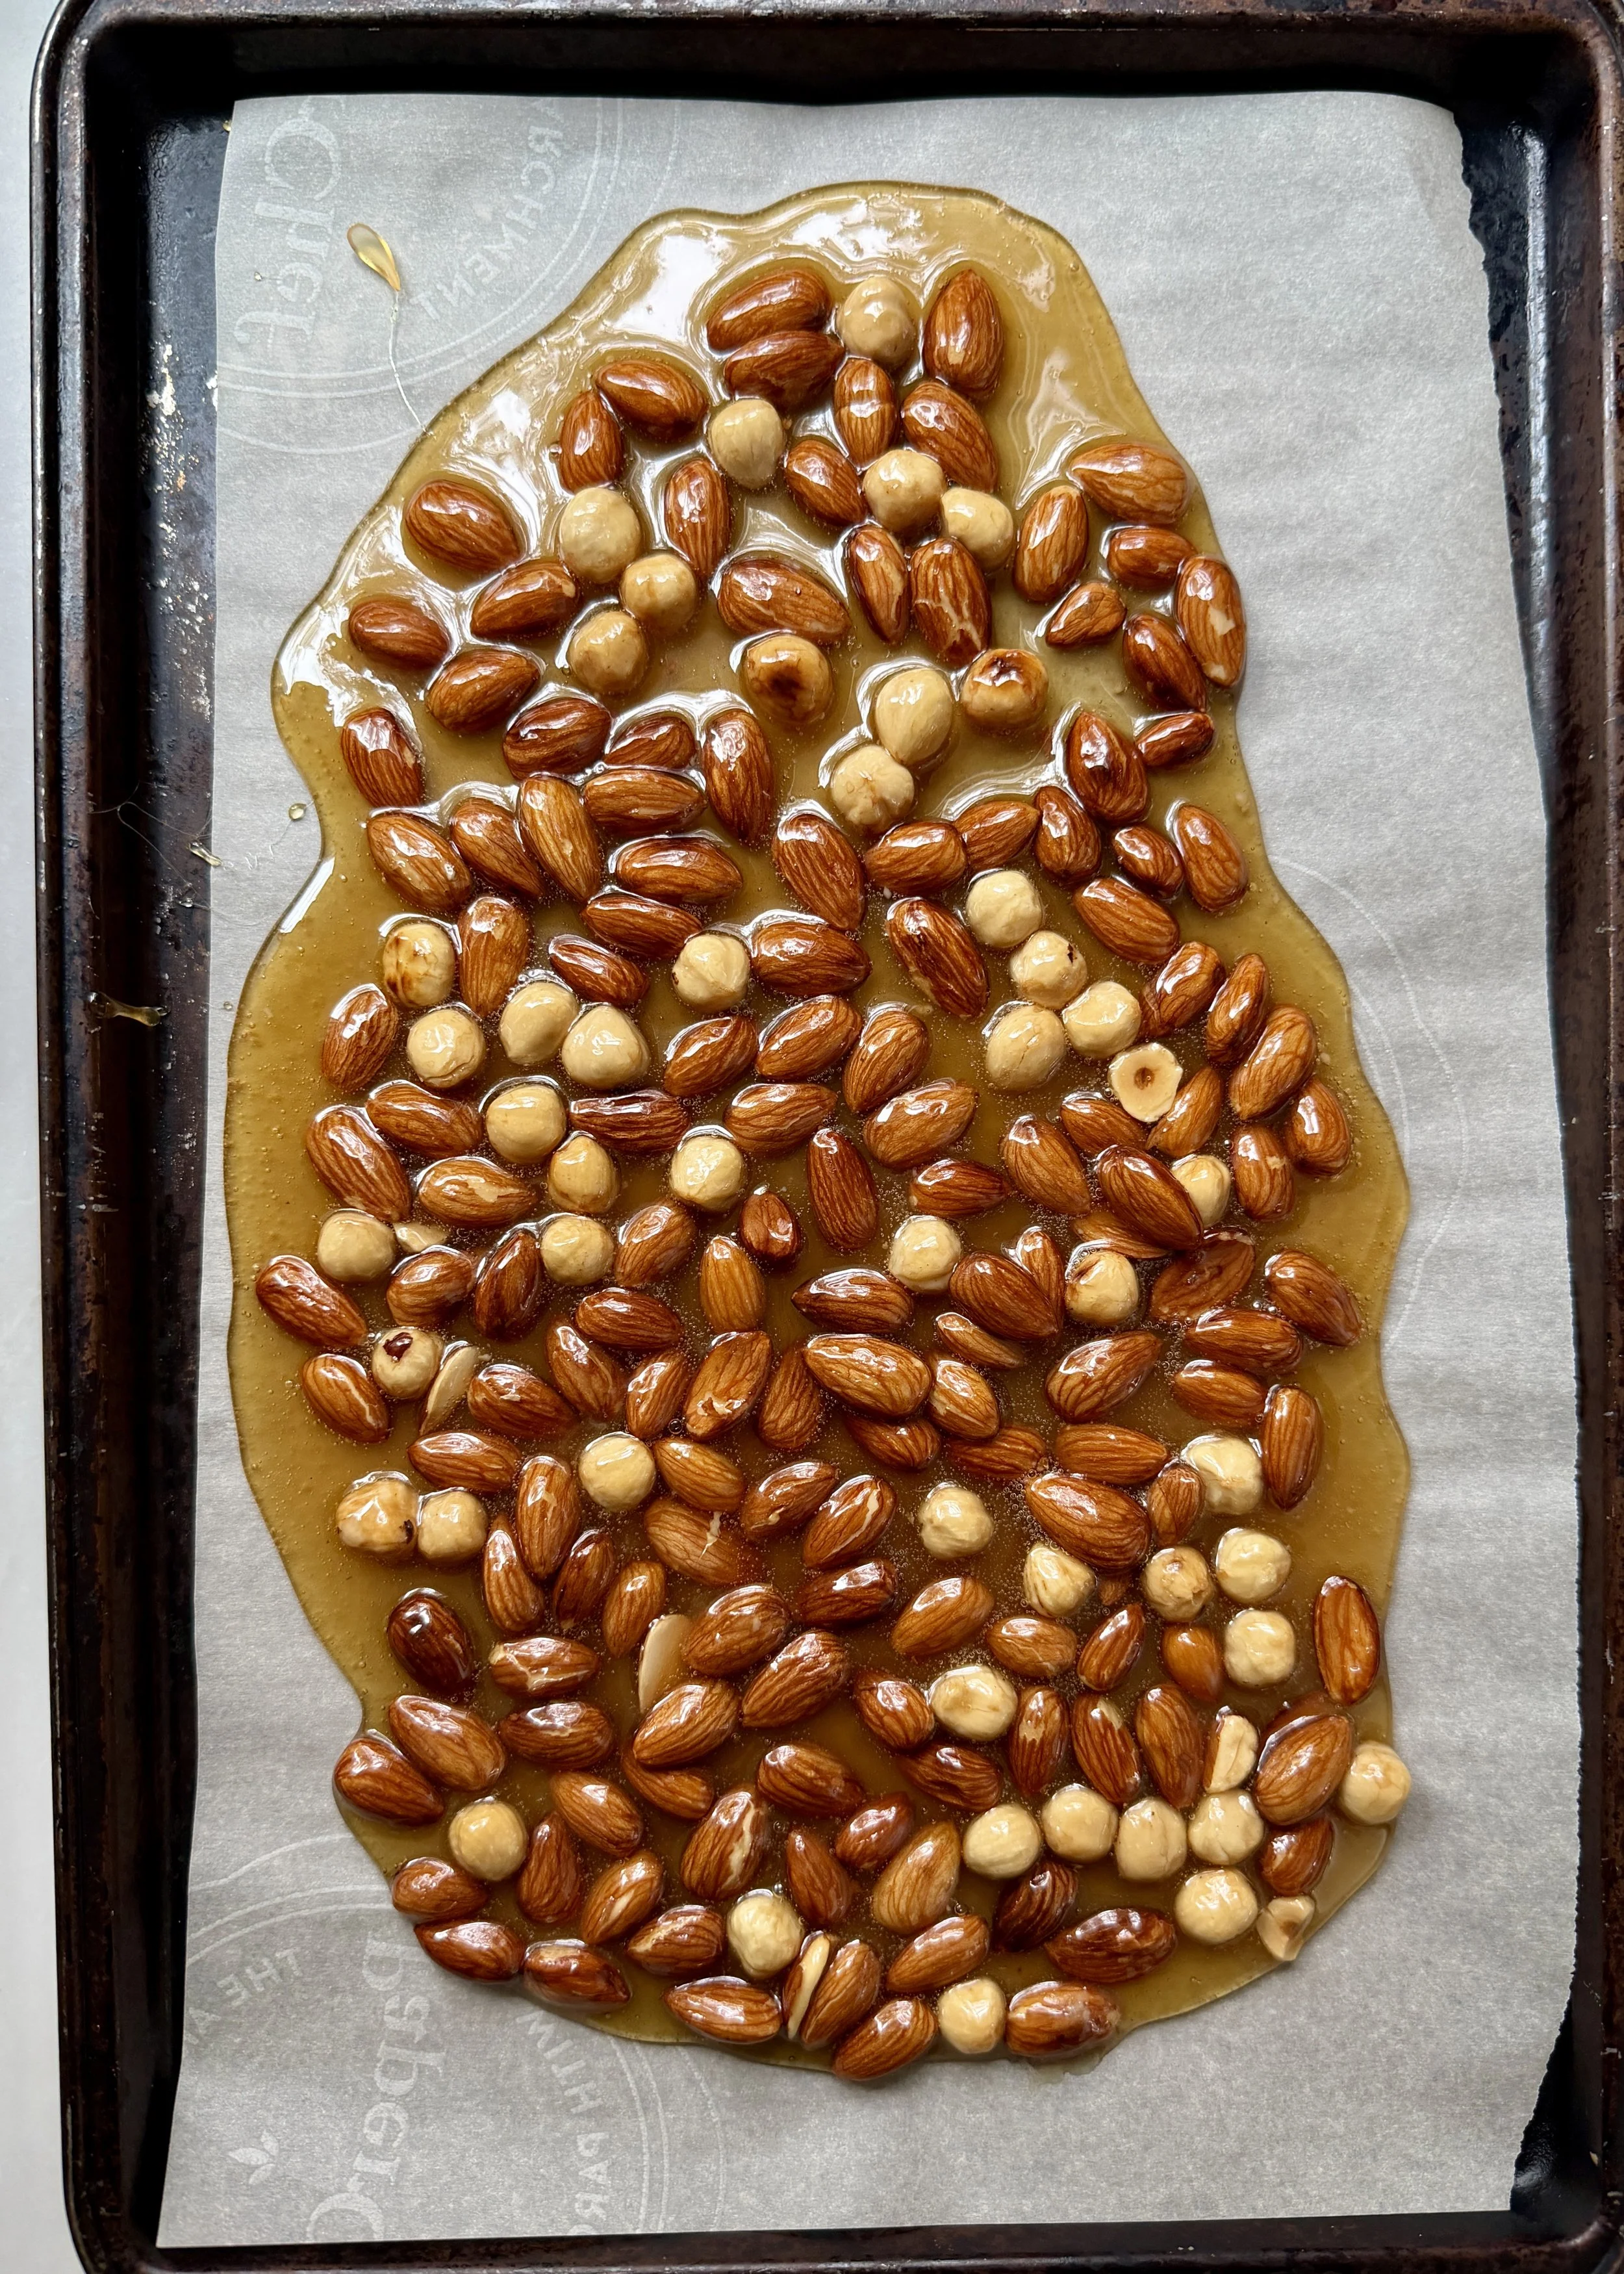
Whole raw skinless almonds and/or hazelnuts — Toasted and coated in caramel for the praline, then ground into a nutty powder for the filling and chopped for decoration.
Granulated sugar and water — Cooked into caramel.
Light corn syrup — Optional but helps a lot in preventing crystallization in the caramel.
Salt — Enhances the flavours
Dacquoise / Nut meringue layers
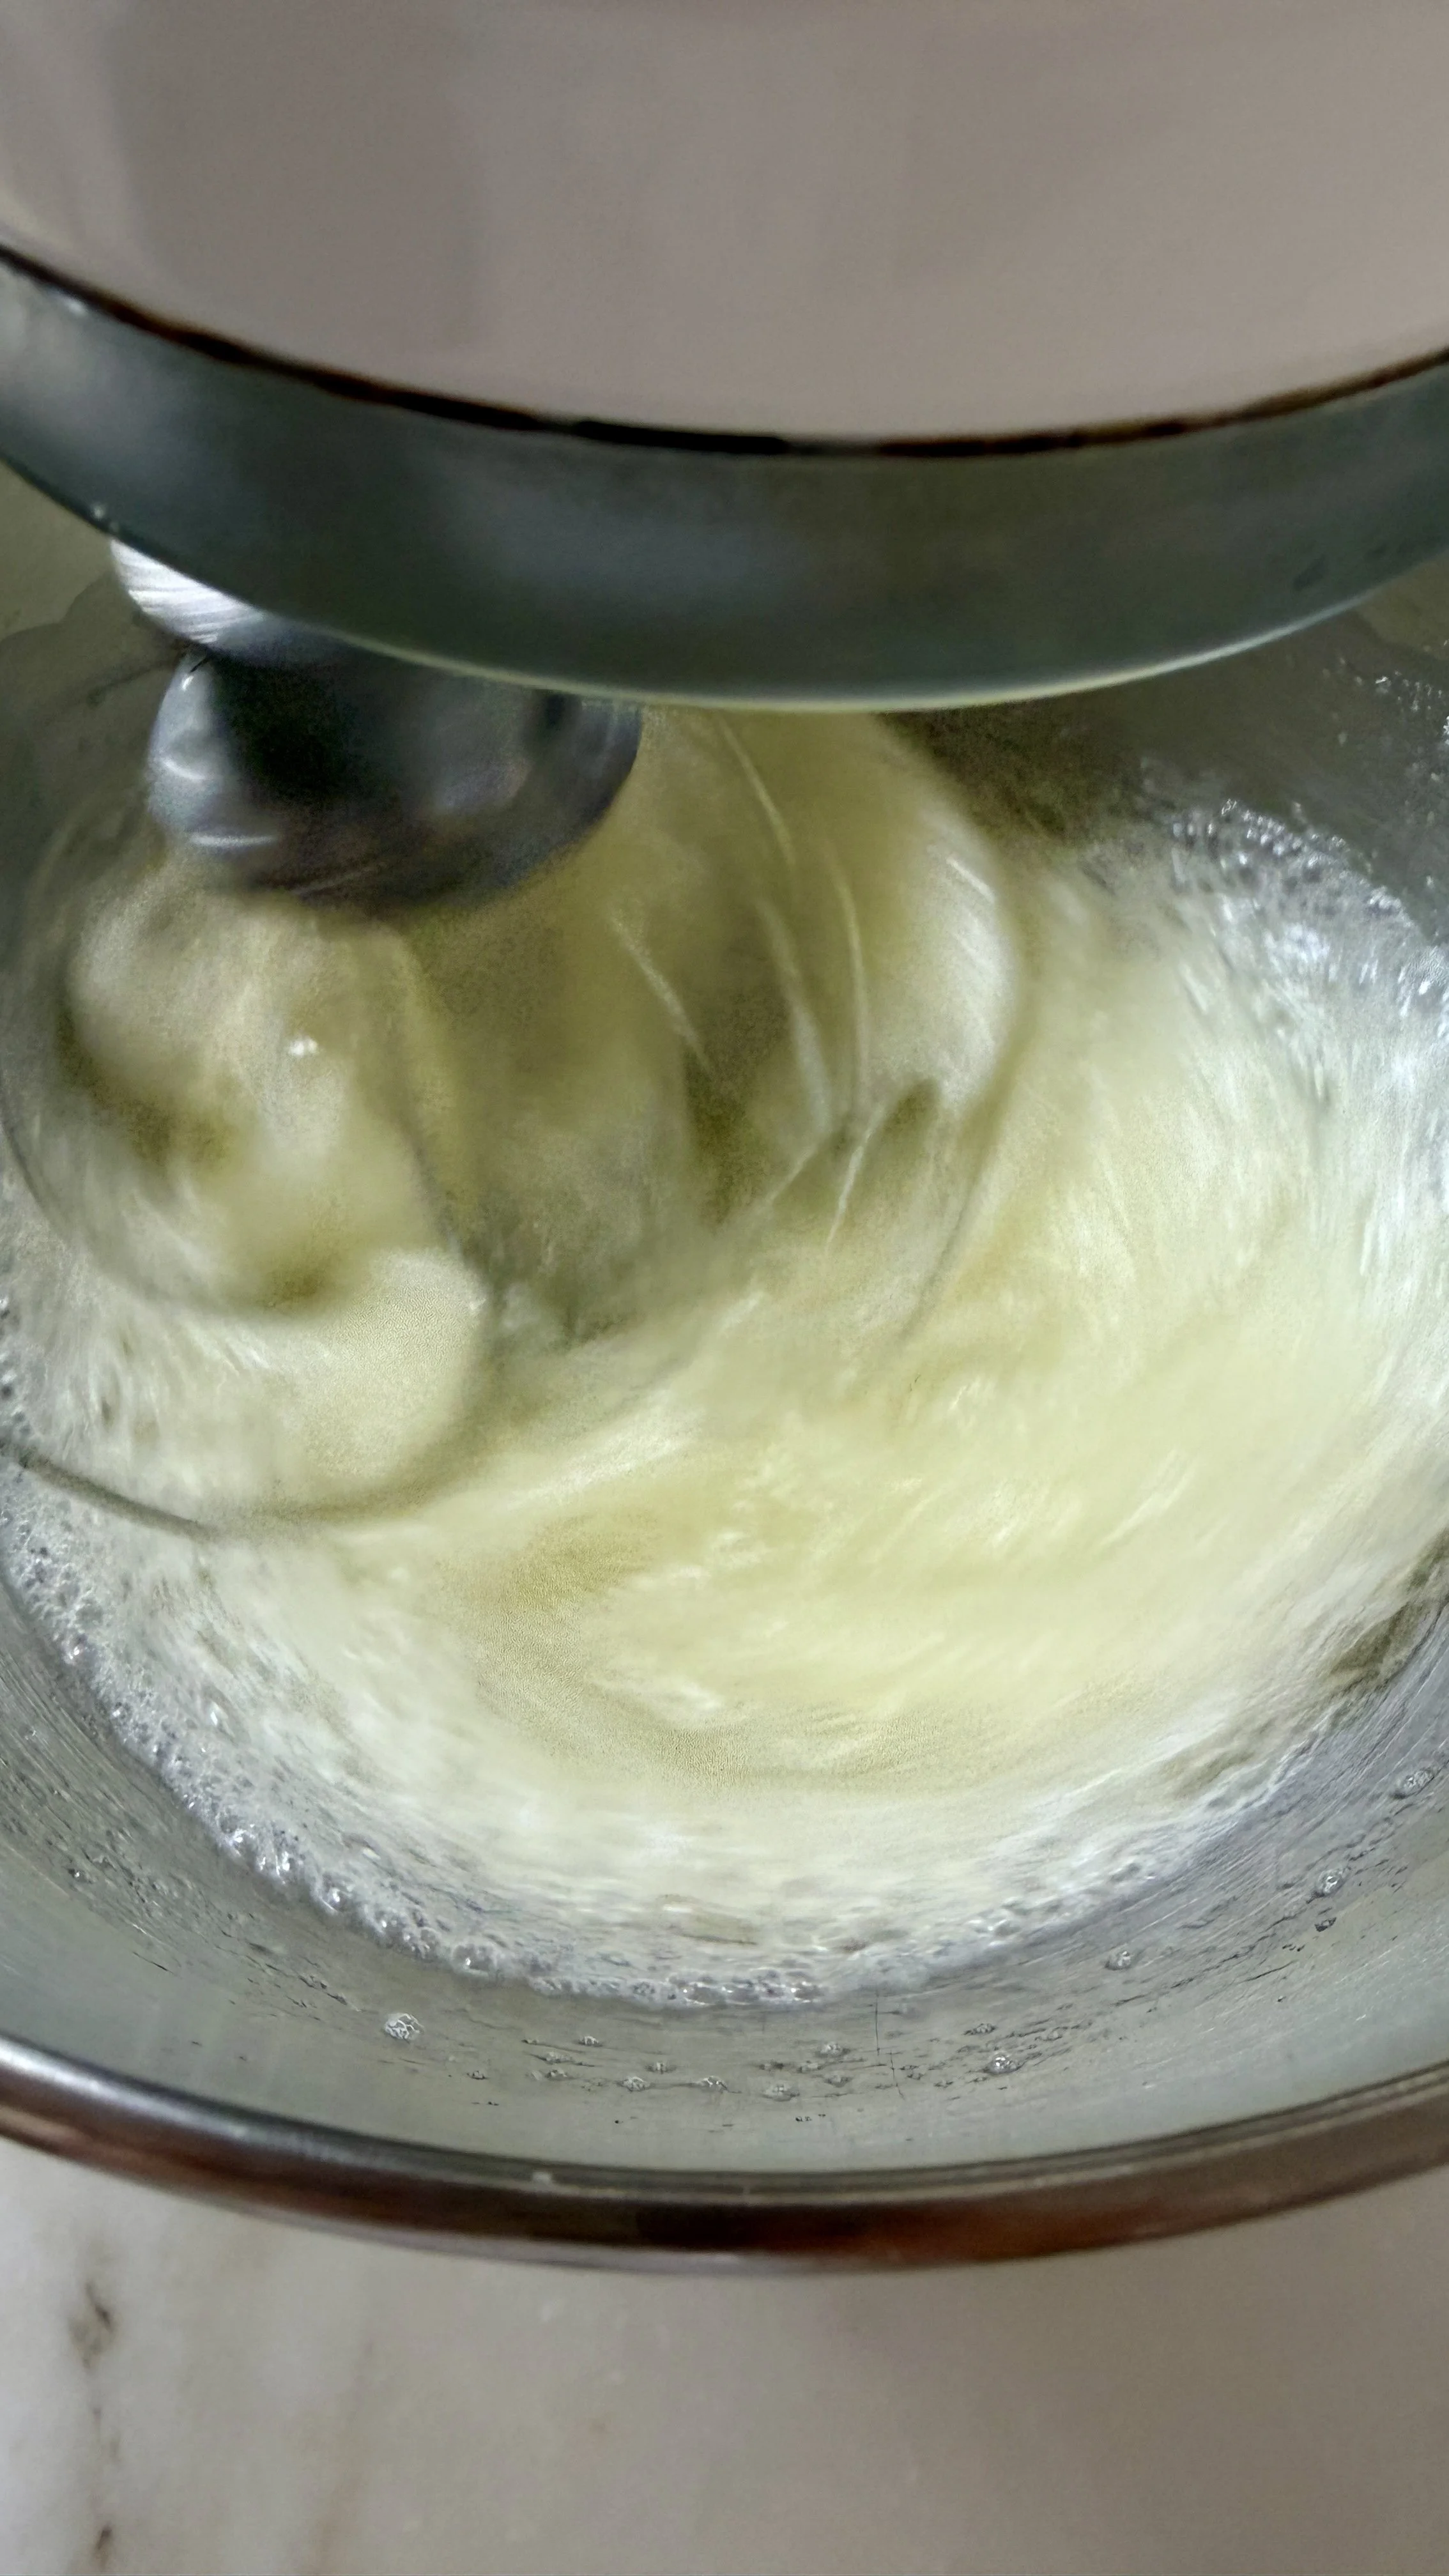
Egg whites — Whipped into a glossy meringue which forms the structure of the dacquoise layers.
Superfine sugar — Although it’s perfectly fine to use granulated sugar in meringues, I prefer using superfine sugar simply because it dissolves quicker and lowers the risk of over-whipping the meringue. If granulated is all you have, feel free to use that in the same quantity (by weight or volume).
Fine ground blanched almond flour — Folded into the meringue to create the classic nut meringue texture and flavour of dacquoise. “Blanched” means the almond skin has been removed.
Cream of tartar — a powder with an acidic pH that stabilizes whipped egg whites so the meringue holds its volume. If you don’t have it, substitute with another acid such as lemon juice or white vinegar.
Whipped Chocolate Ganache
Semi-sweet chocolate 55%-60% — Made into a rich chocolate ganache for the filling and outside frosting. Please read Tips & FAQs about types of chocolate to use and helpful tips to prevent ganache from splitting or getting grainy.
Heavy cream 35% — Stirred into melted chocolate to create a silky smooth ganache. Don’t use anything with less fat than 35% for the ganache or it may not set properly.
Light corn syrup — Optionally added to the chocolate ganache for a slightly shinier finish.
Vanilla extract or vanilla paste — Makes the ganache taste better.
Salt — Enhances the flavours
Vanilla Pastry Cream
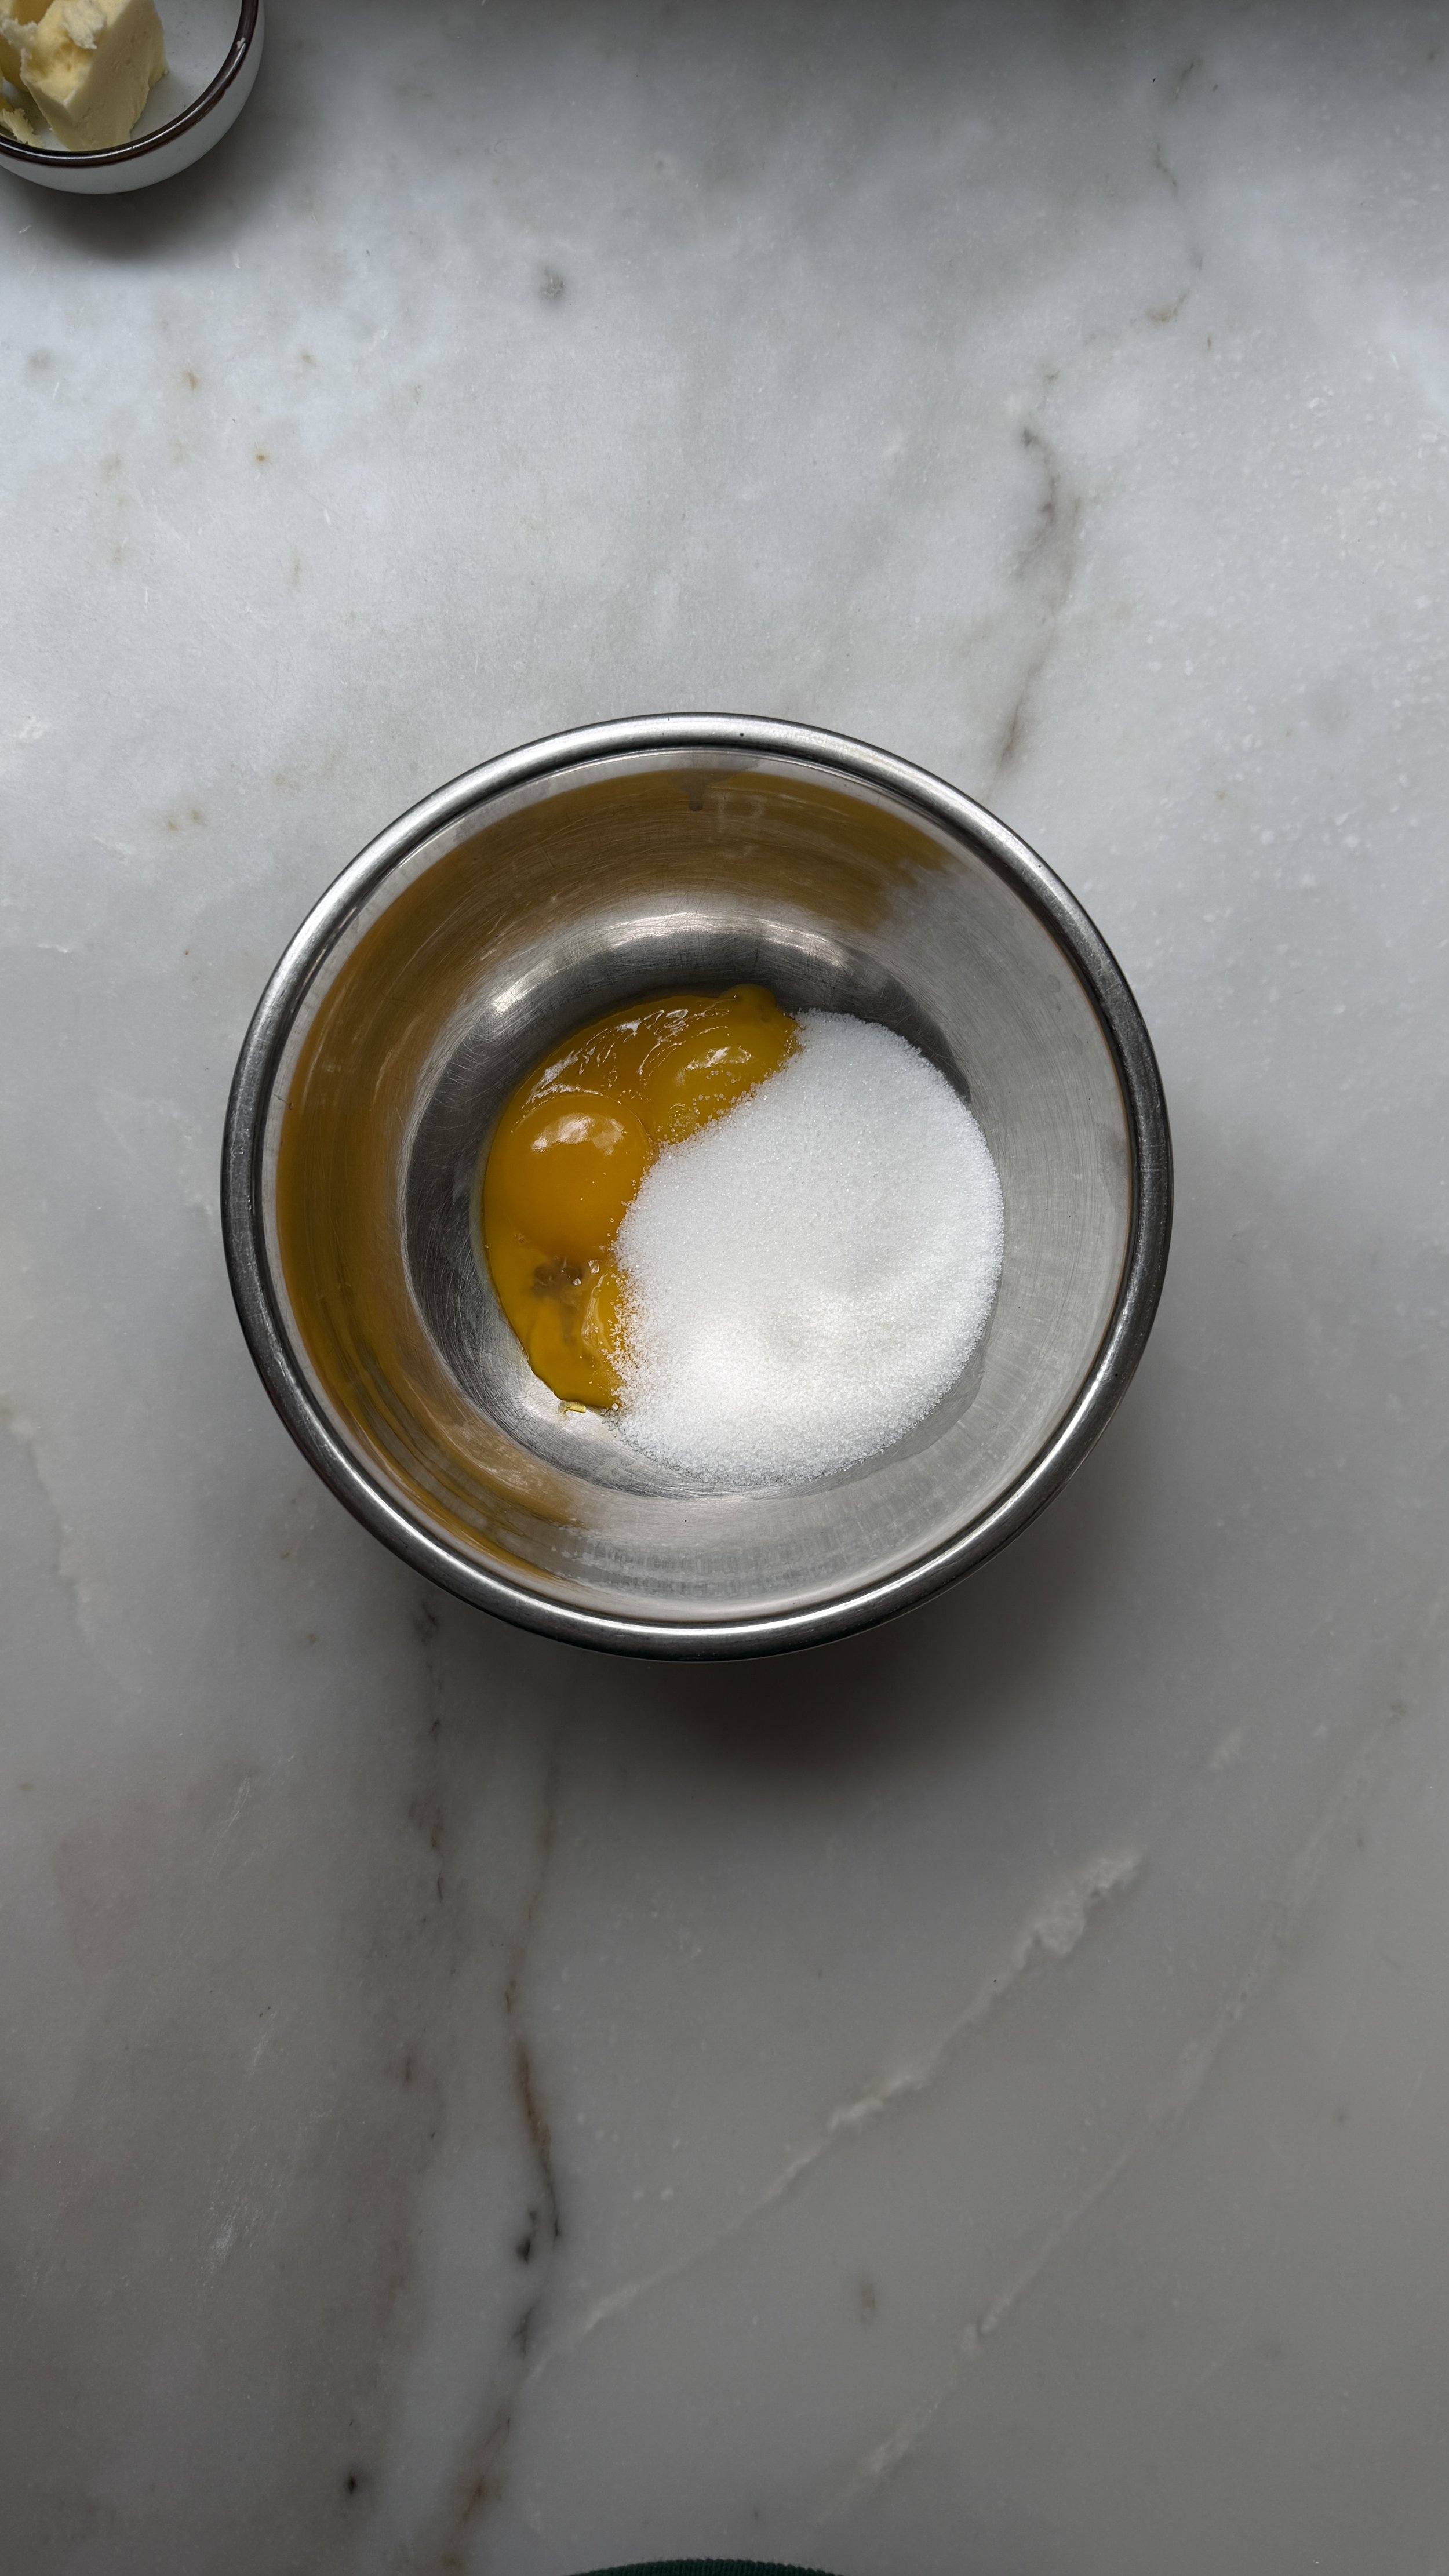
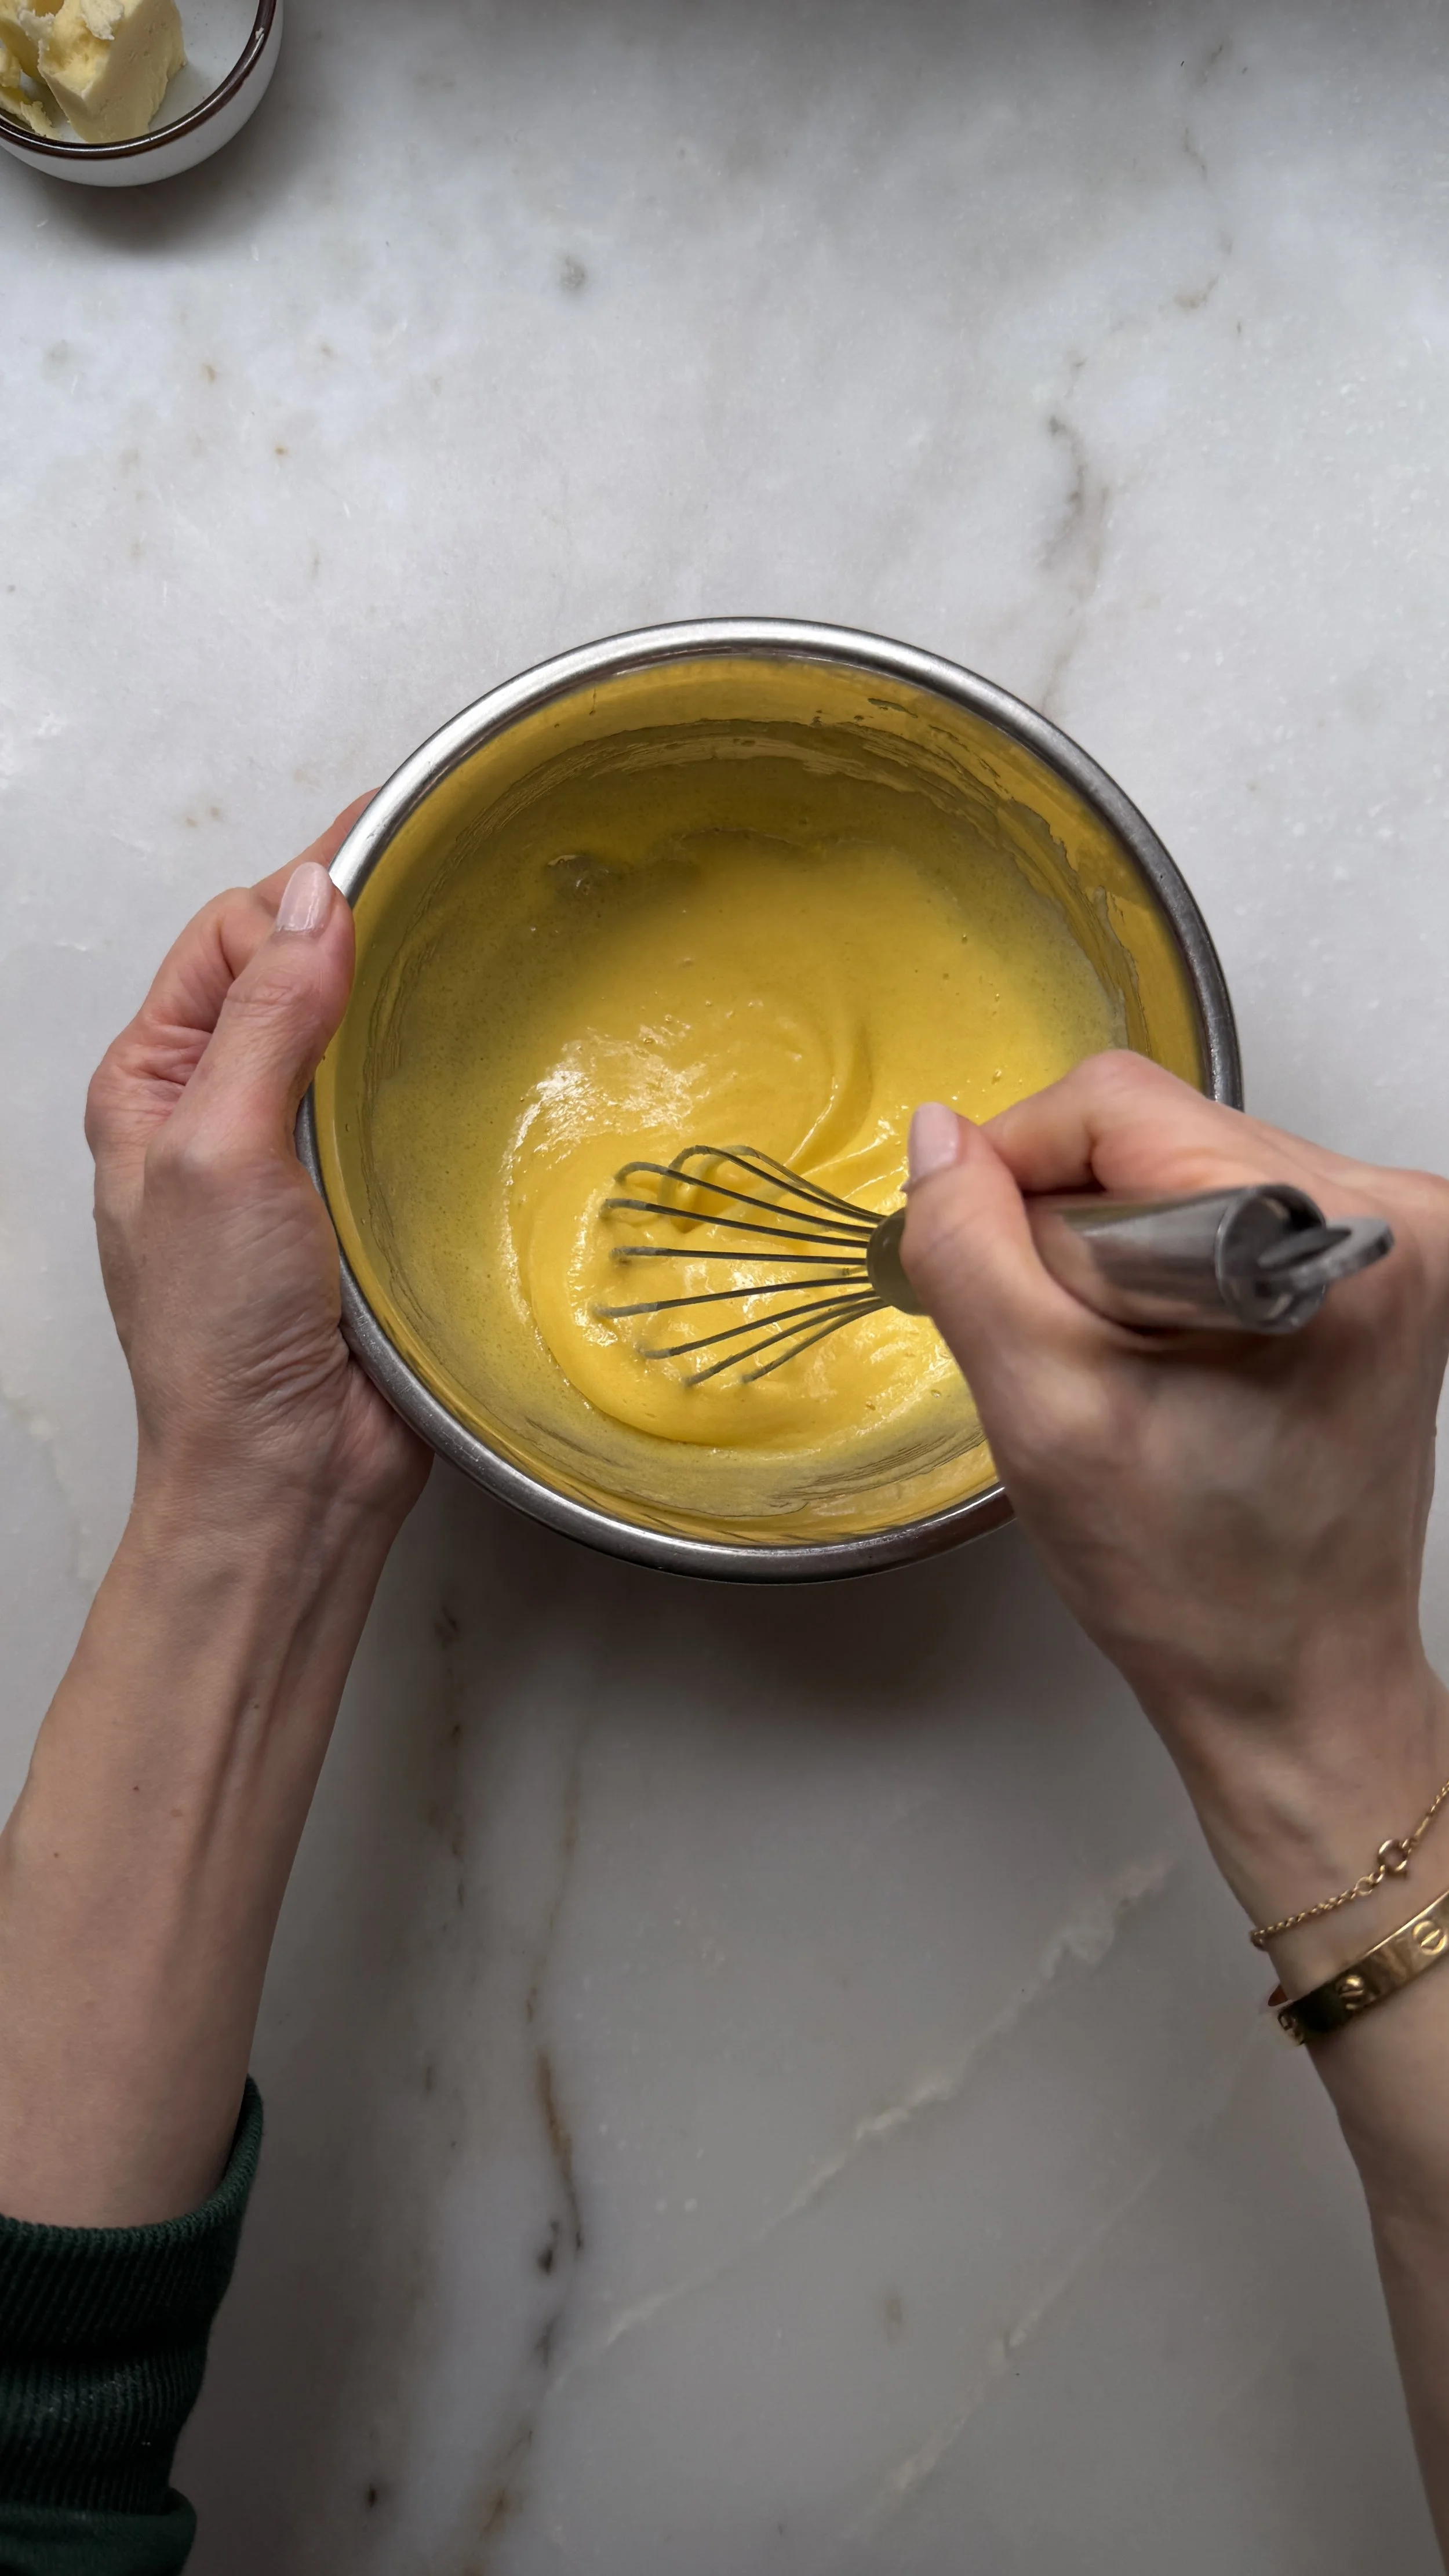
Egg yolks — Provide richness and thickening power for the pastry cream.
Granulated sugar
Cornstarch — Thickens pastry cream for stable layers in the cake.
2% or whole milk — Forms the creamy base of the pastry cream.
Unsalted butter — Whisked into the pastry cream for richness and silky texture.
Vanilla extract or vanilla paste — Flavours the pastry cream.
Salt — Enhances the flavours
Ganache Drip
Semi-sweet chocolate 55%-60%
Heavy cream 35%
Steps at a glance:
How to make Dacquoise with Chocolate and Praline Cream
Scroll down to recipe card for full printable recipe with measurements.
Make praline:
Lightly toast nuts in the oven. Cook sugar syrup and coat the nuts. Cool. Grind into something between a crumble and a powder (traditionally it is a fine powder but I prefer more texture in the final cake). Chop a handful of praline for decorating the cake (see small ramekin pictured below for coarseness).
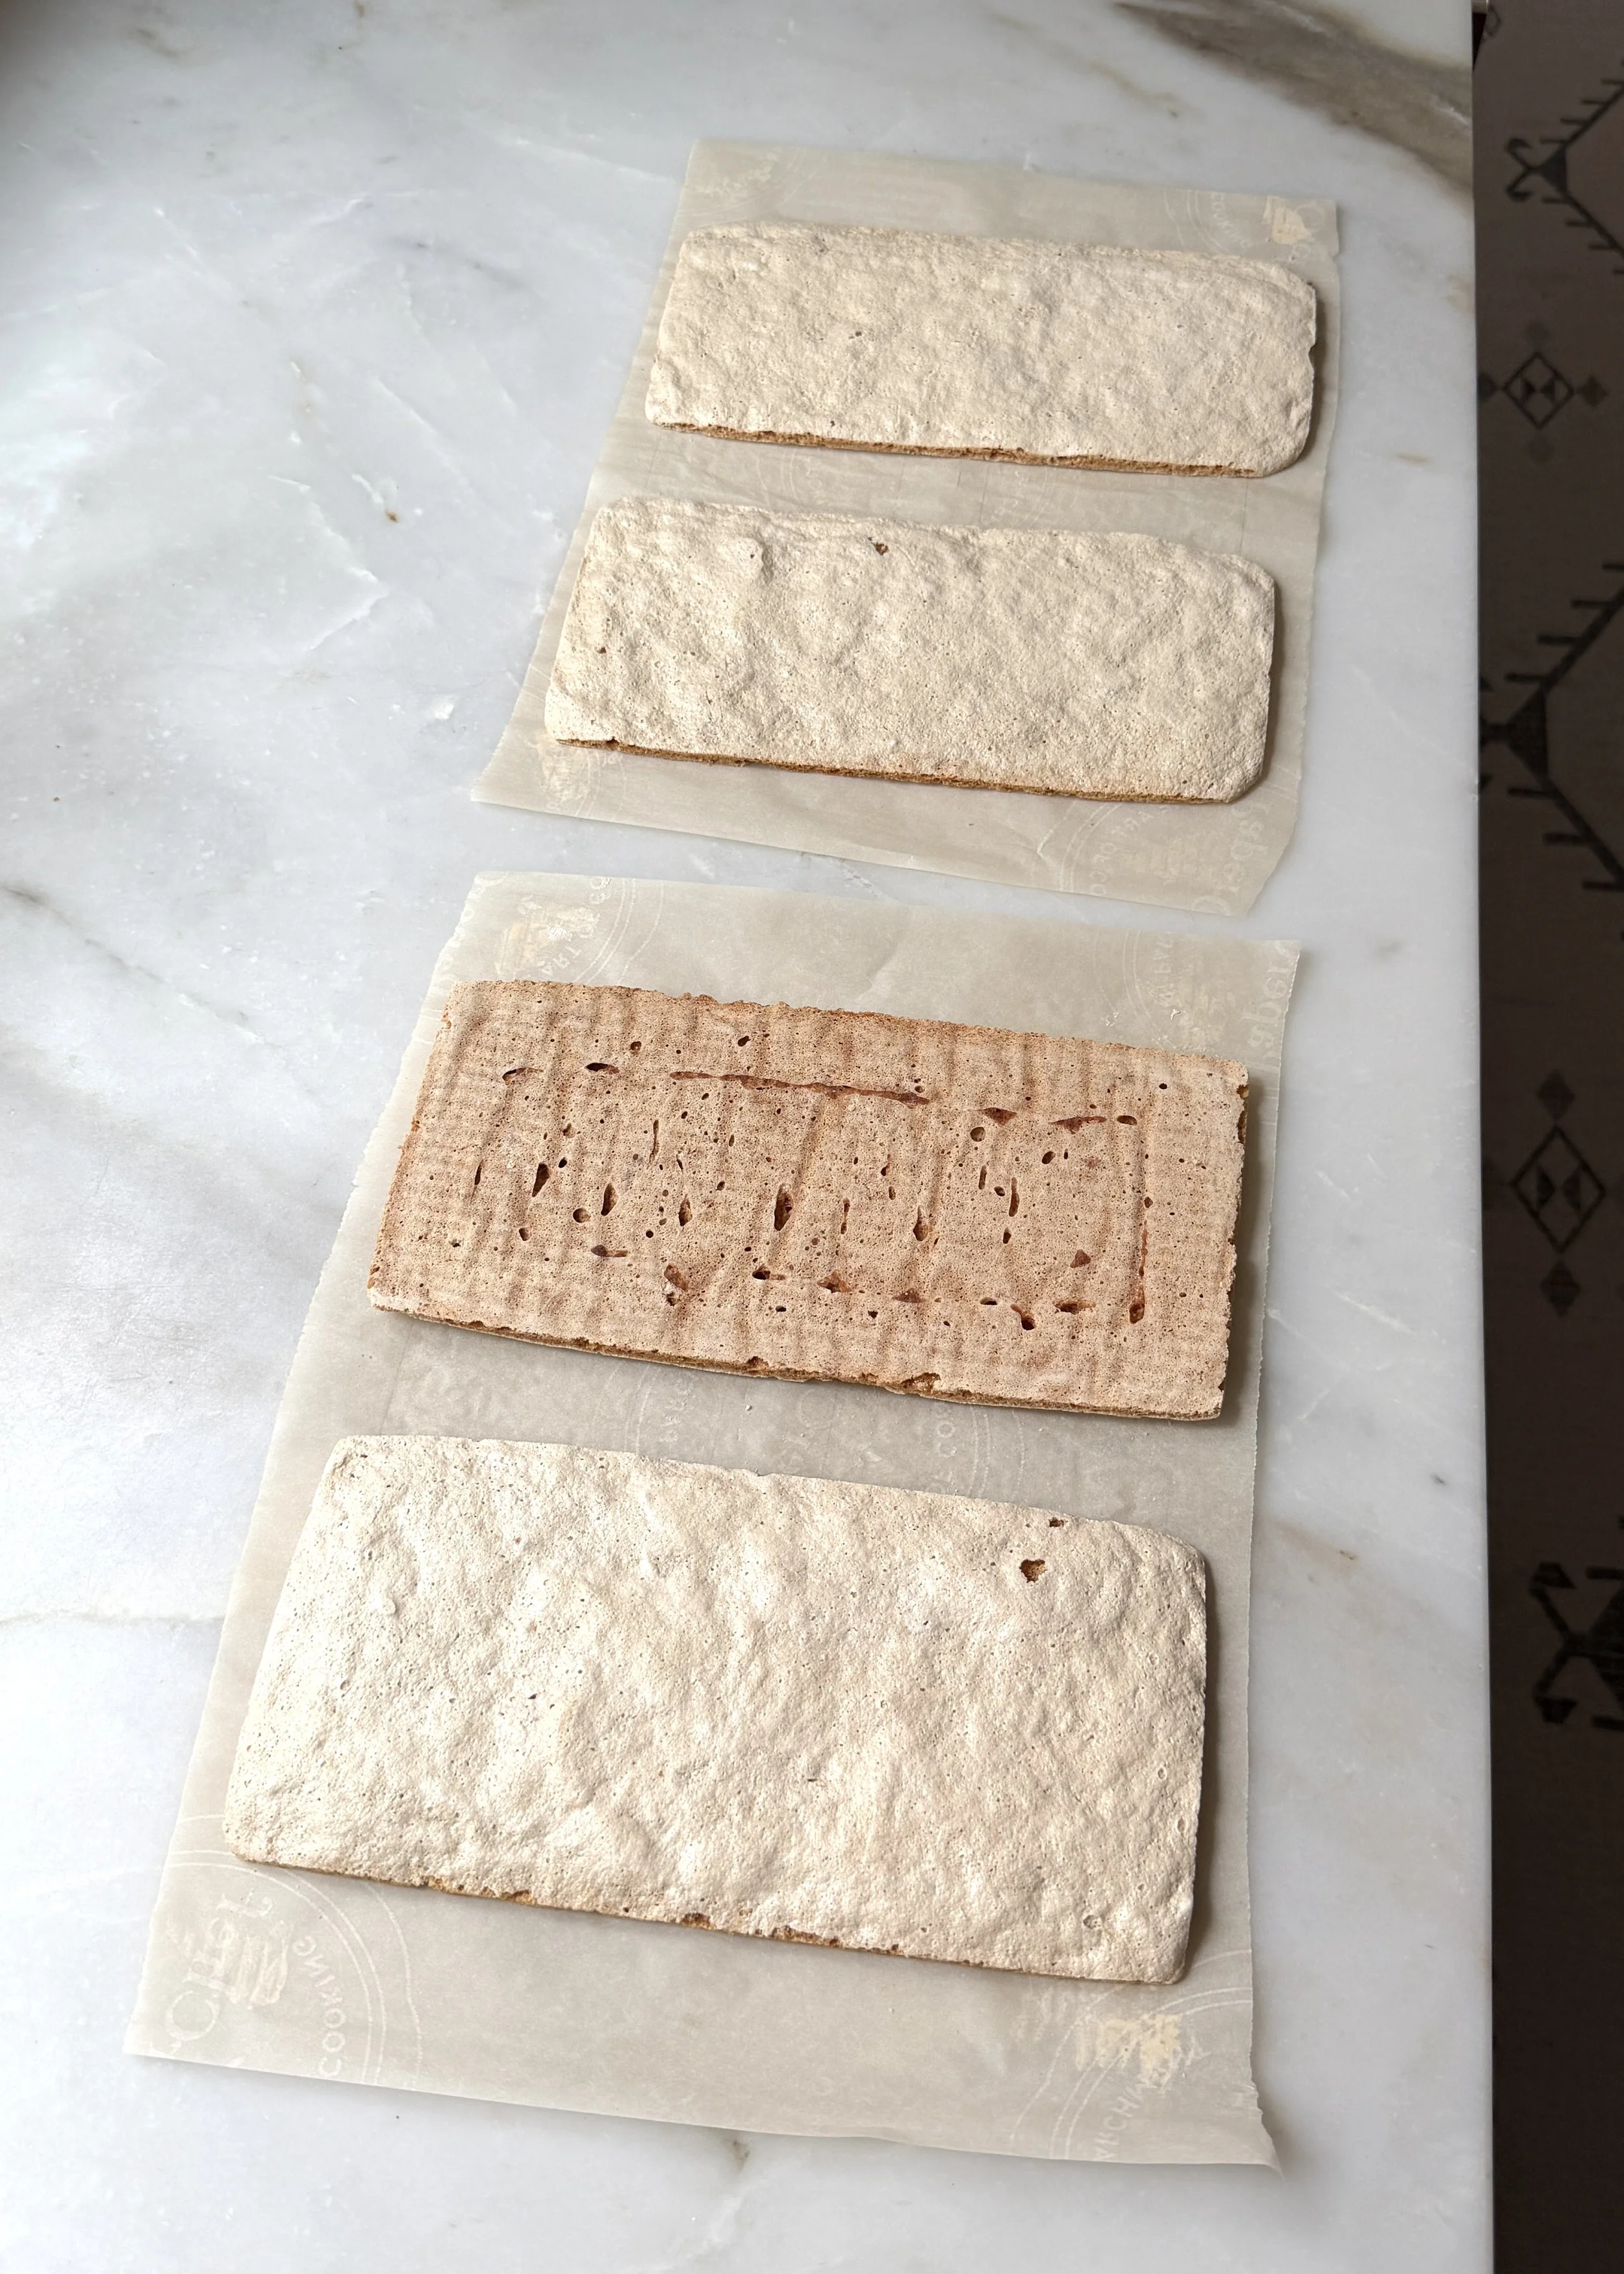
Bake dacquoise/nut meringue layers:
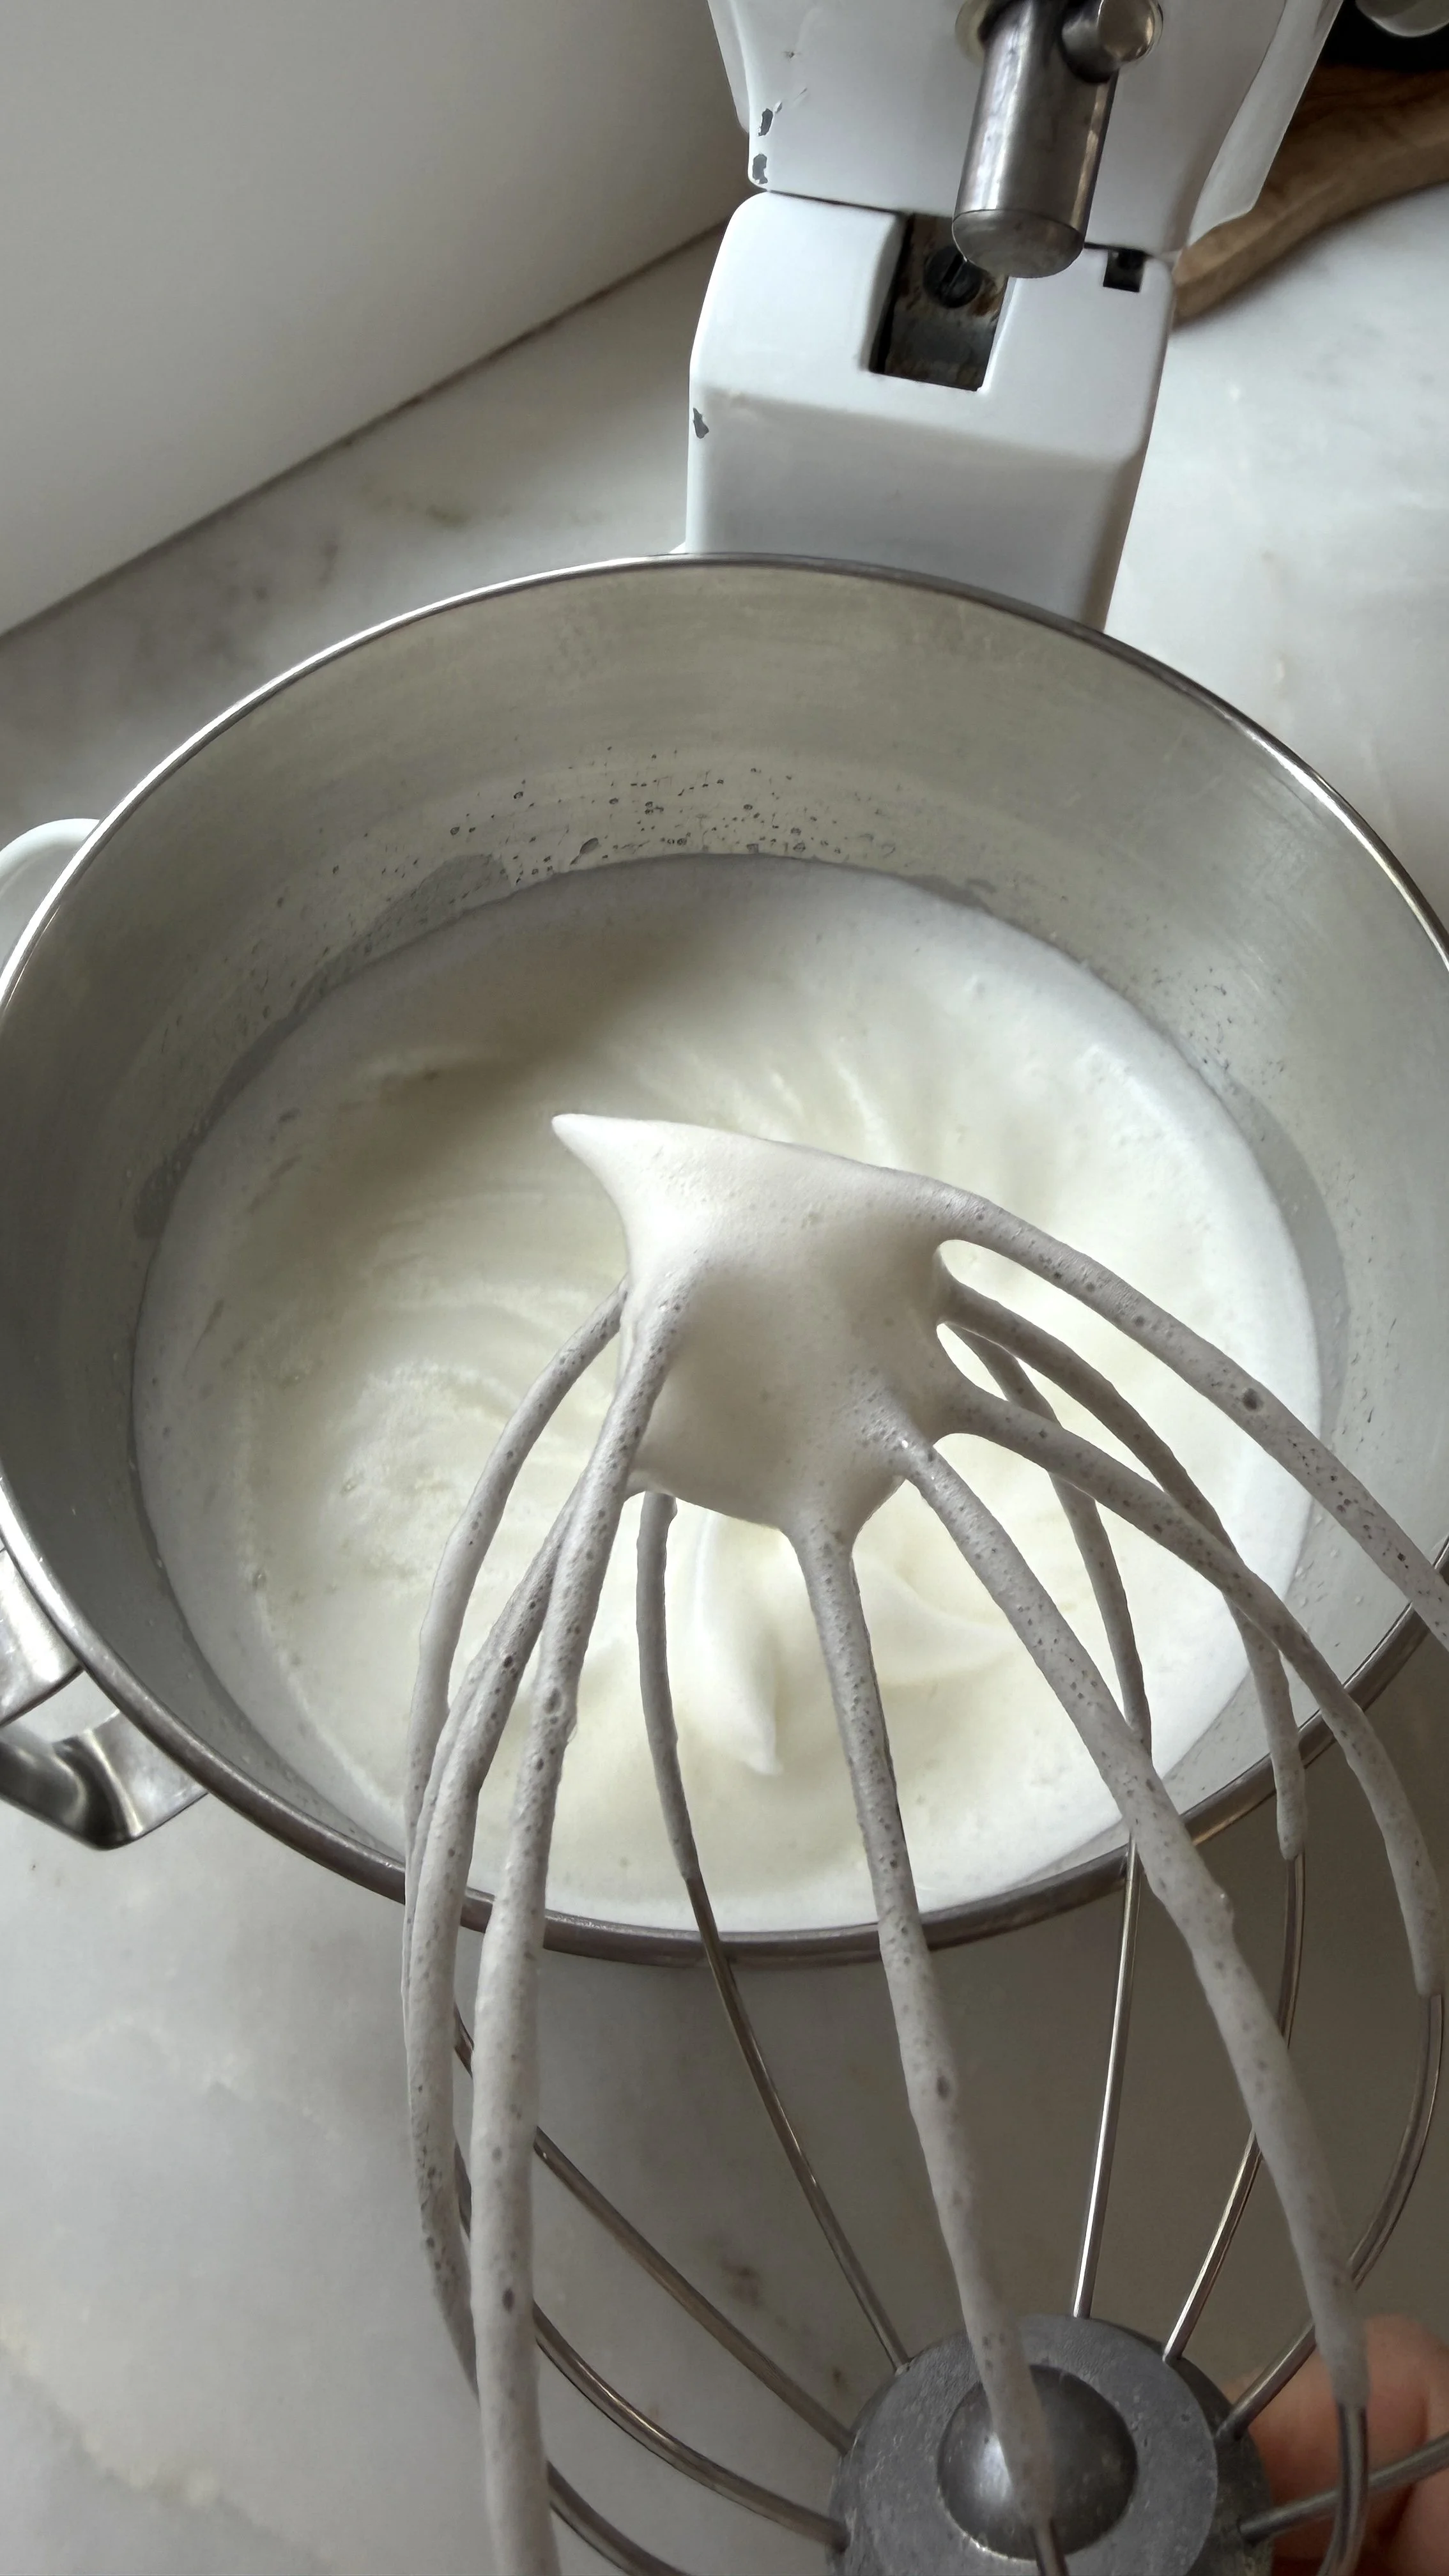
Whip egg whites and cream of tartar to soft peak stage, where it holds a peak but droops back down onto itself.
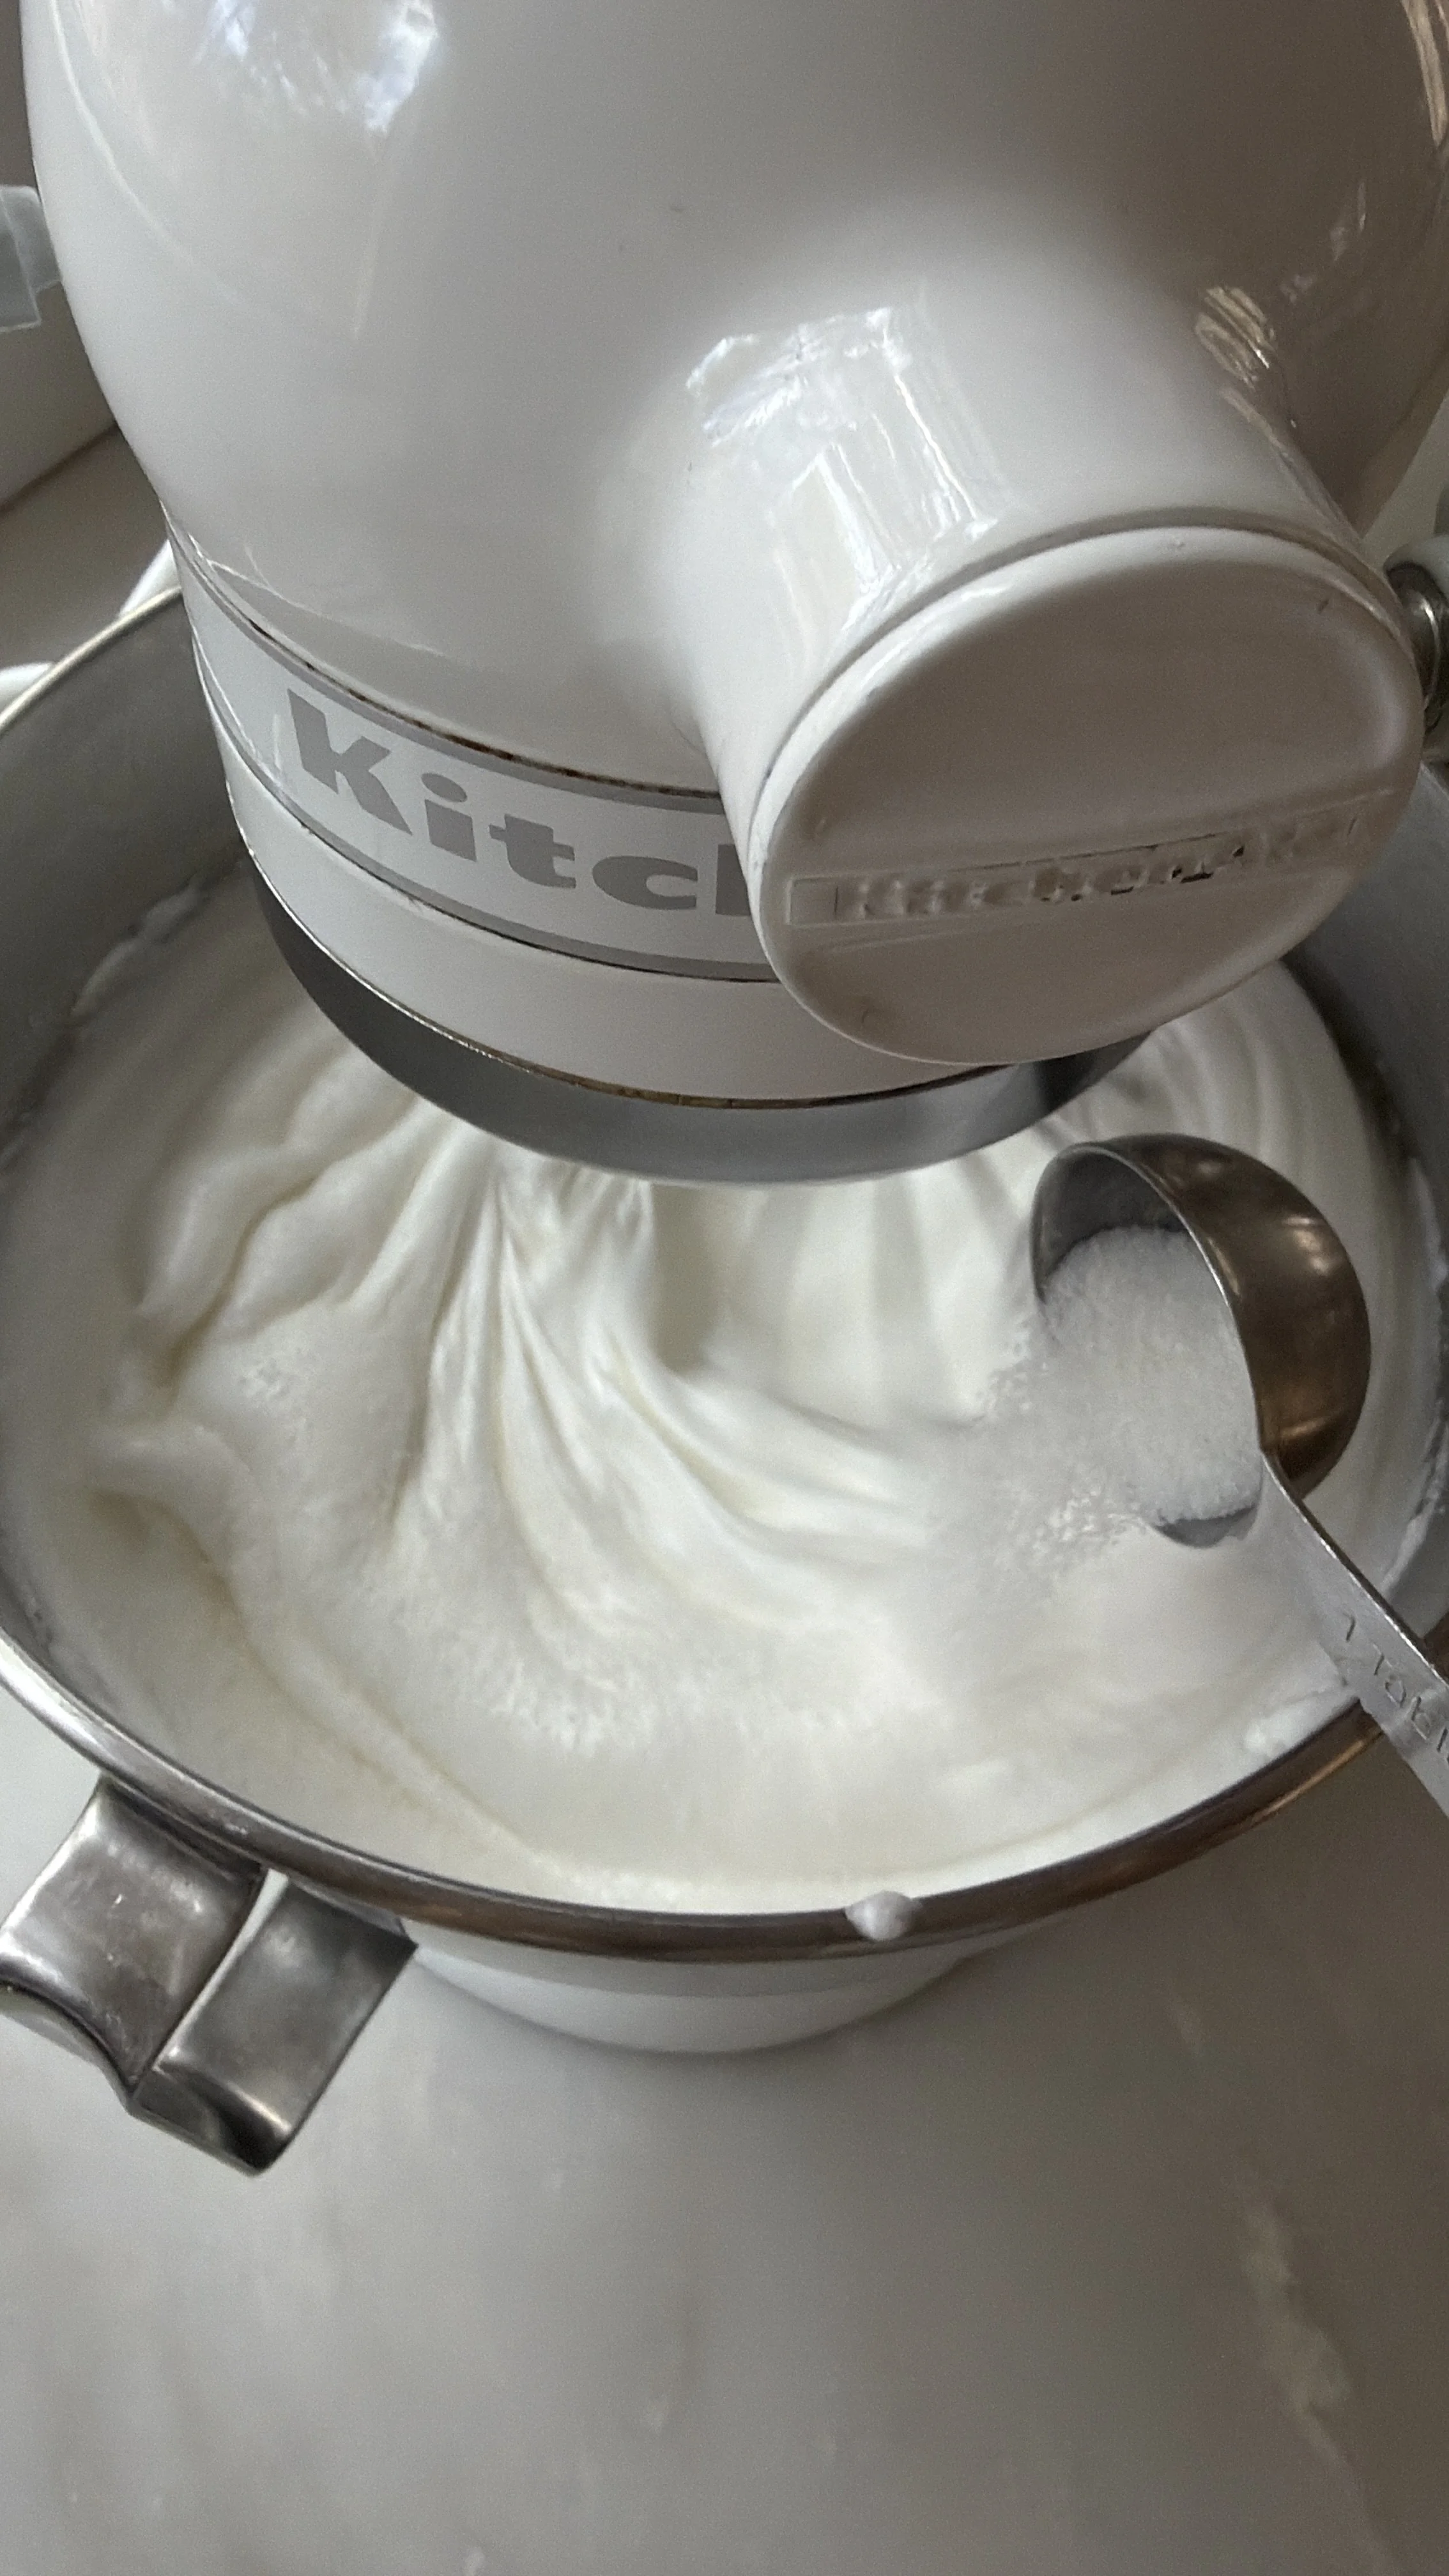
Add sugar by the tablespoon while running the mixer.
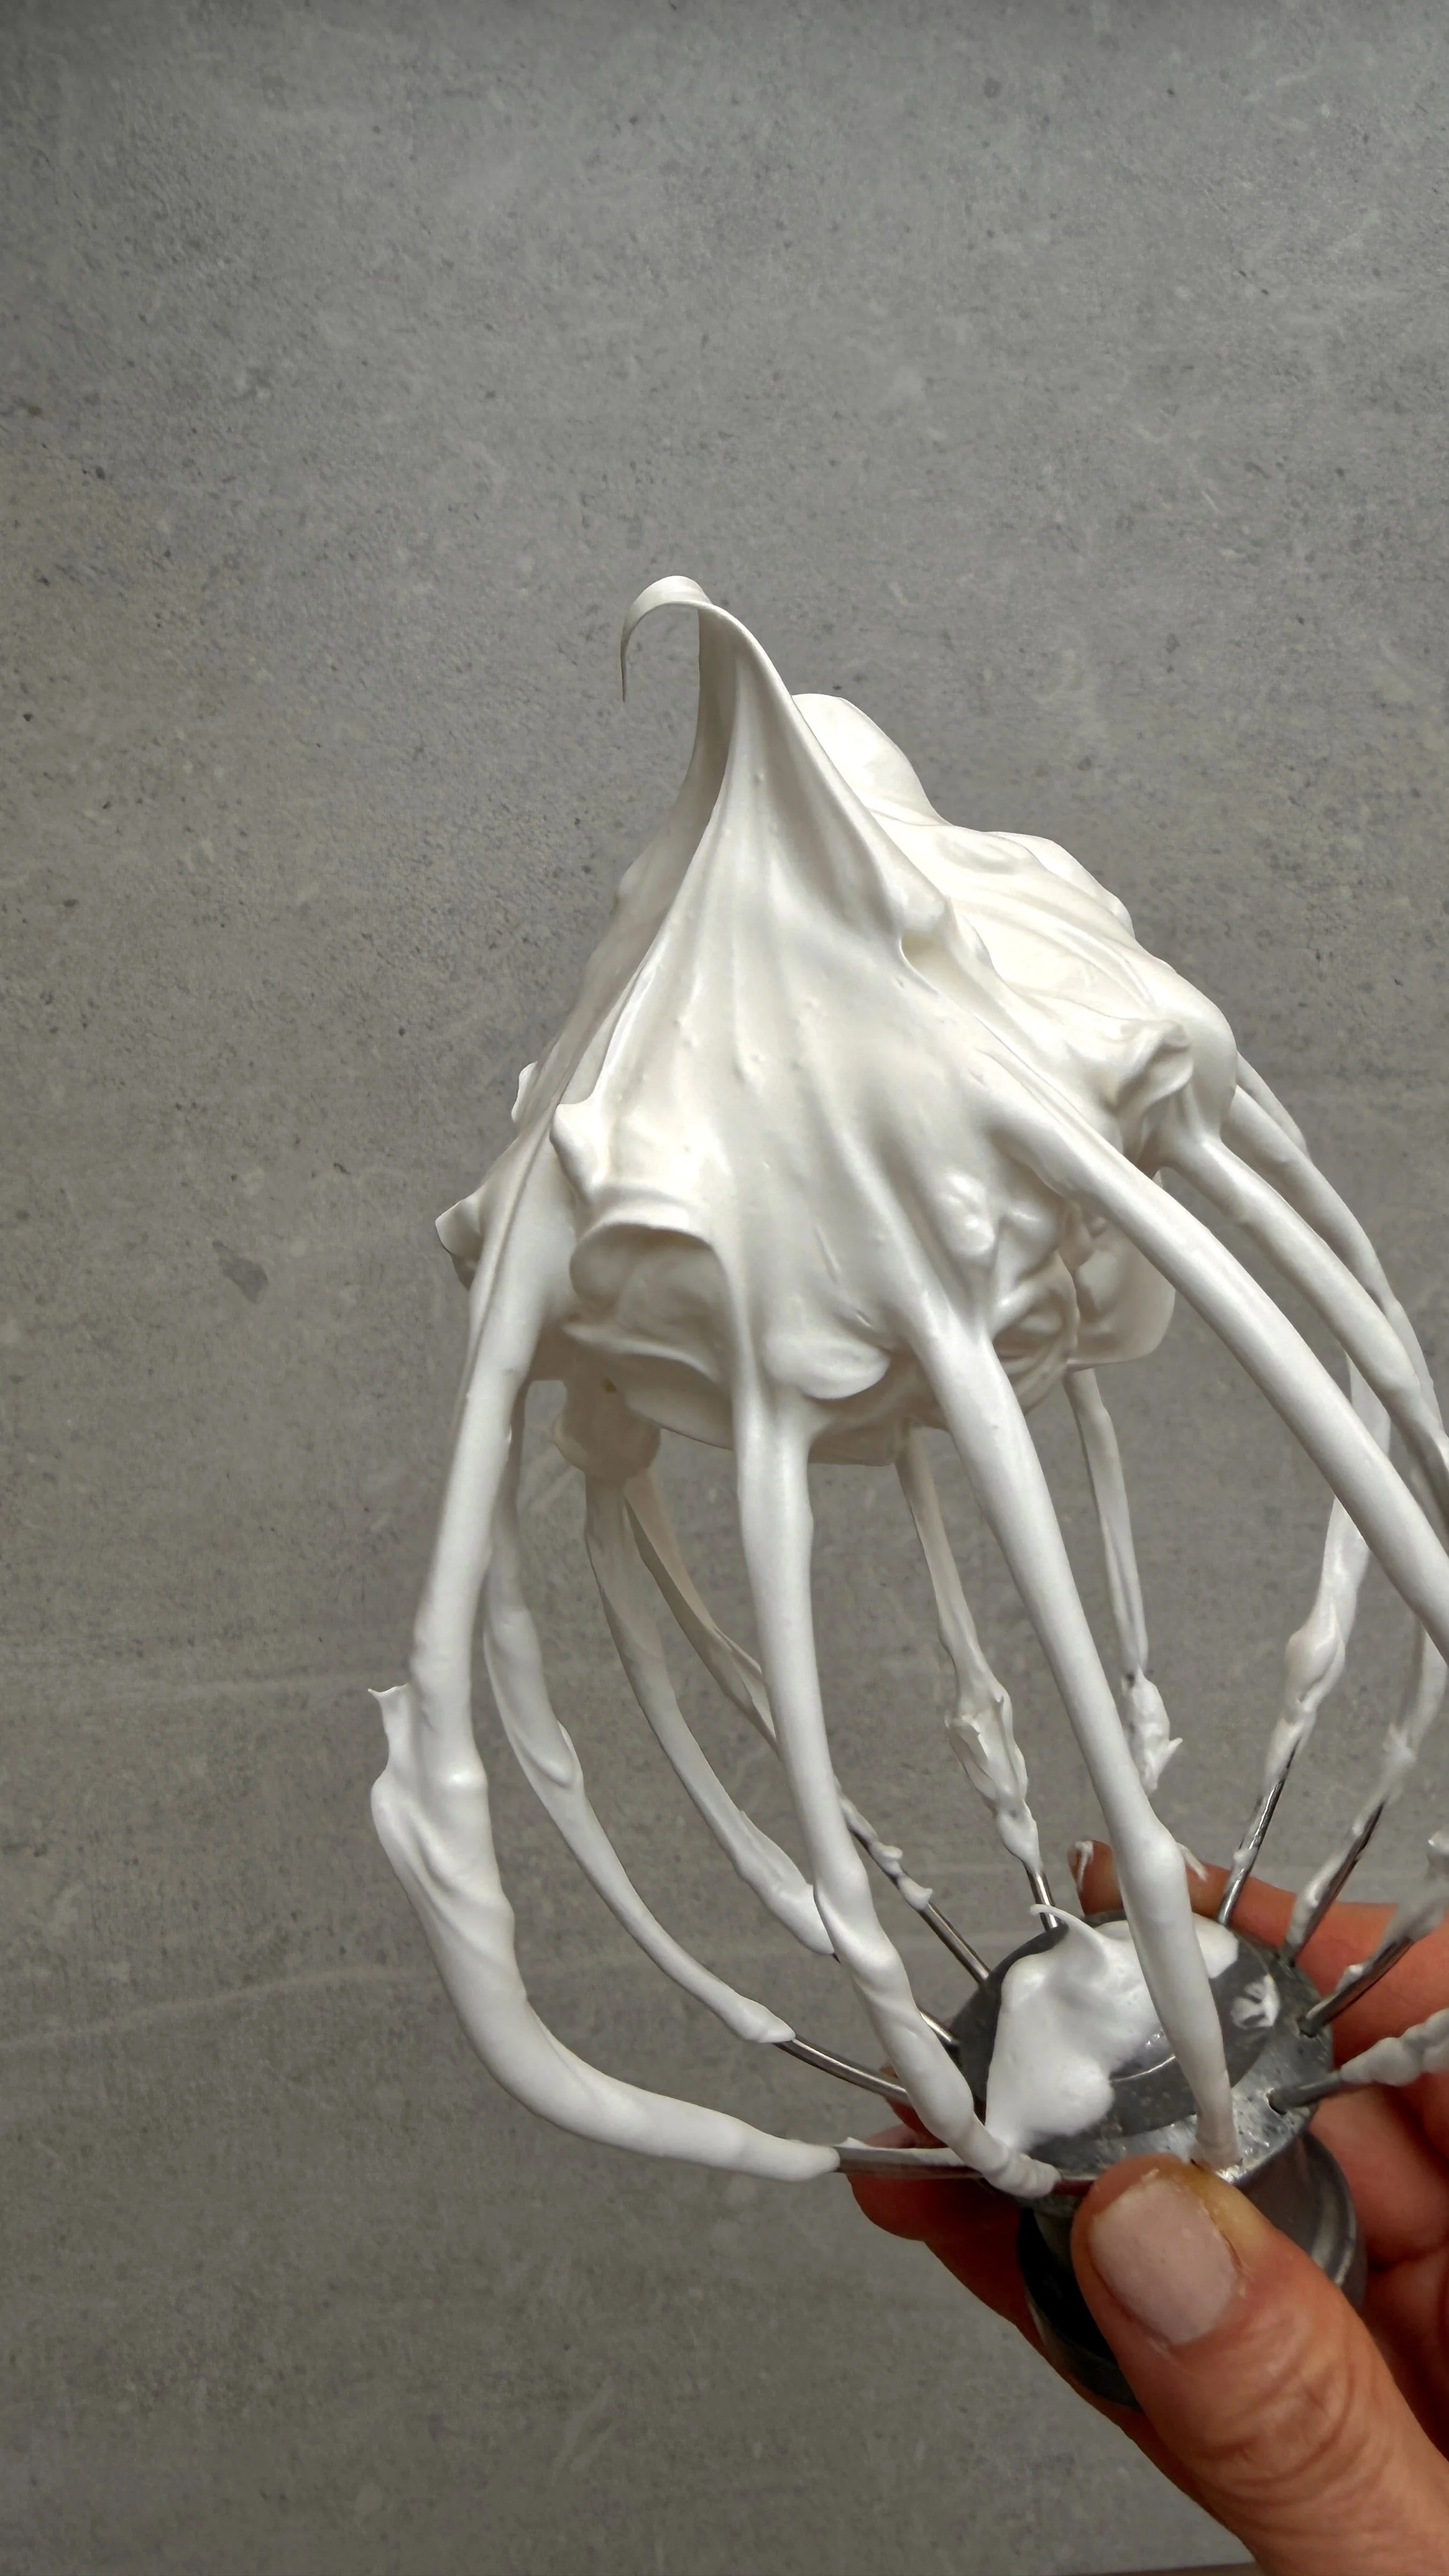
After all sugar has been added, whip on high into a glossy meringue and holds a stiff peak.
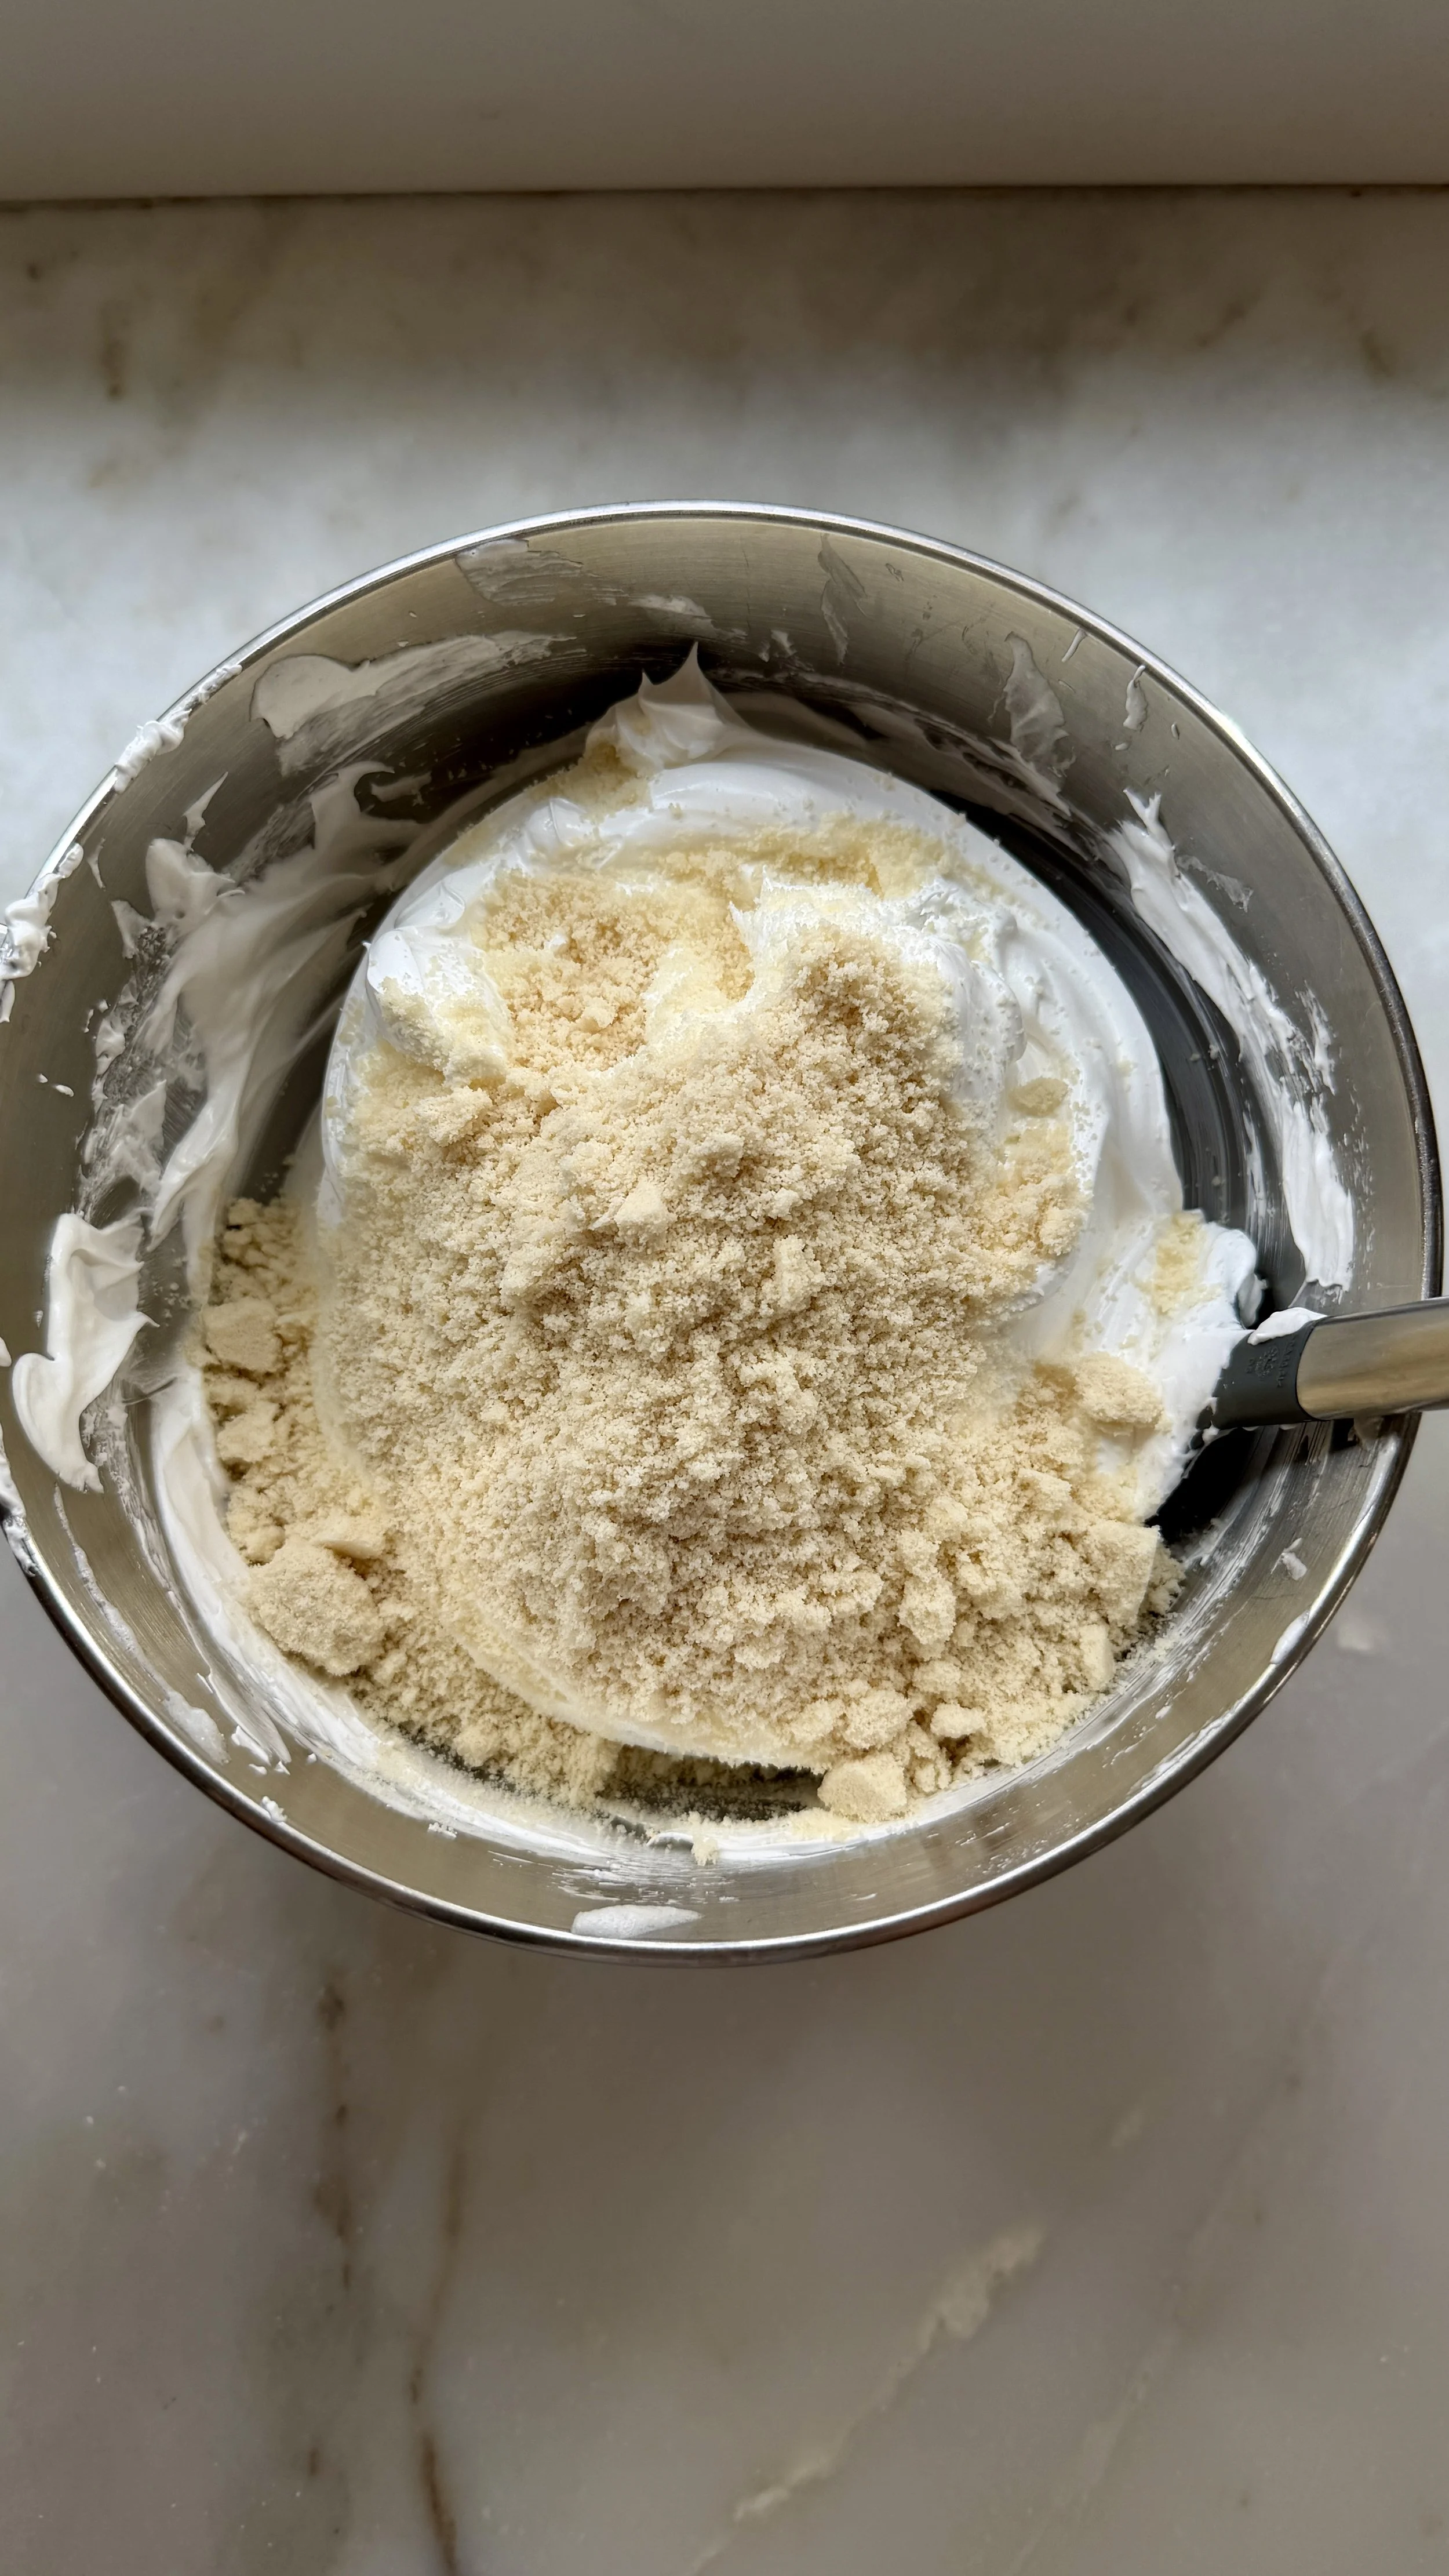
Add almond flour in 2 to 3 additions and fold into meringue. Try not to deflate the meringue but it is normal for the mixture to get looser once the nut flour has been added.

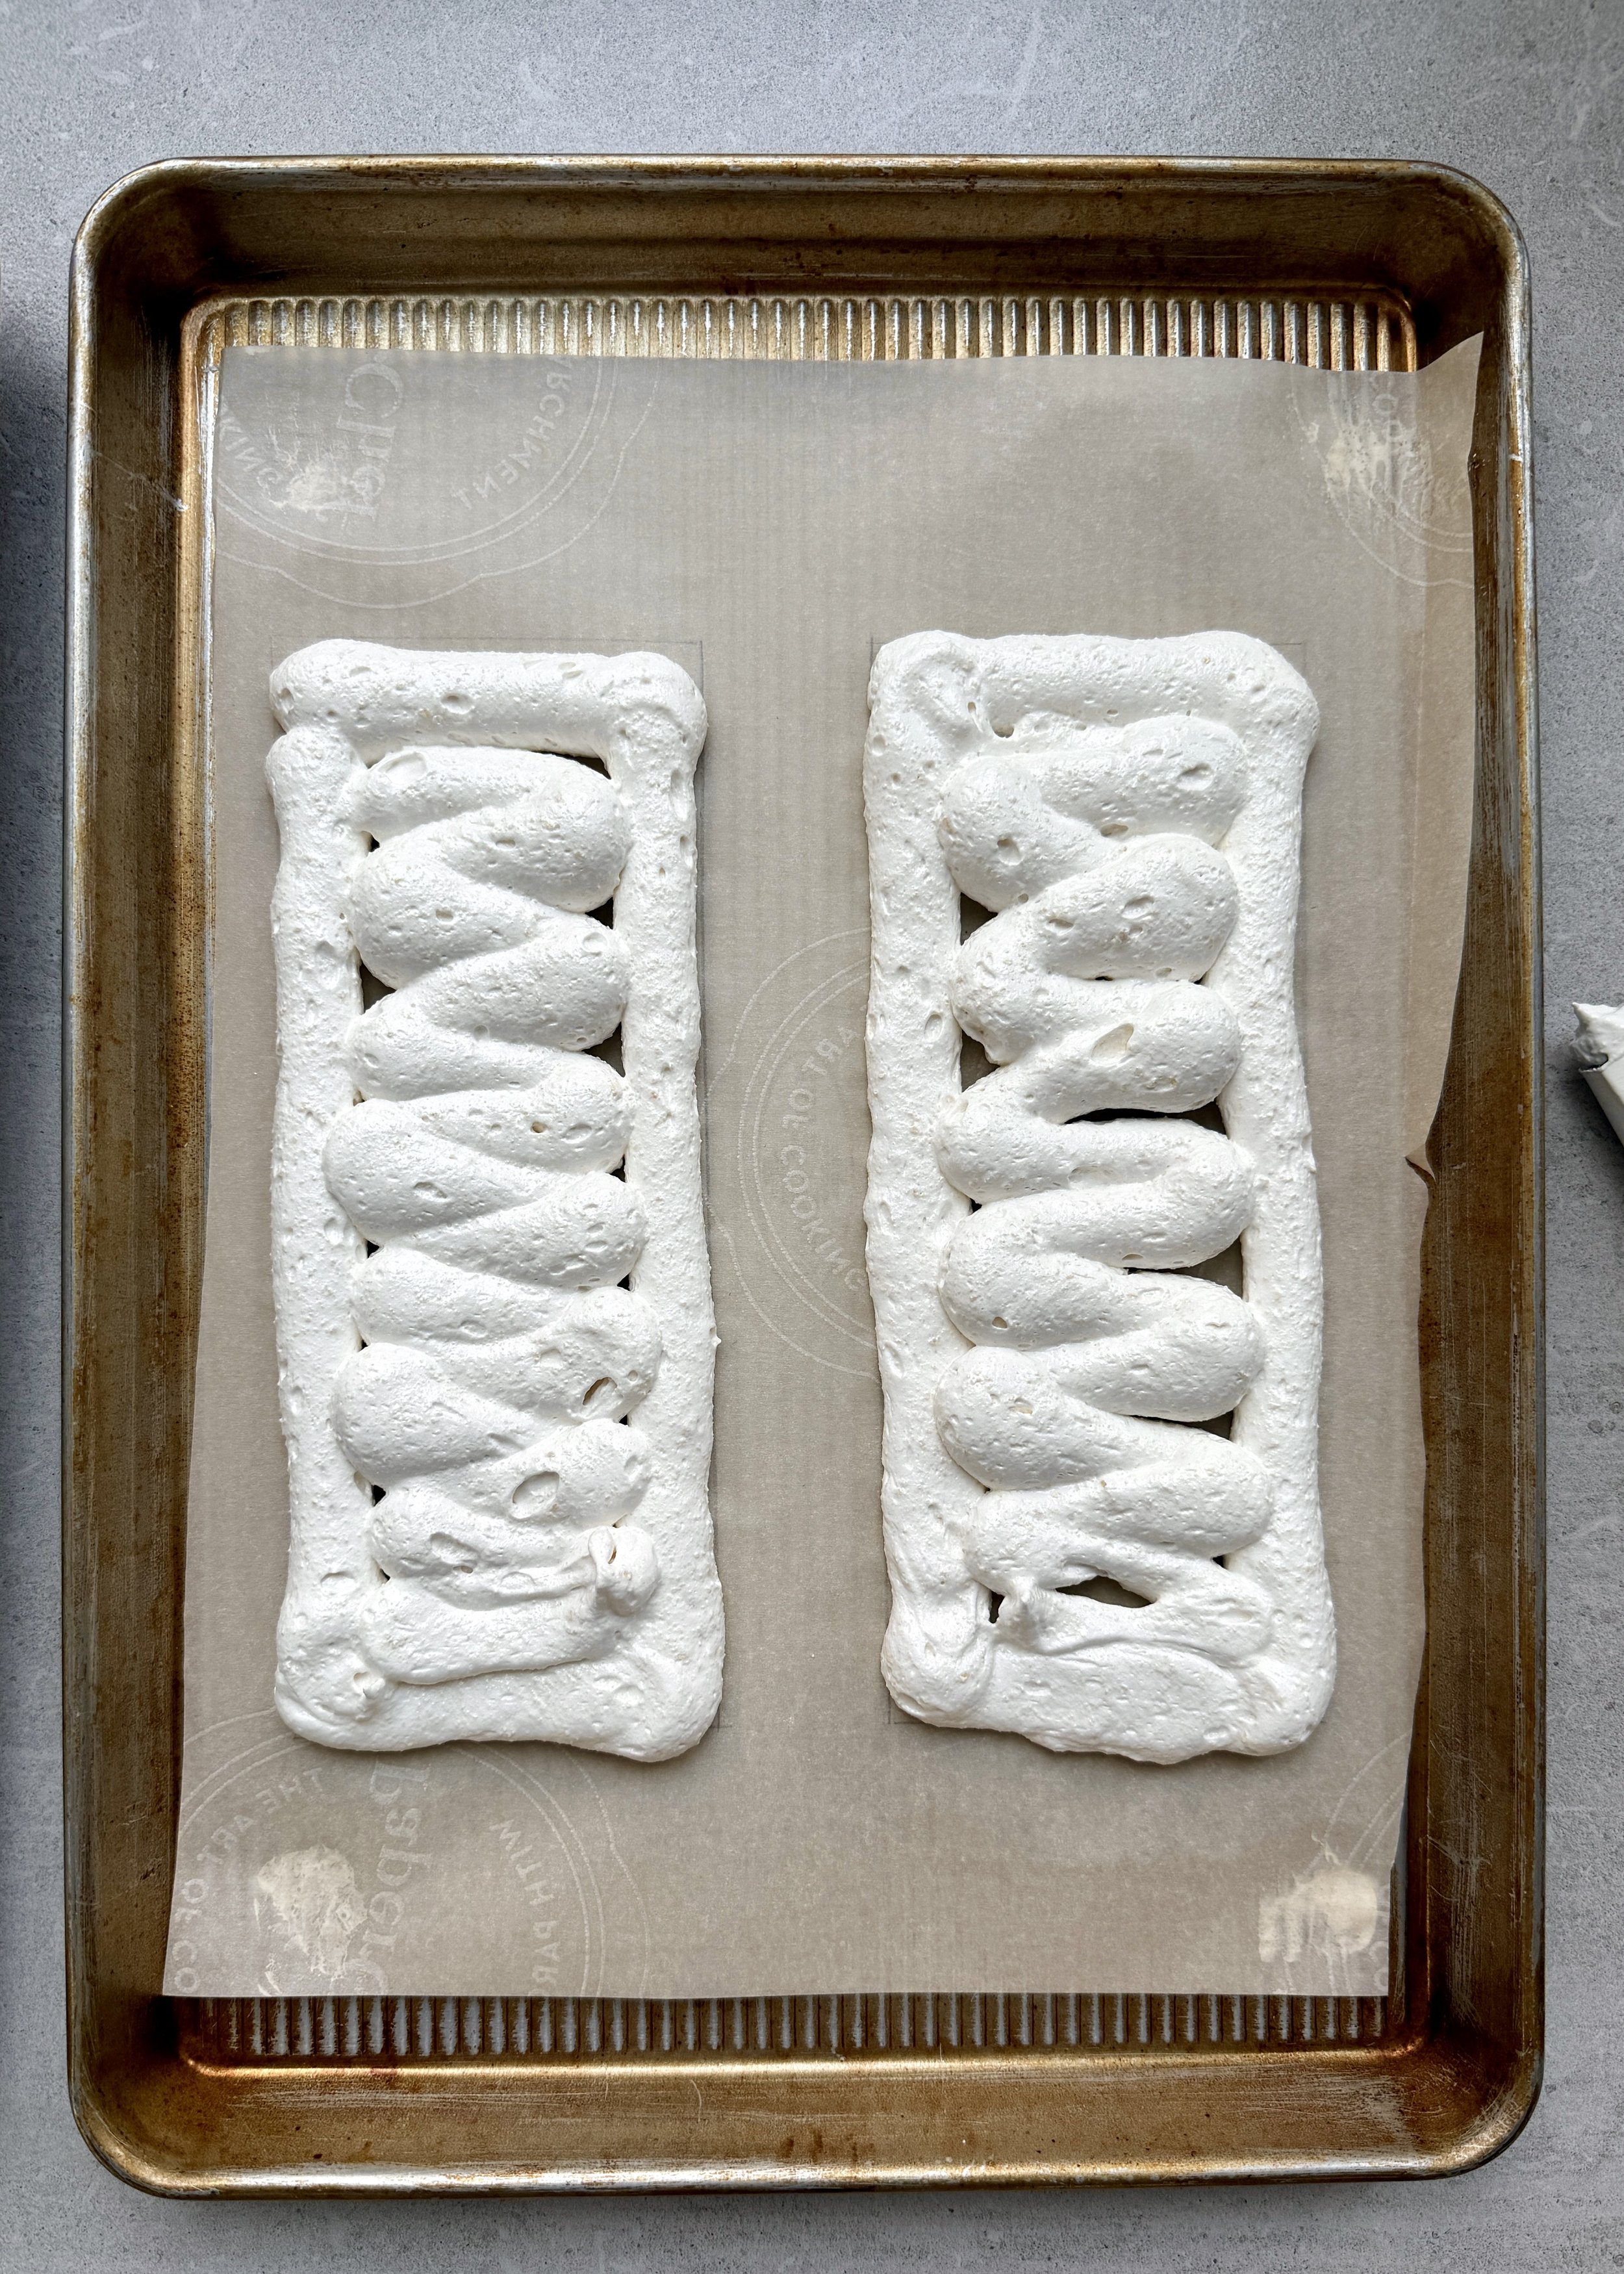
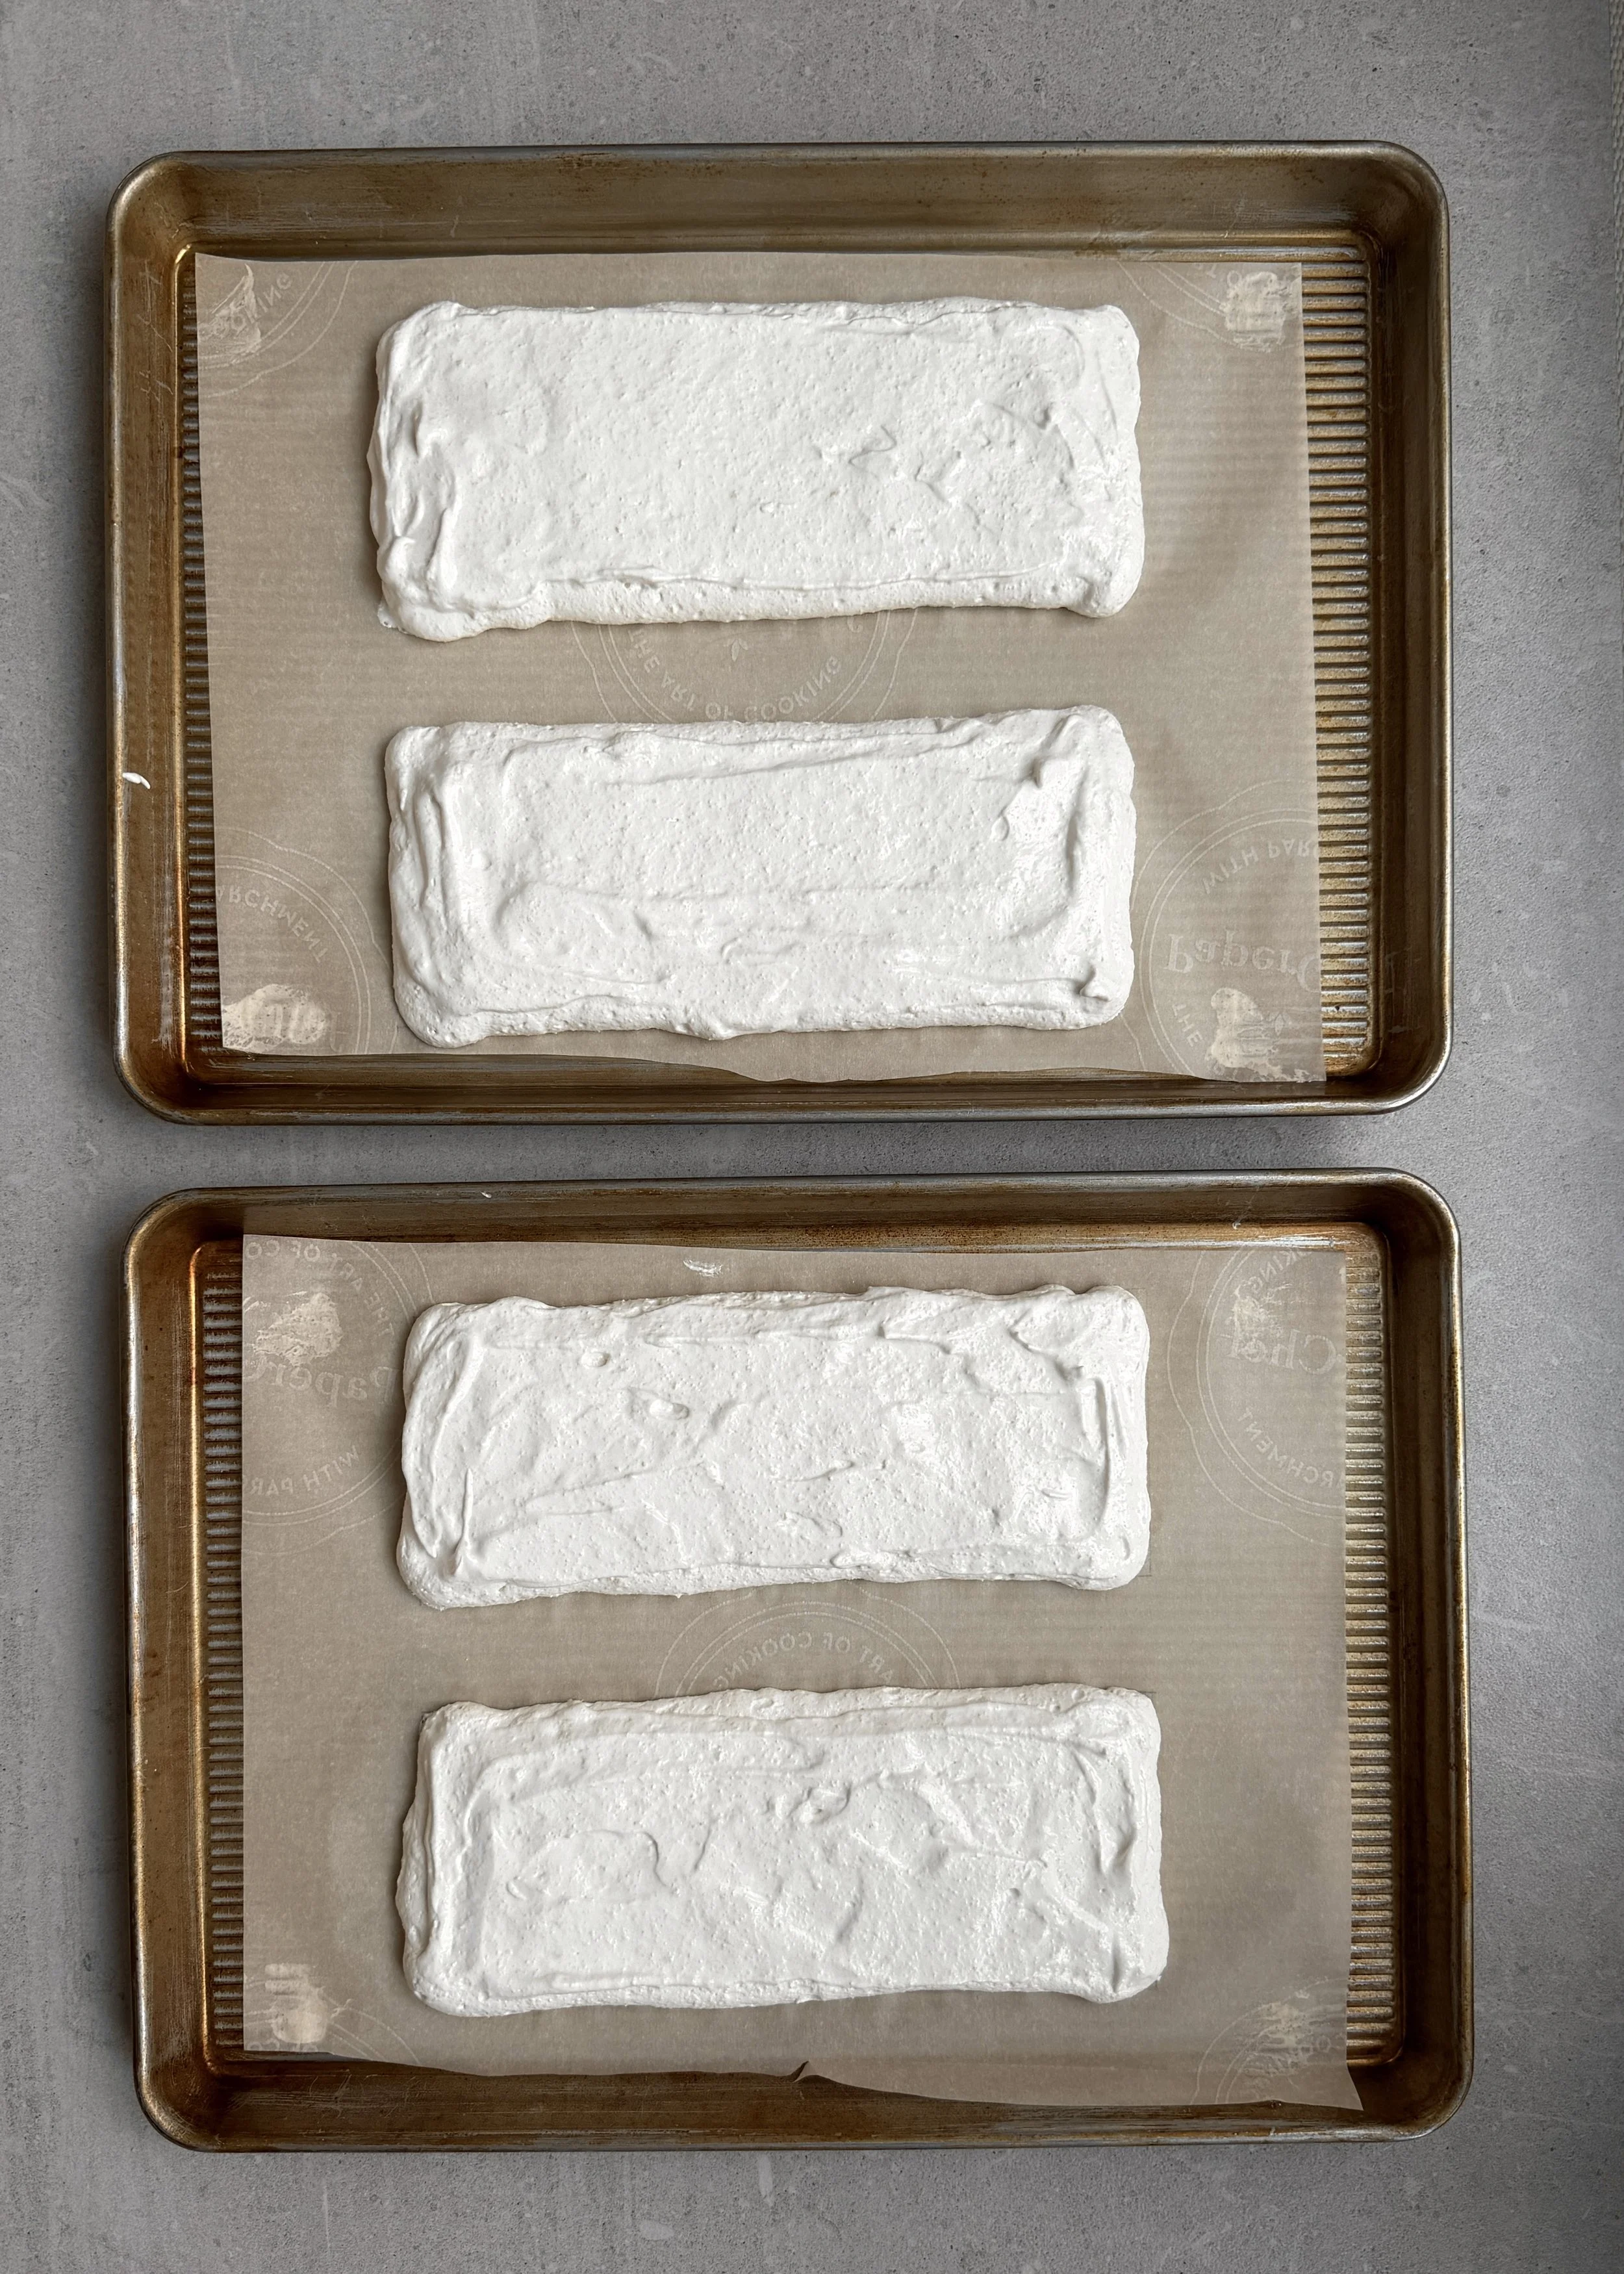
Pipe four rectangles of dacquoise onto parchment. Bake low and slow until crisp. Dry in the oven for 3 hours up to overnight.
Make pastry cream:
Whisk egg and sugar. Gradually add in corn starch until no lumps remain.
Slowly drizzle hot milk to temper the yolks without cooking them. Transfer back to the pot and cook briefly until thickened. Strain through sieve into mixing bowl. Mix in butter and vanilla. Cool then set in the fridge at least 2 hours.
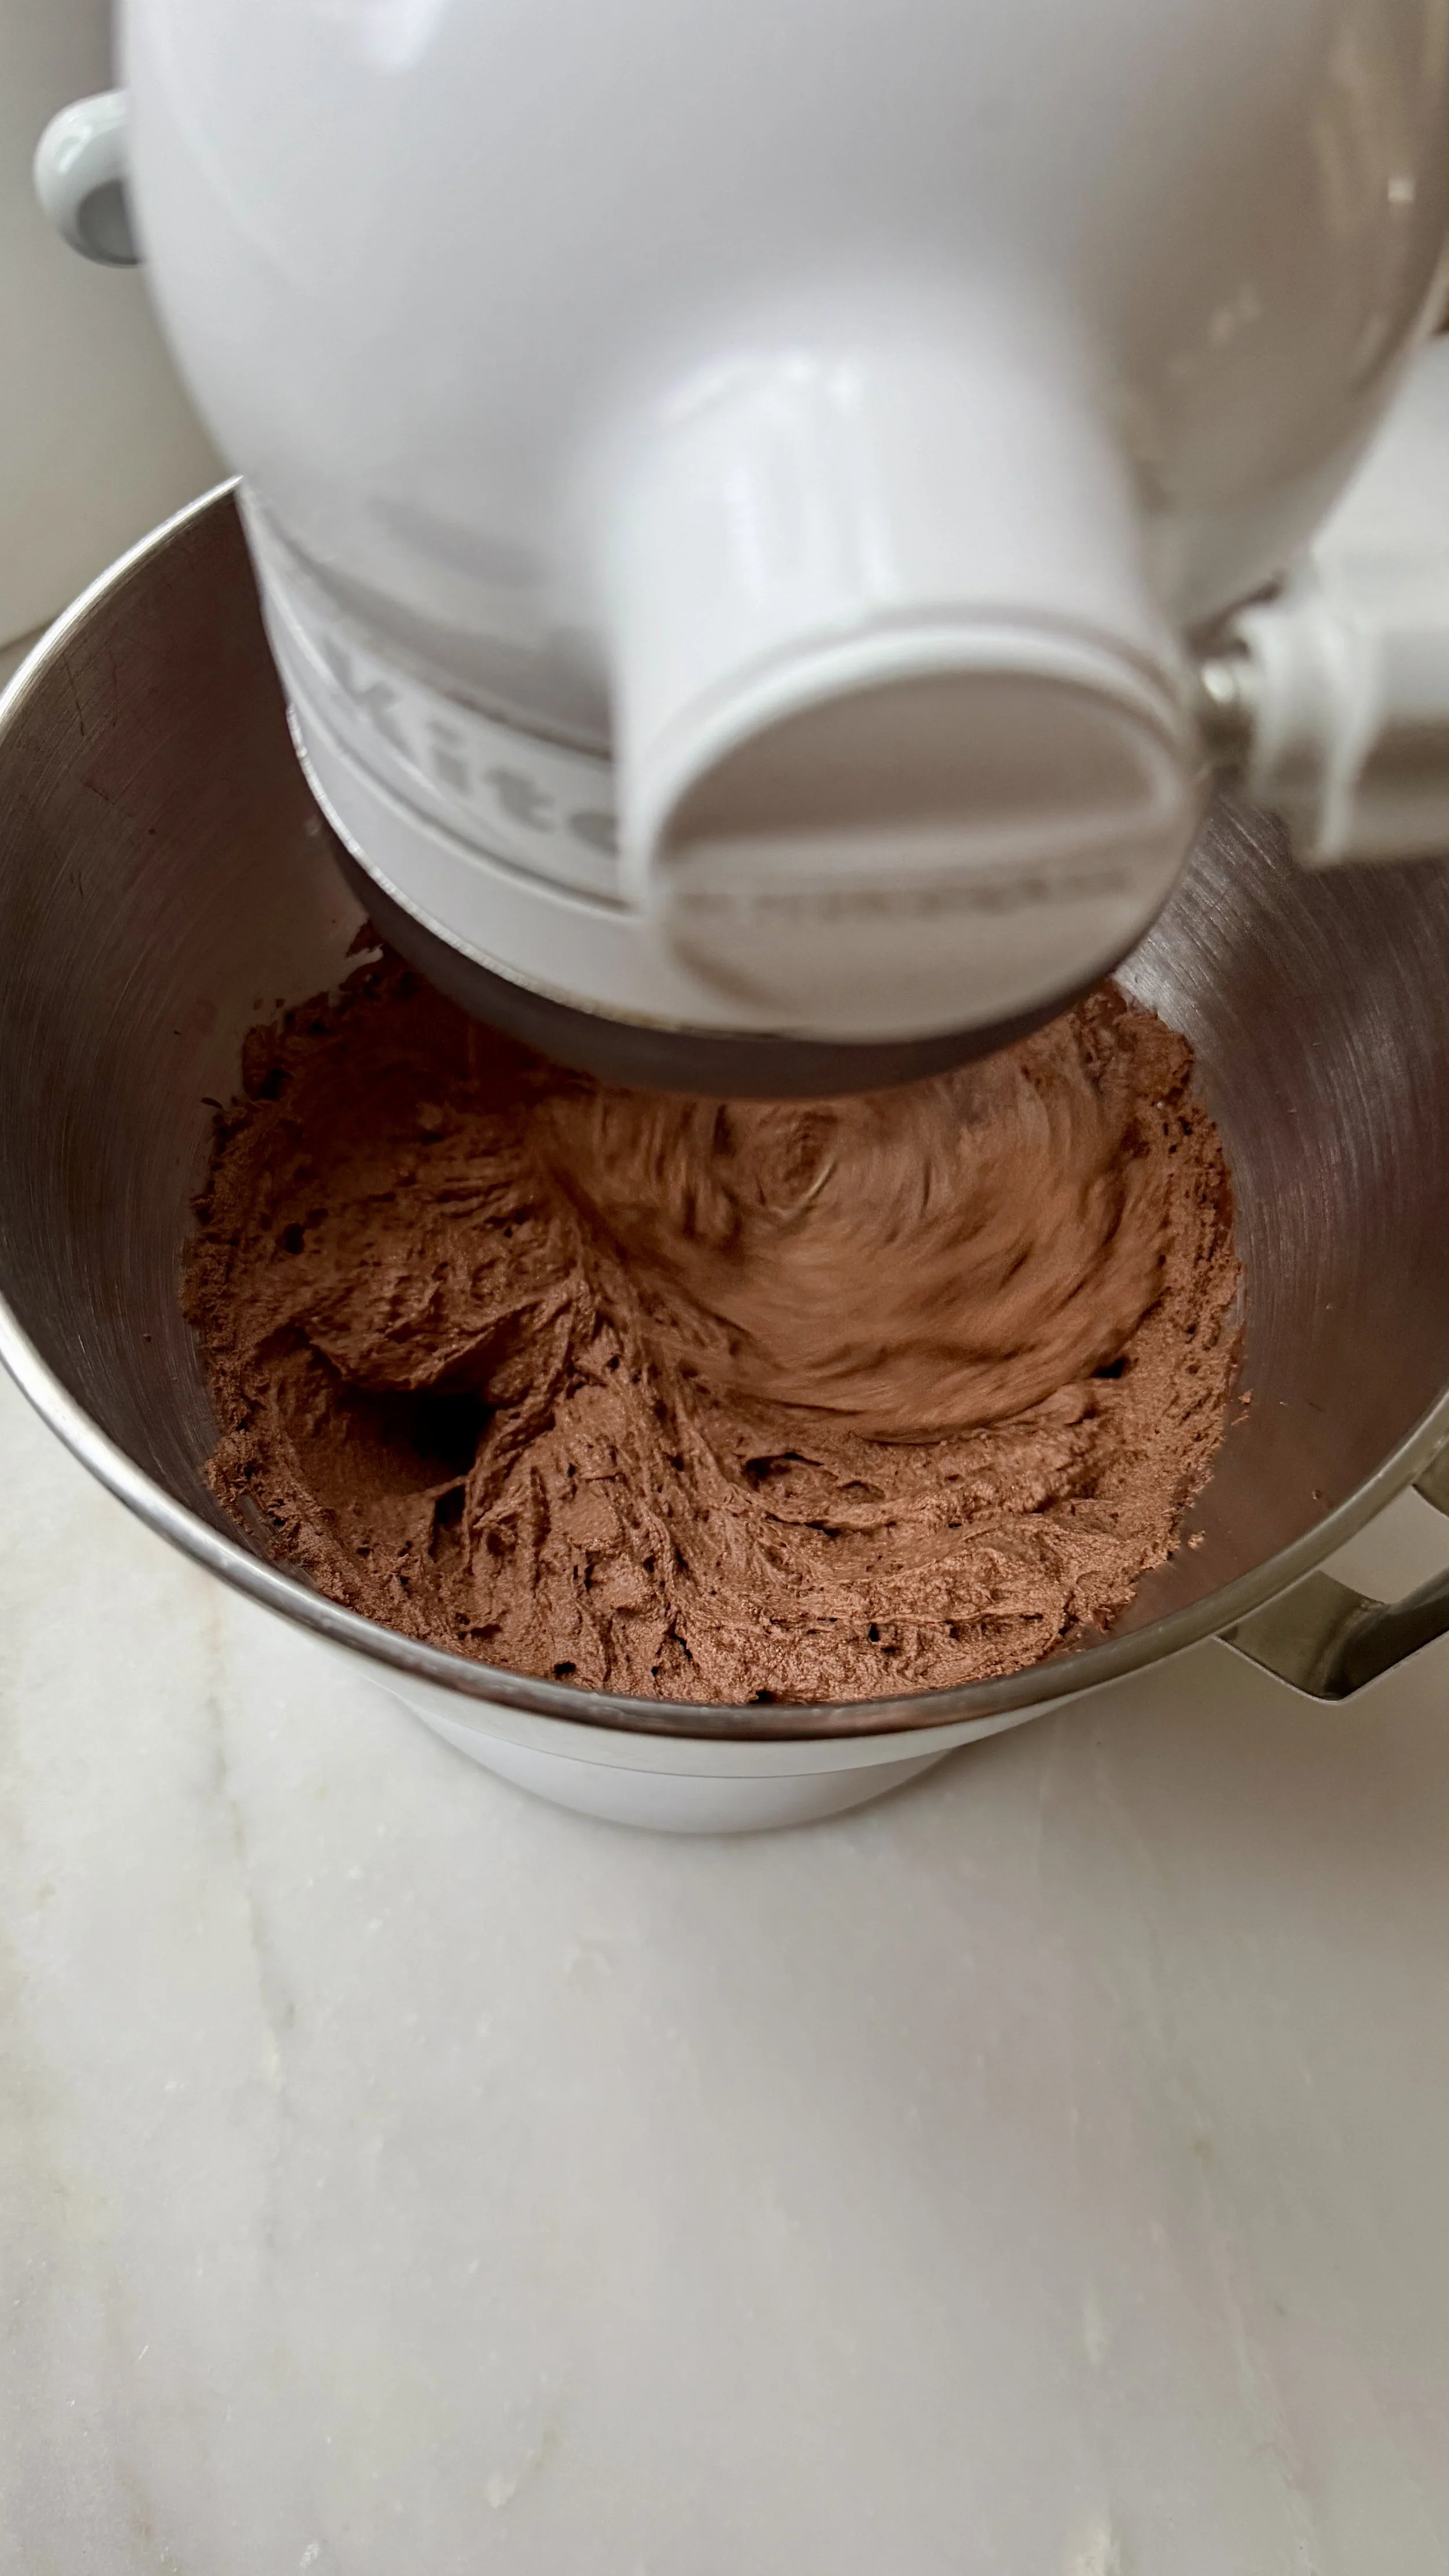
Make chocolate ganache:
Pour scalded cream over chopped chocolate. Let sit 8 minutes. Stir until smooth.
Cool on the counter until ganache is set to the consistency of thick, soft peanut butter. This can take many hours (as much as 6 hours) depending on cocoa butter content and ambient kitchen temperature. I like to let it set overnight so I’m not waiting around for it.
Whisk ganache on medium-high speed in a stand mixer fitted with whisk attachment until lighter in colour and slightly fluffy, about 2 minutes. Don’t over whip or it may turn grainy.
Assemble cake:
Reserve 1¾ cups of whipped ganache for cake exterior. Cover and store at room temperature.
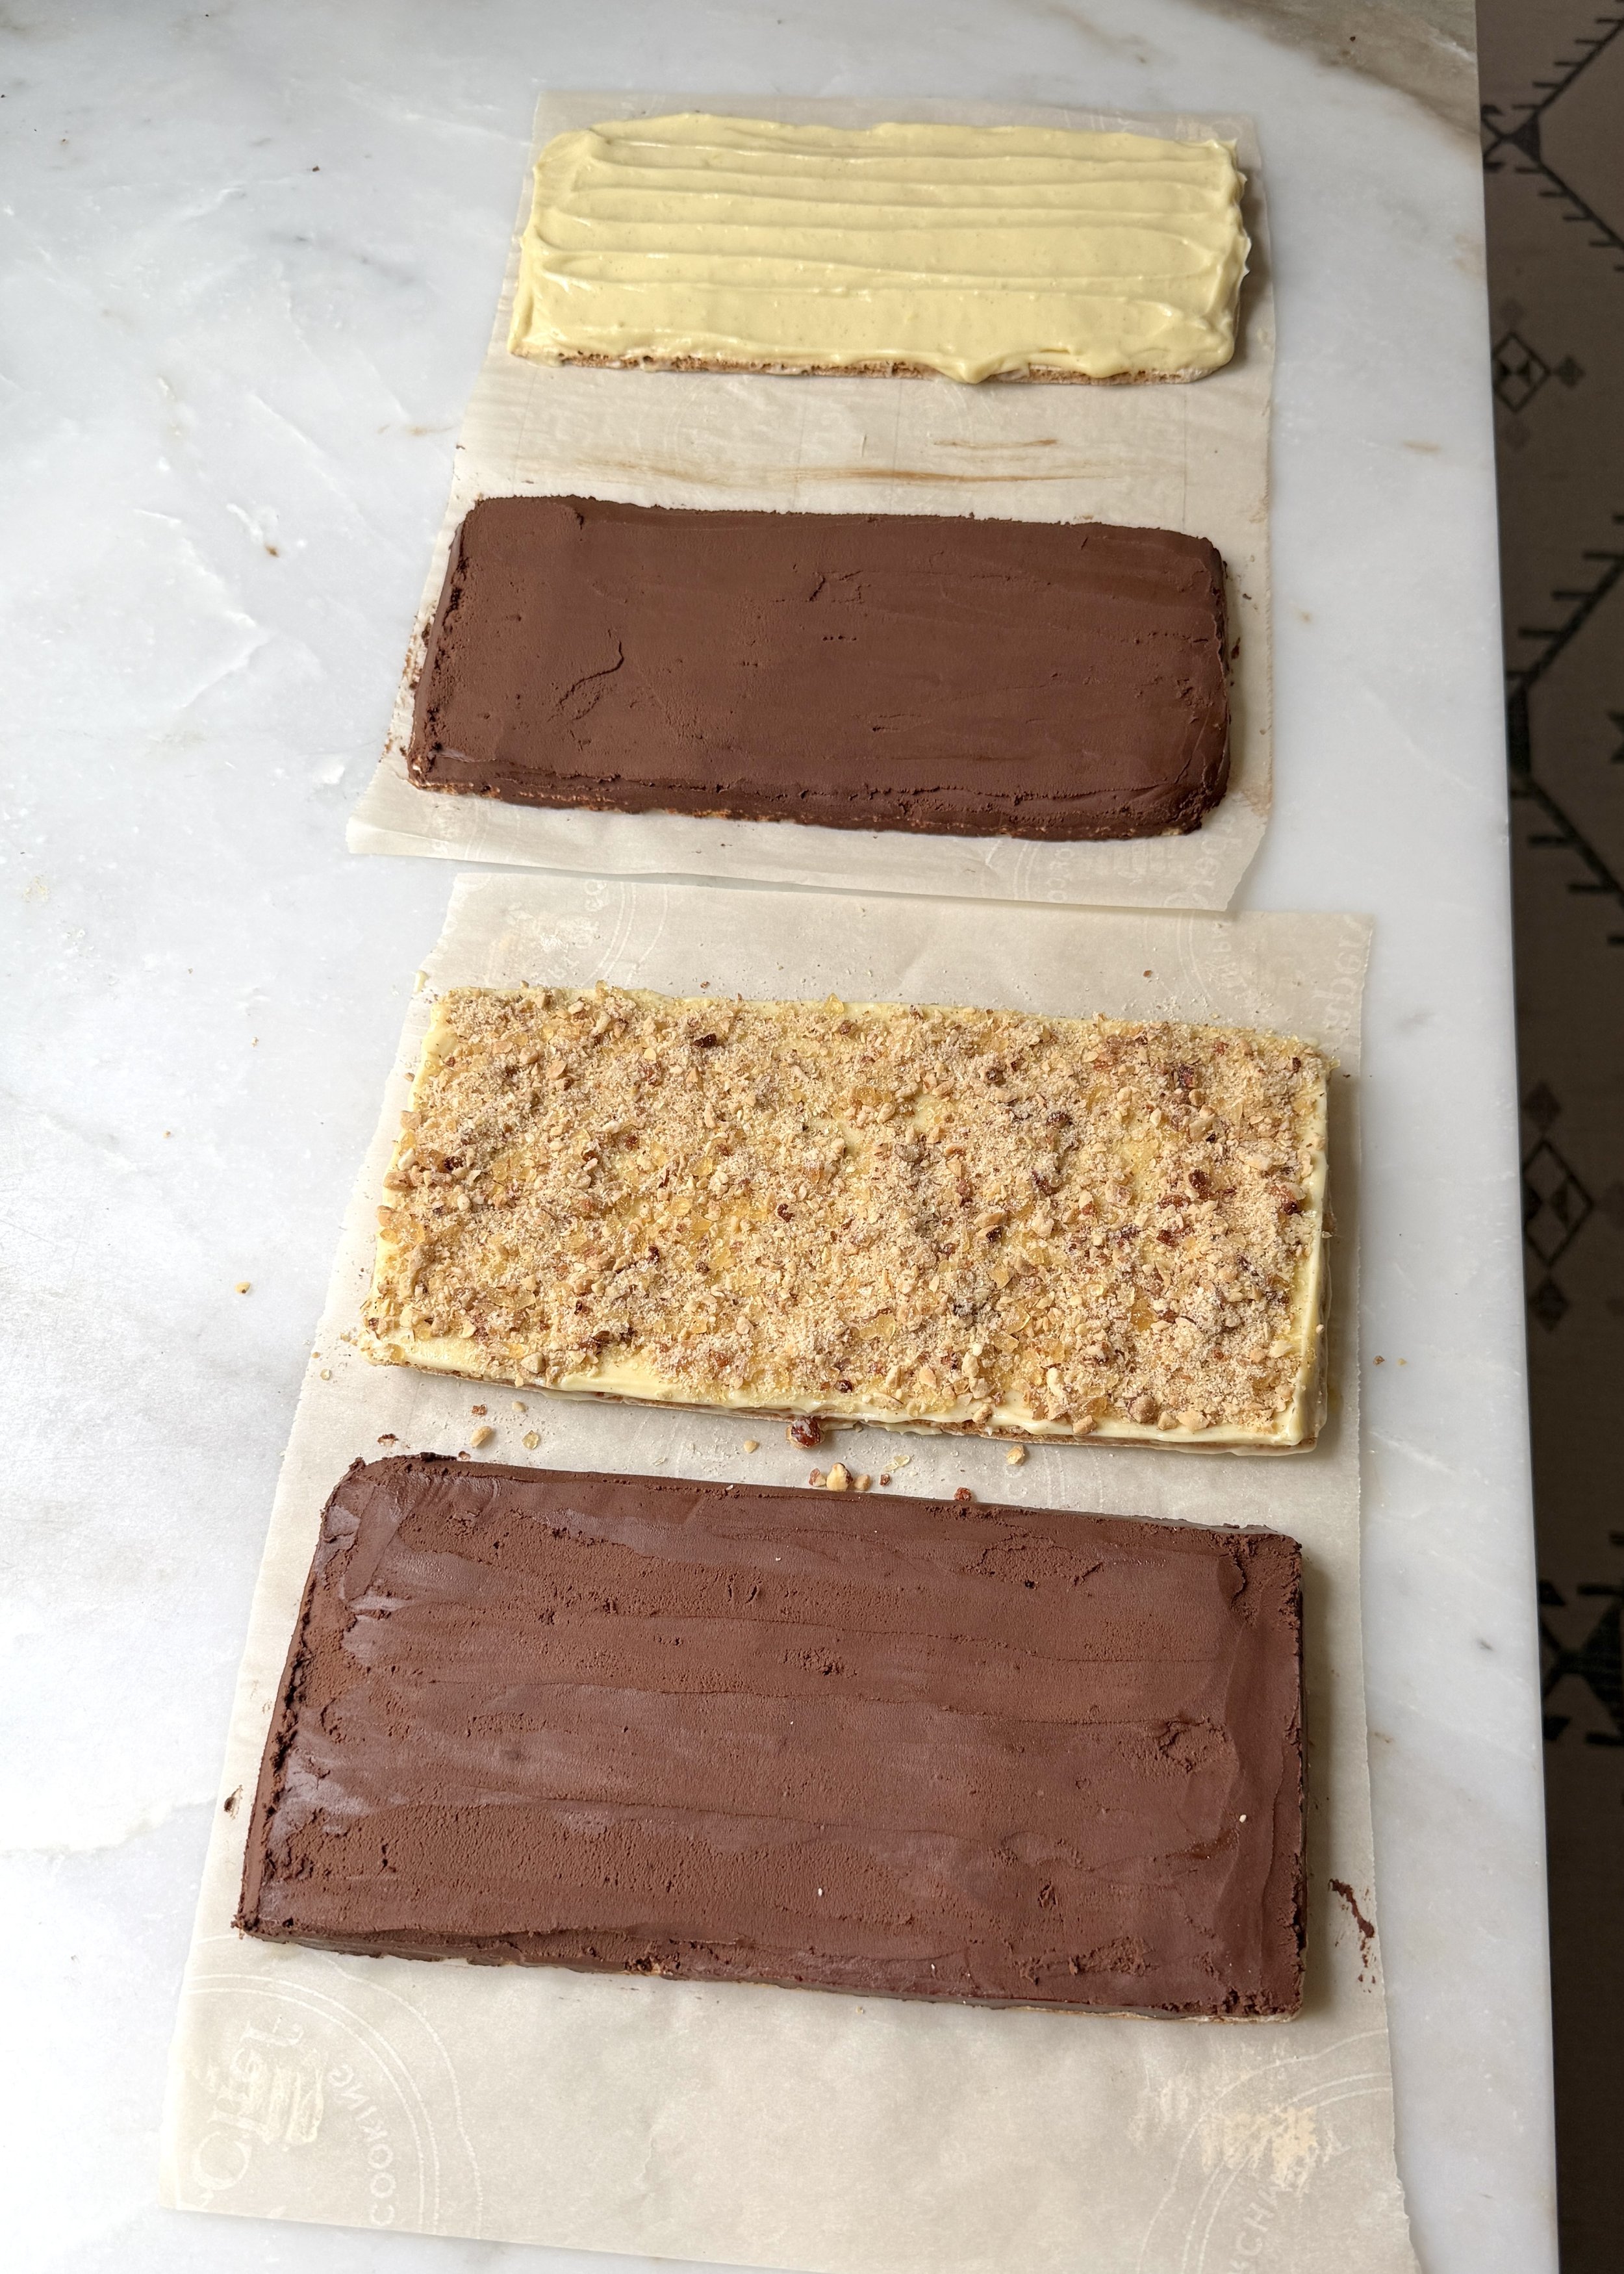
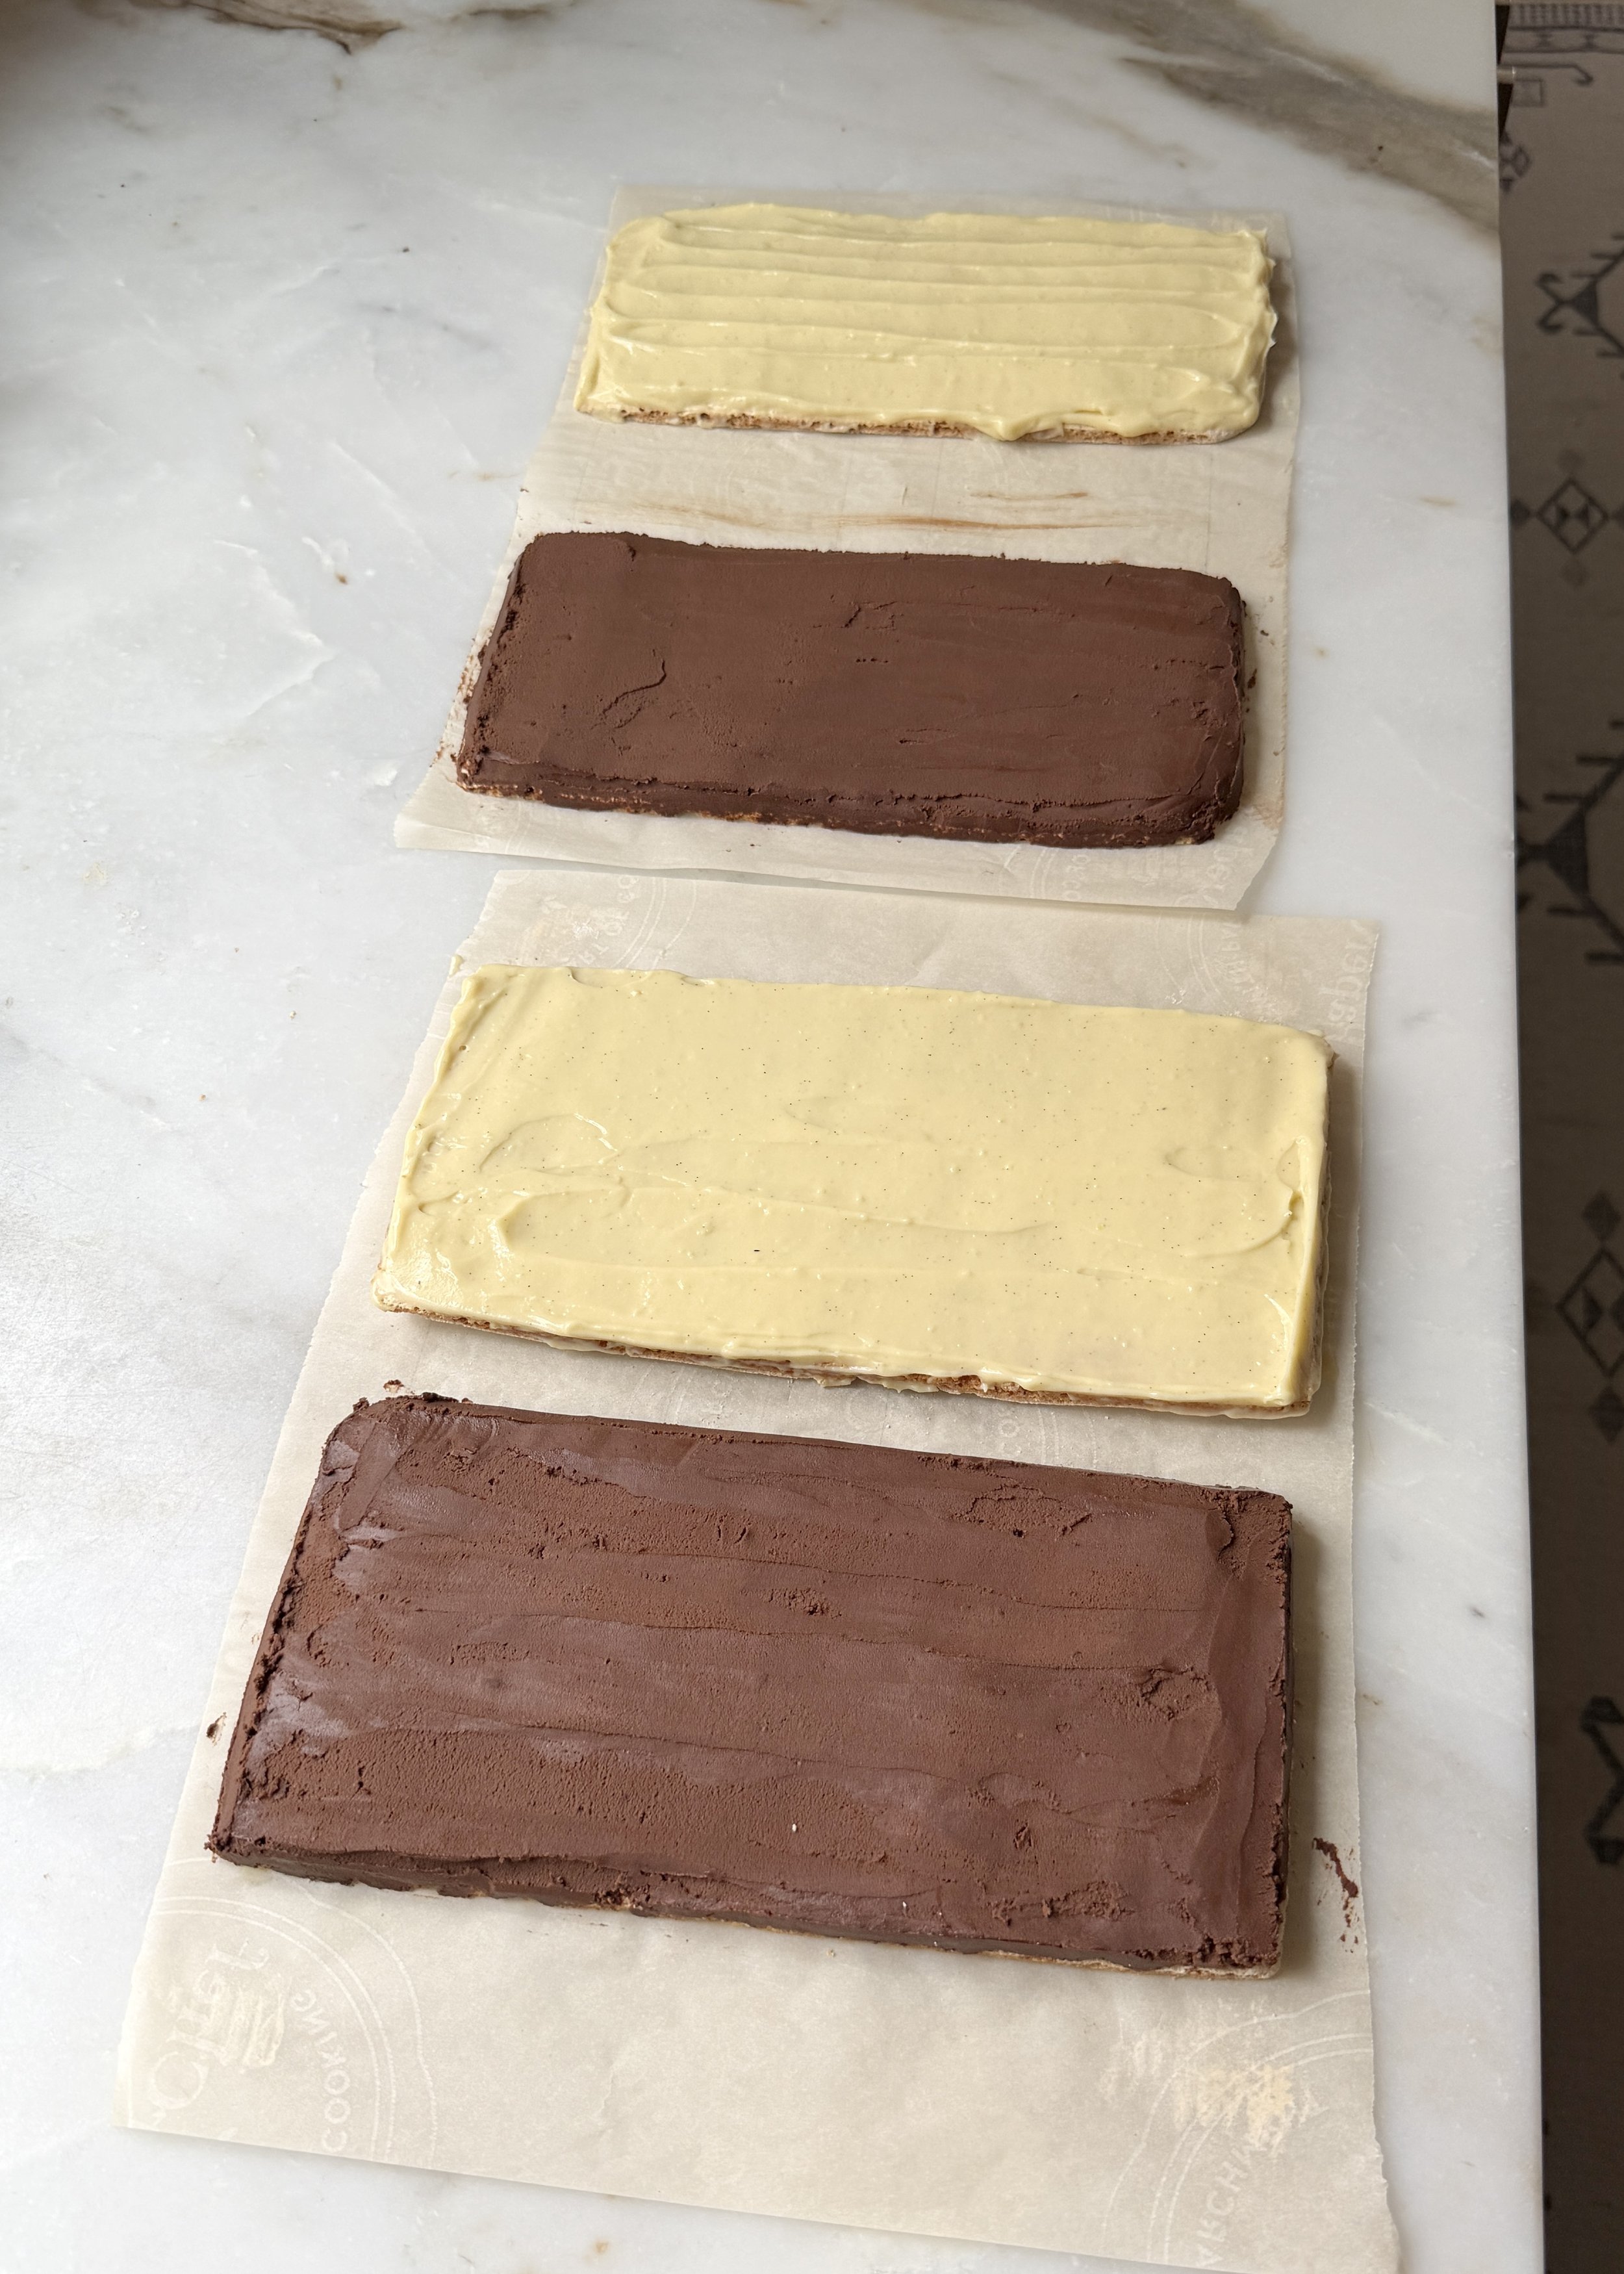
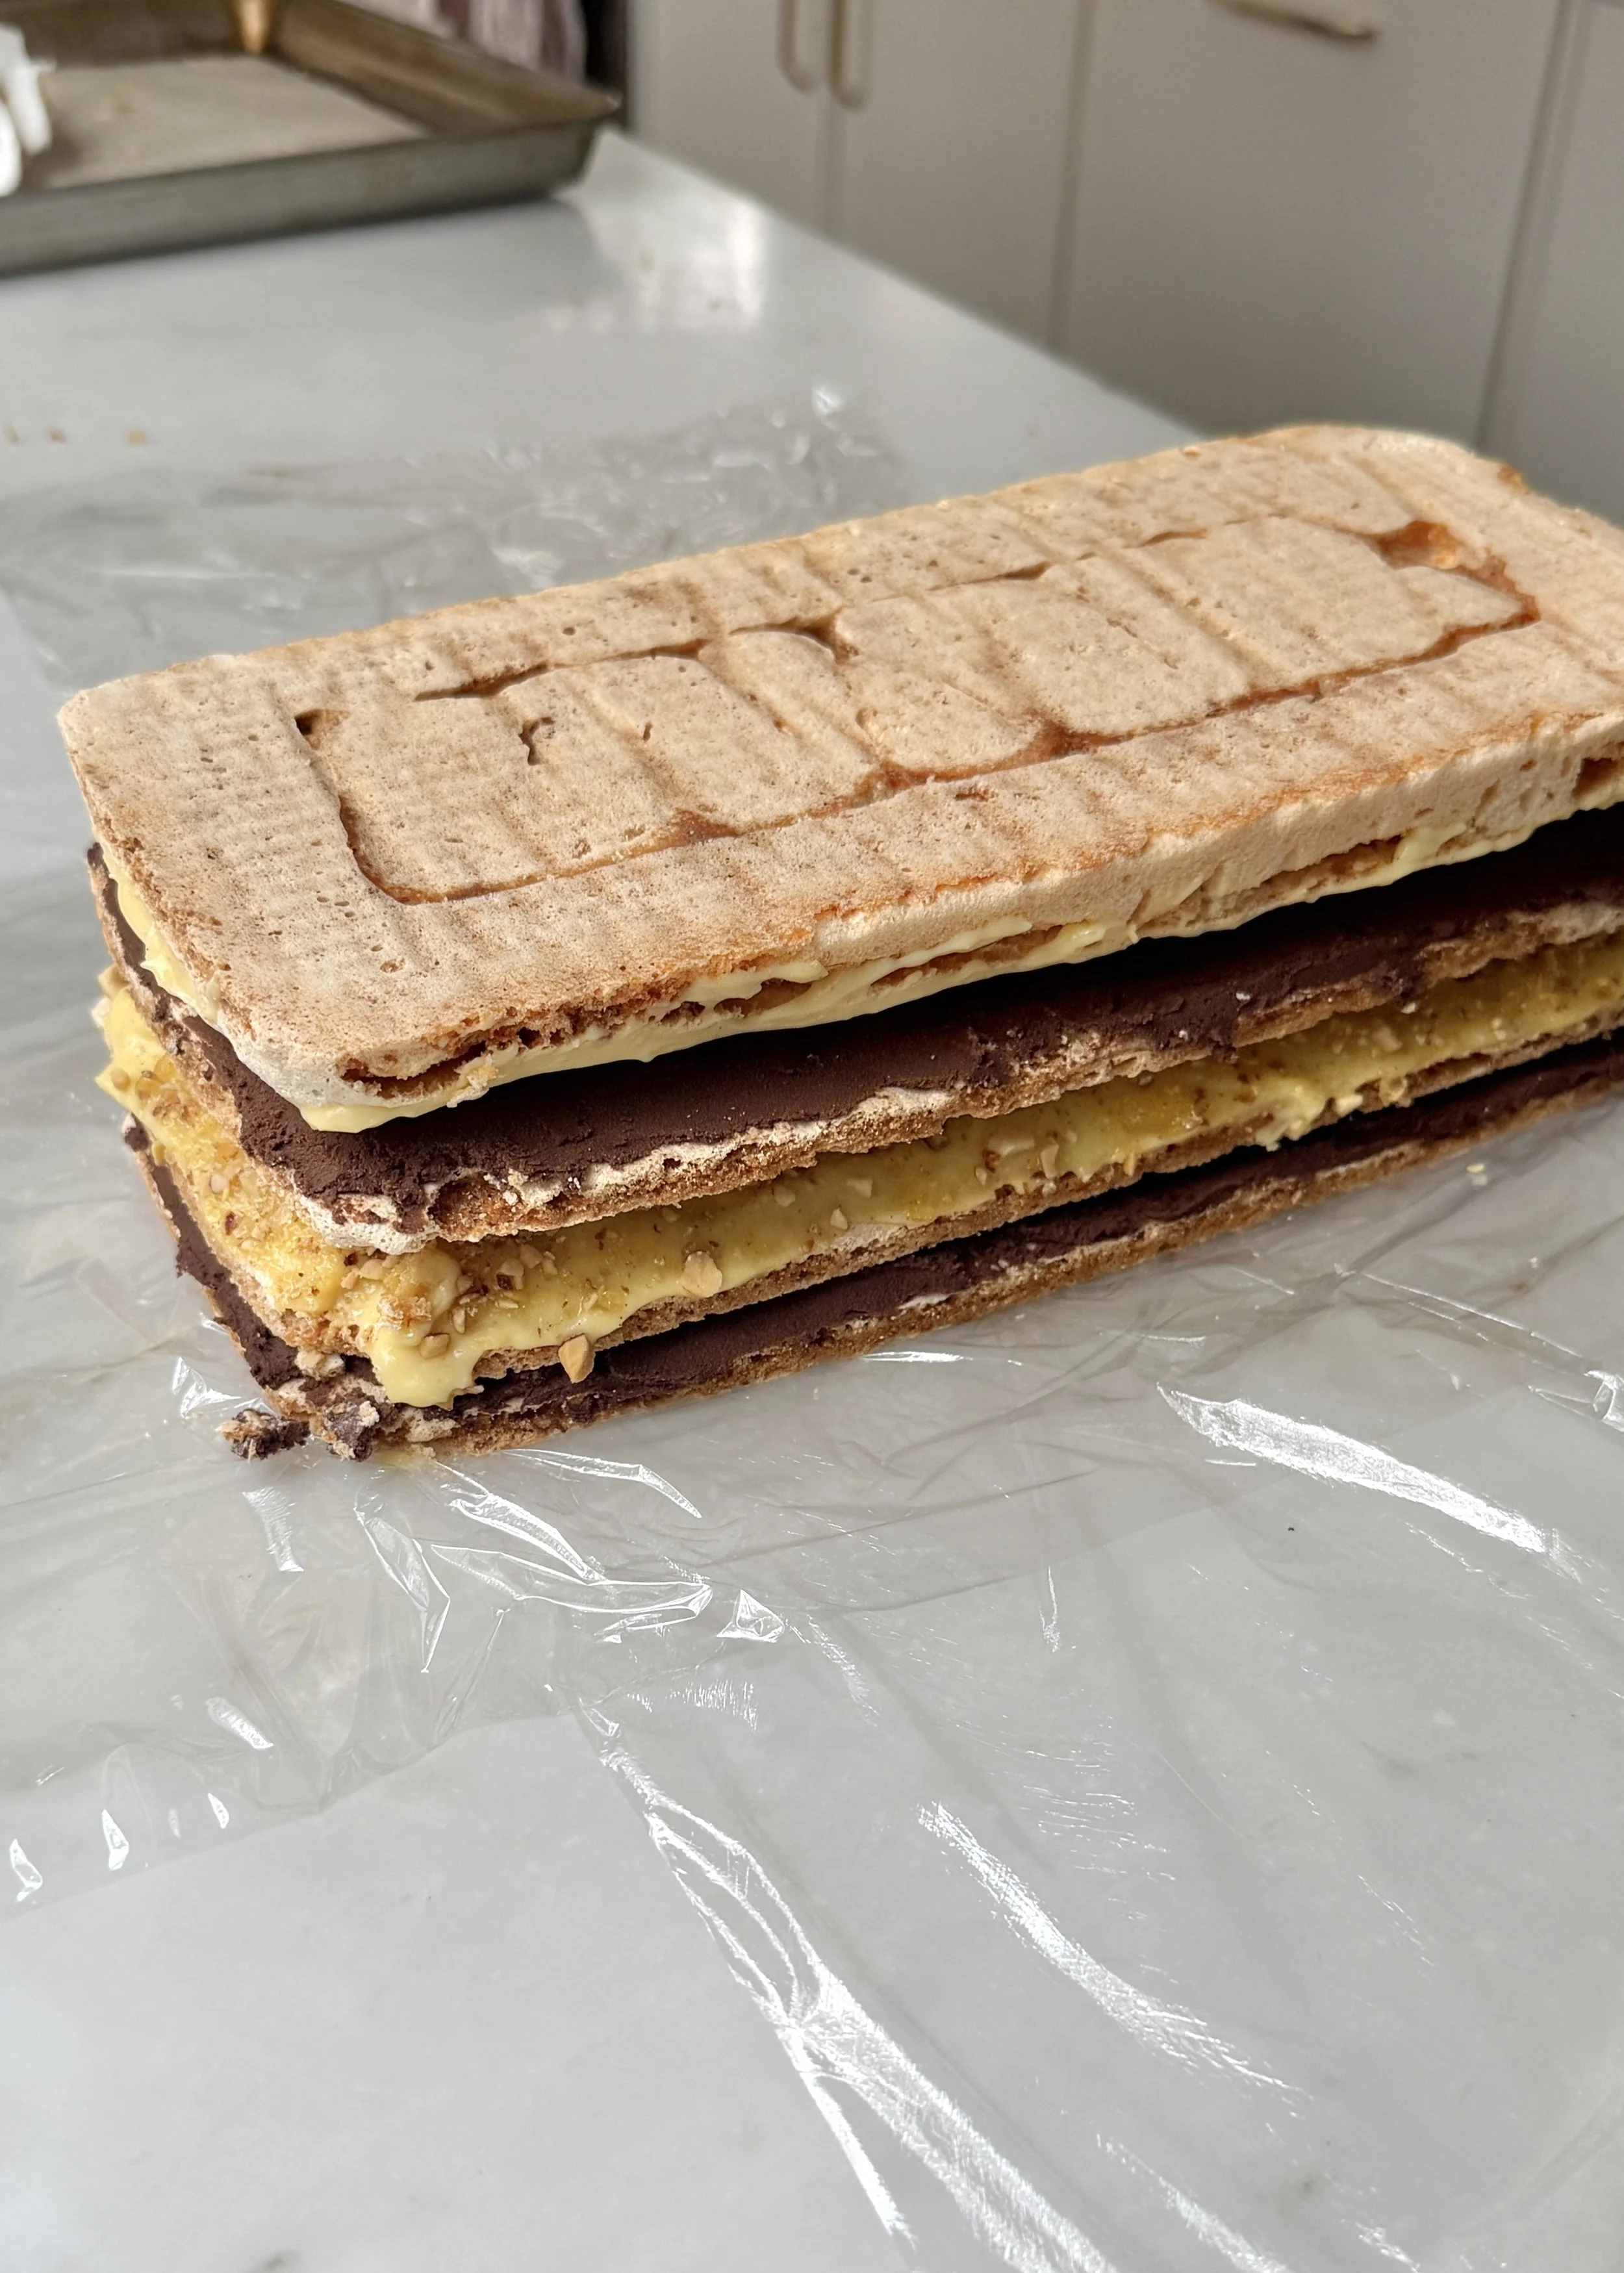
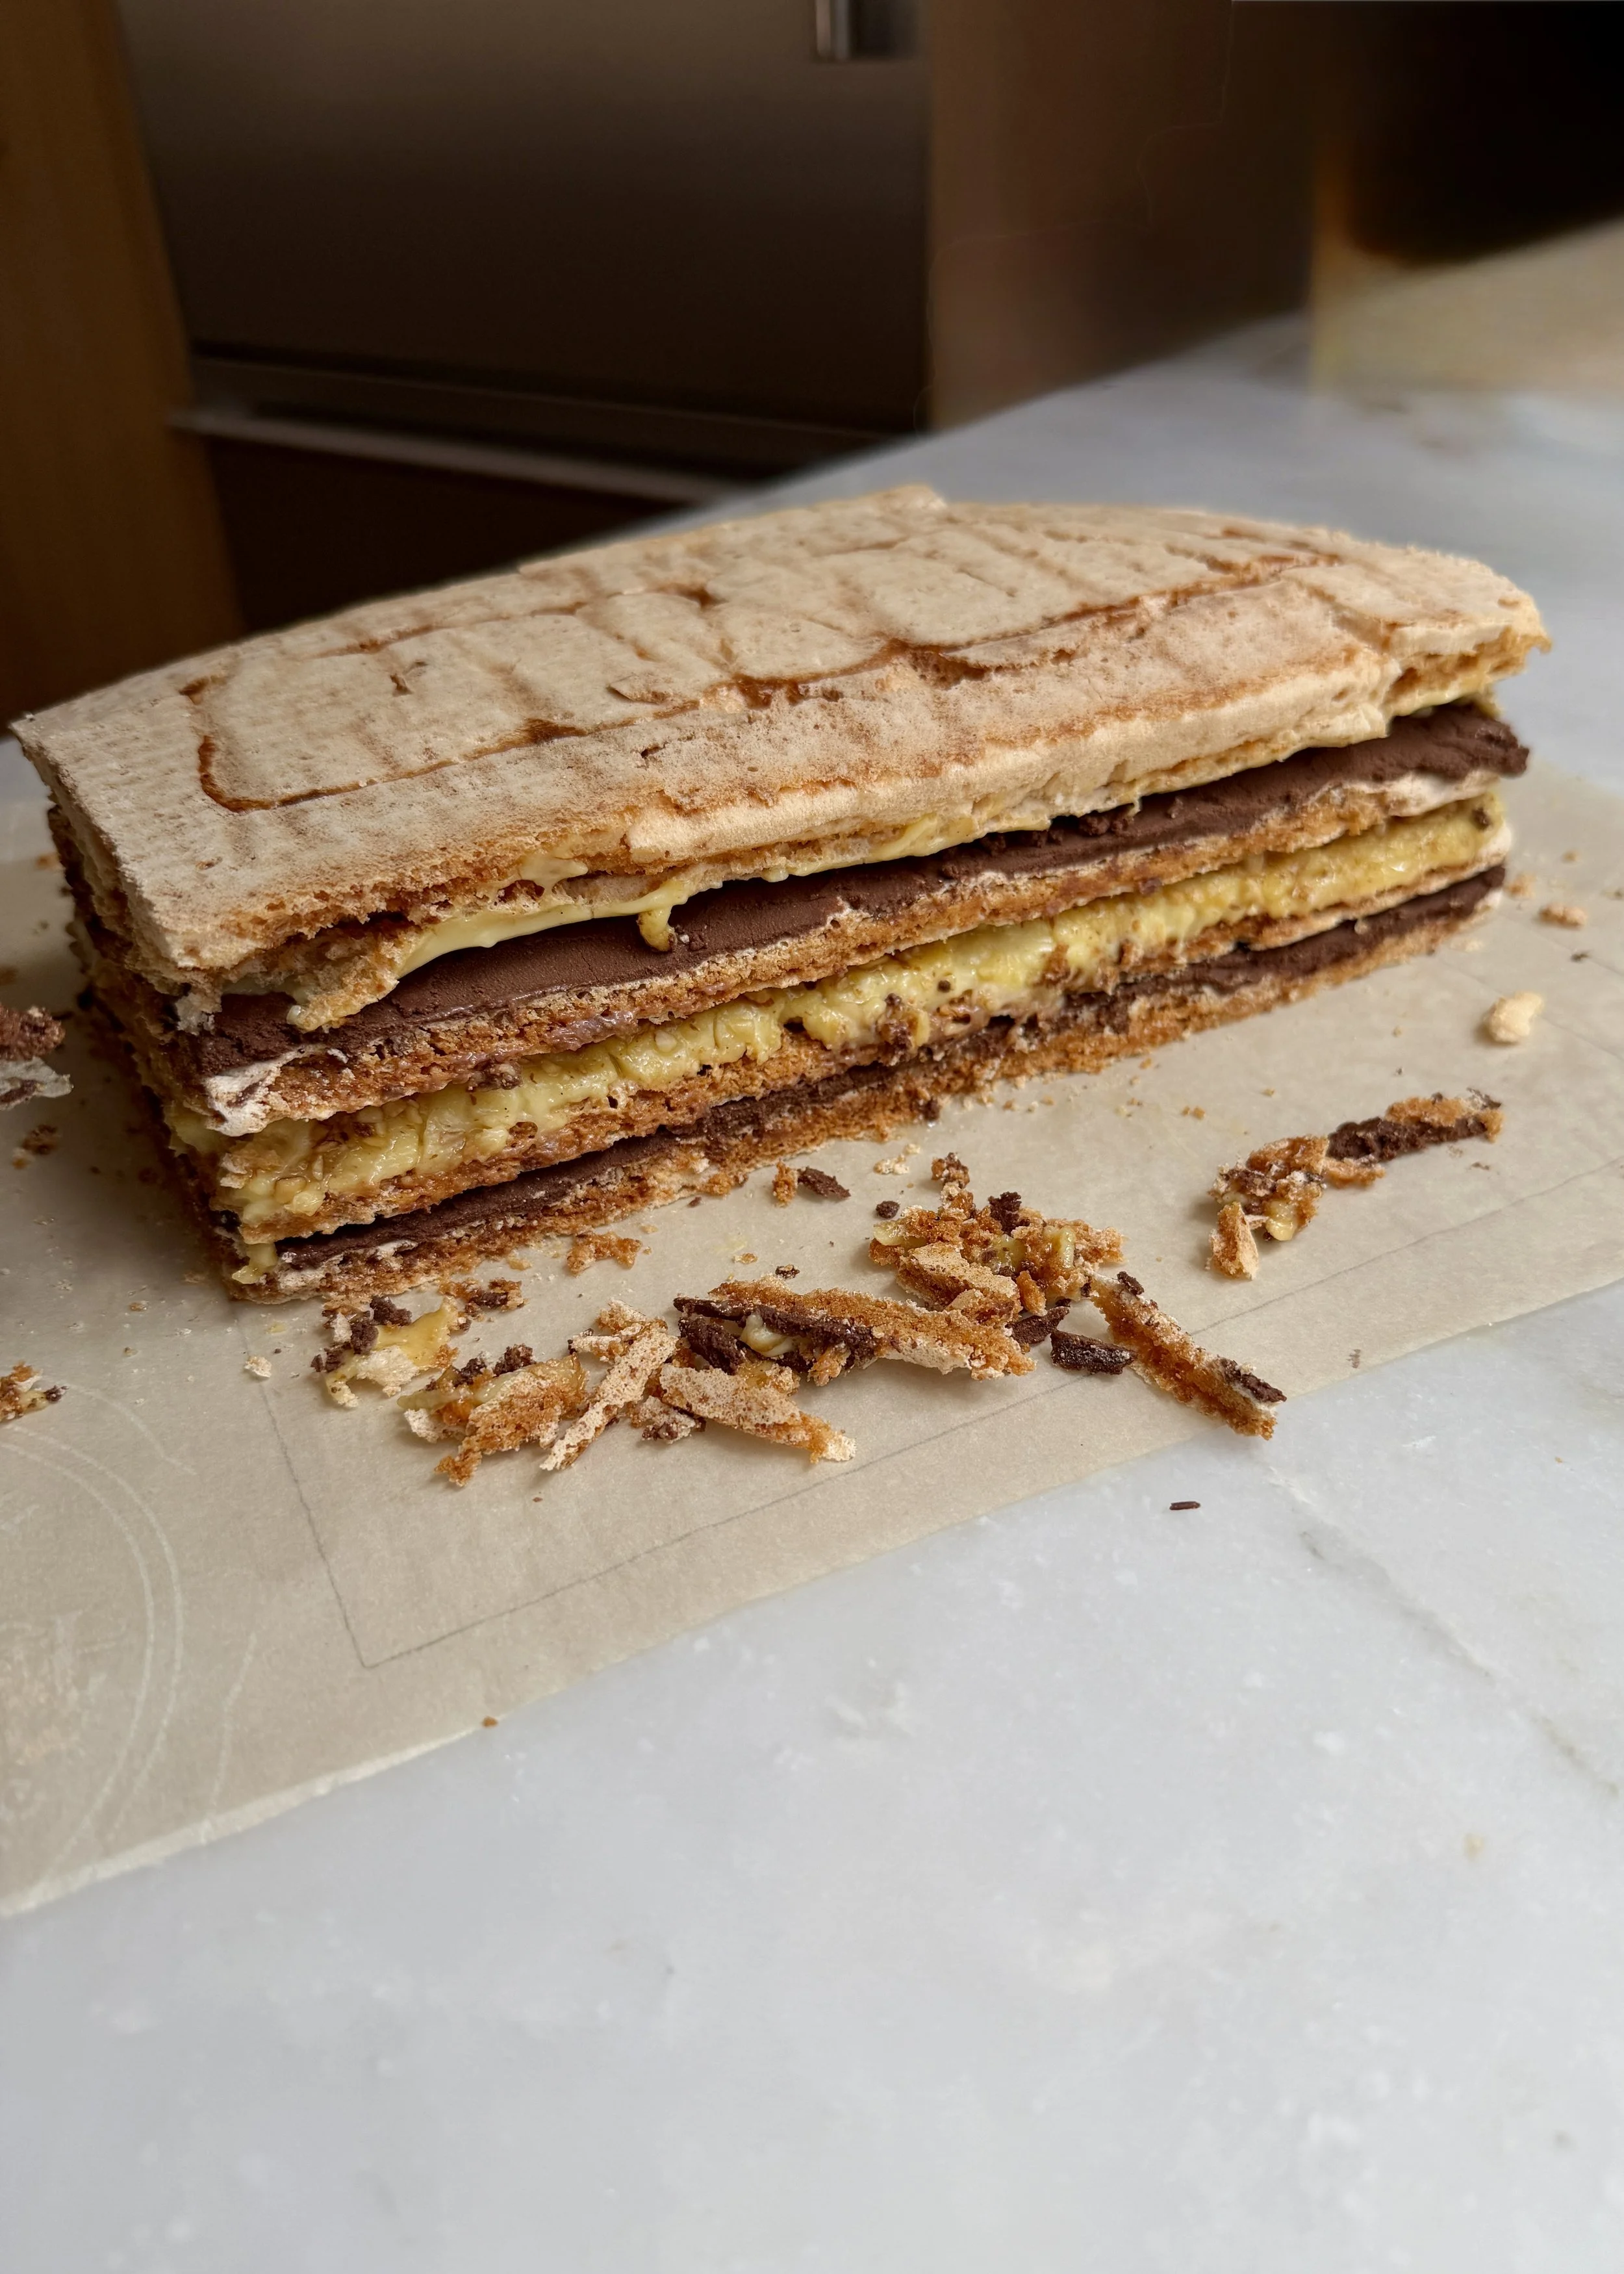
Spread remaining whipped chocolate ganache on two dacquoise layers. Spread pastry cream on the other two. Sprinkle ground praline over one pastry cream layer.
Stack the layers in this order: chocolate, praline pastry cream, chocolate, plain pastry cream (placed upside down to the flat bottom is facing up).
Wrap in plastic and chill to set the layers, ideally 2-3 hours.
Optional if fillings and/or nut meringue layers are uneven on the edges, trim cake on all sides for a neater finish.
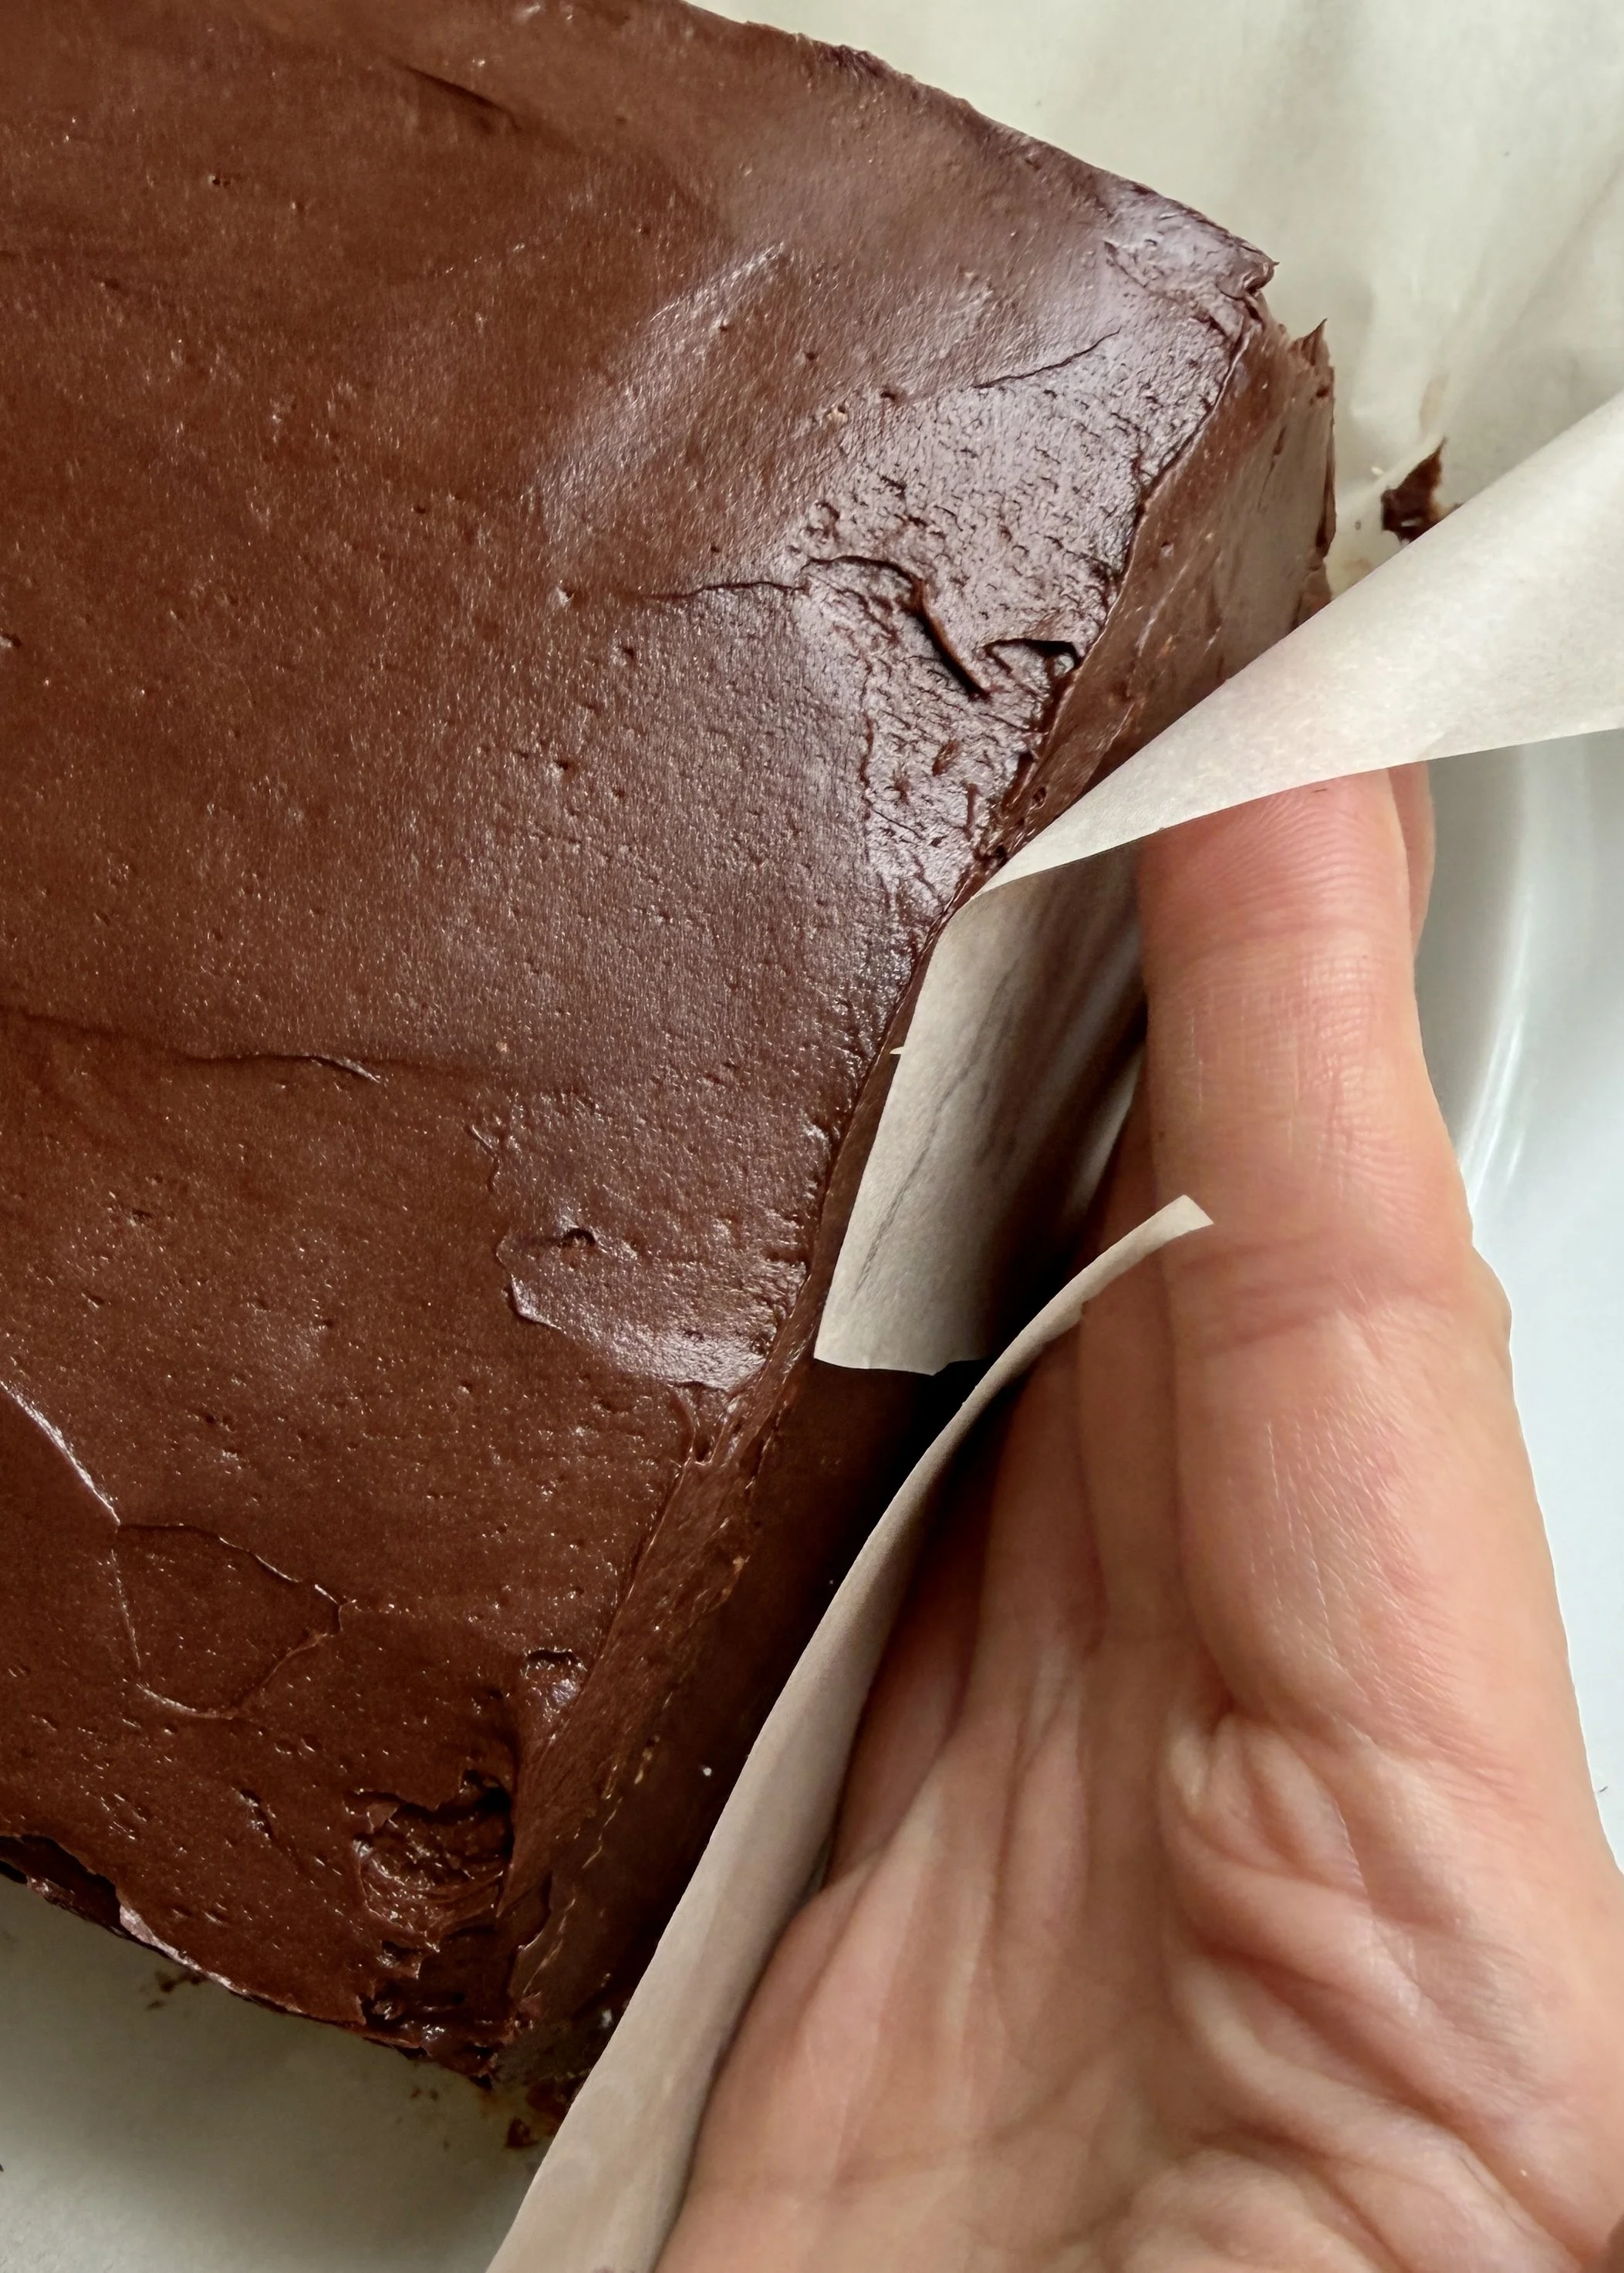
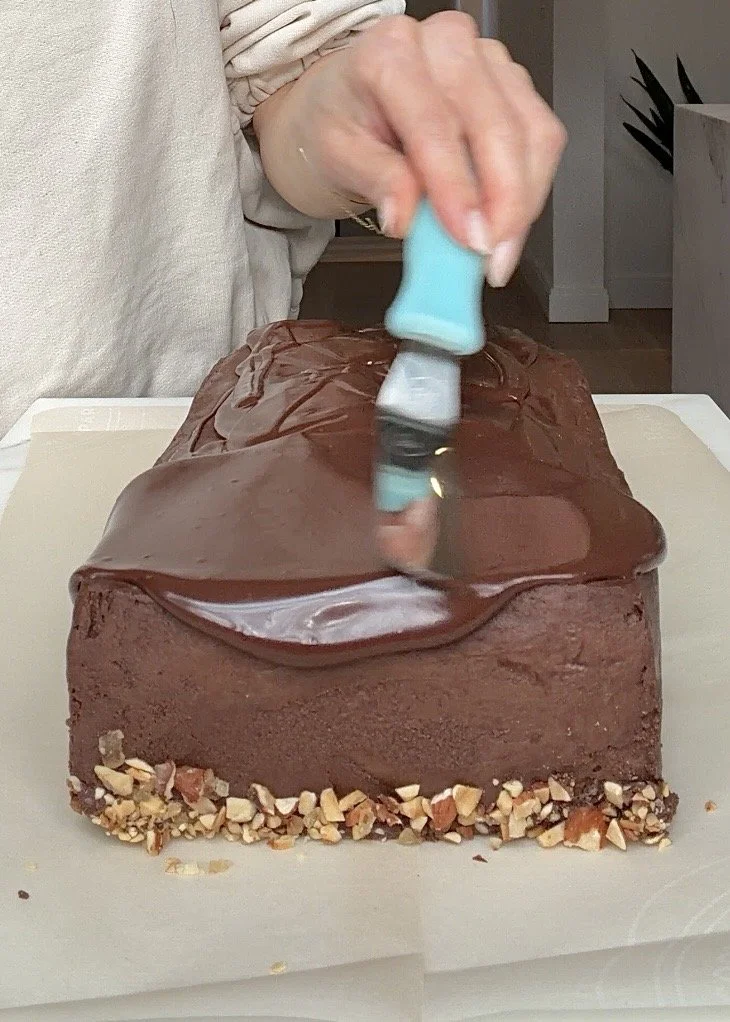
Frost cake with reserved whipped ganache.

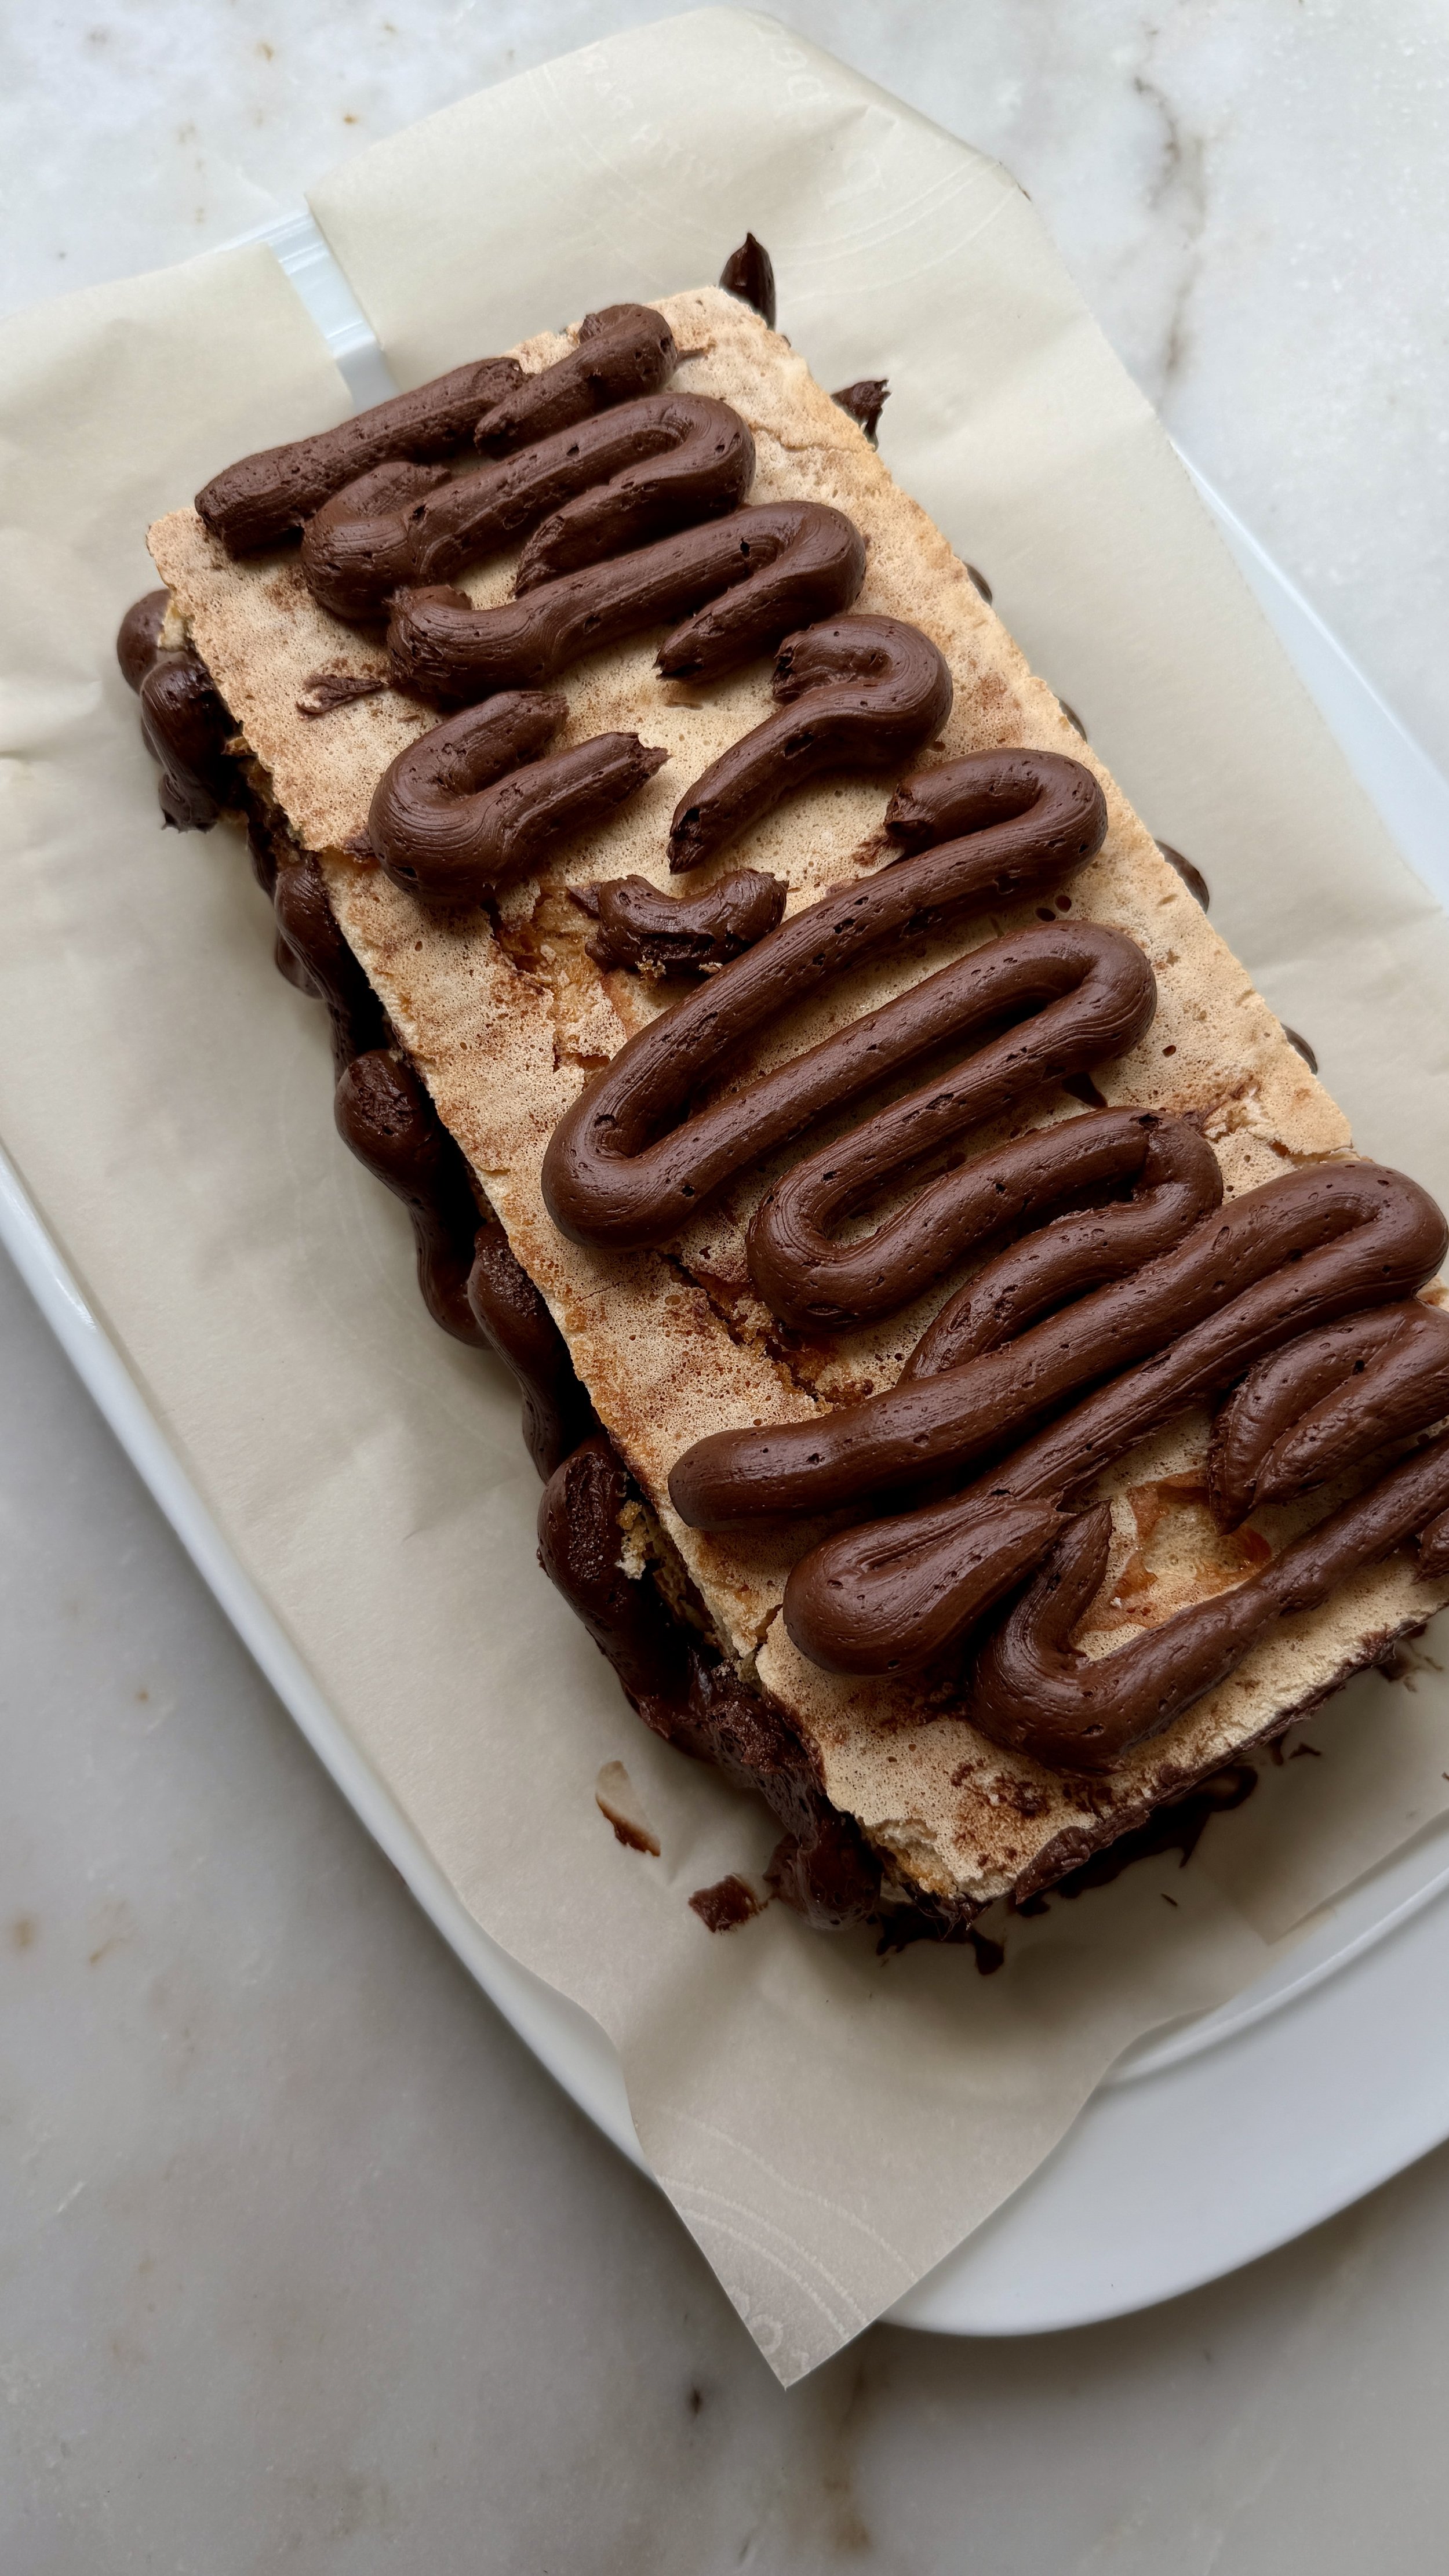
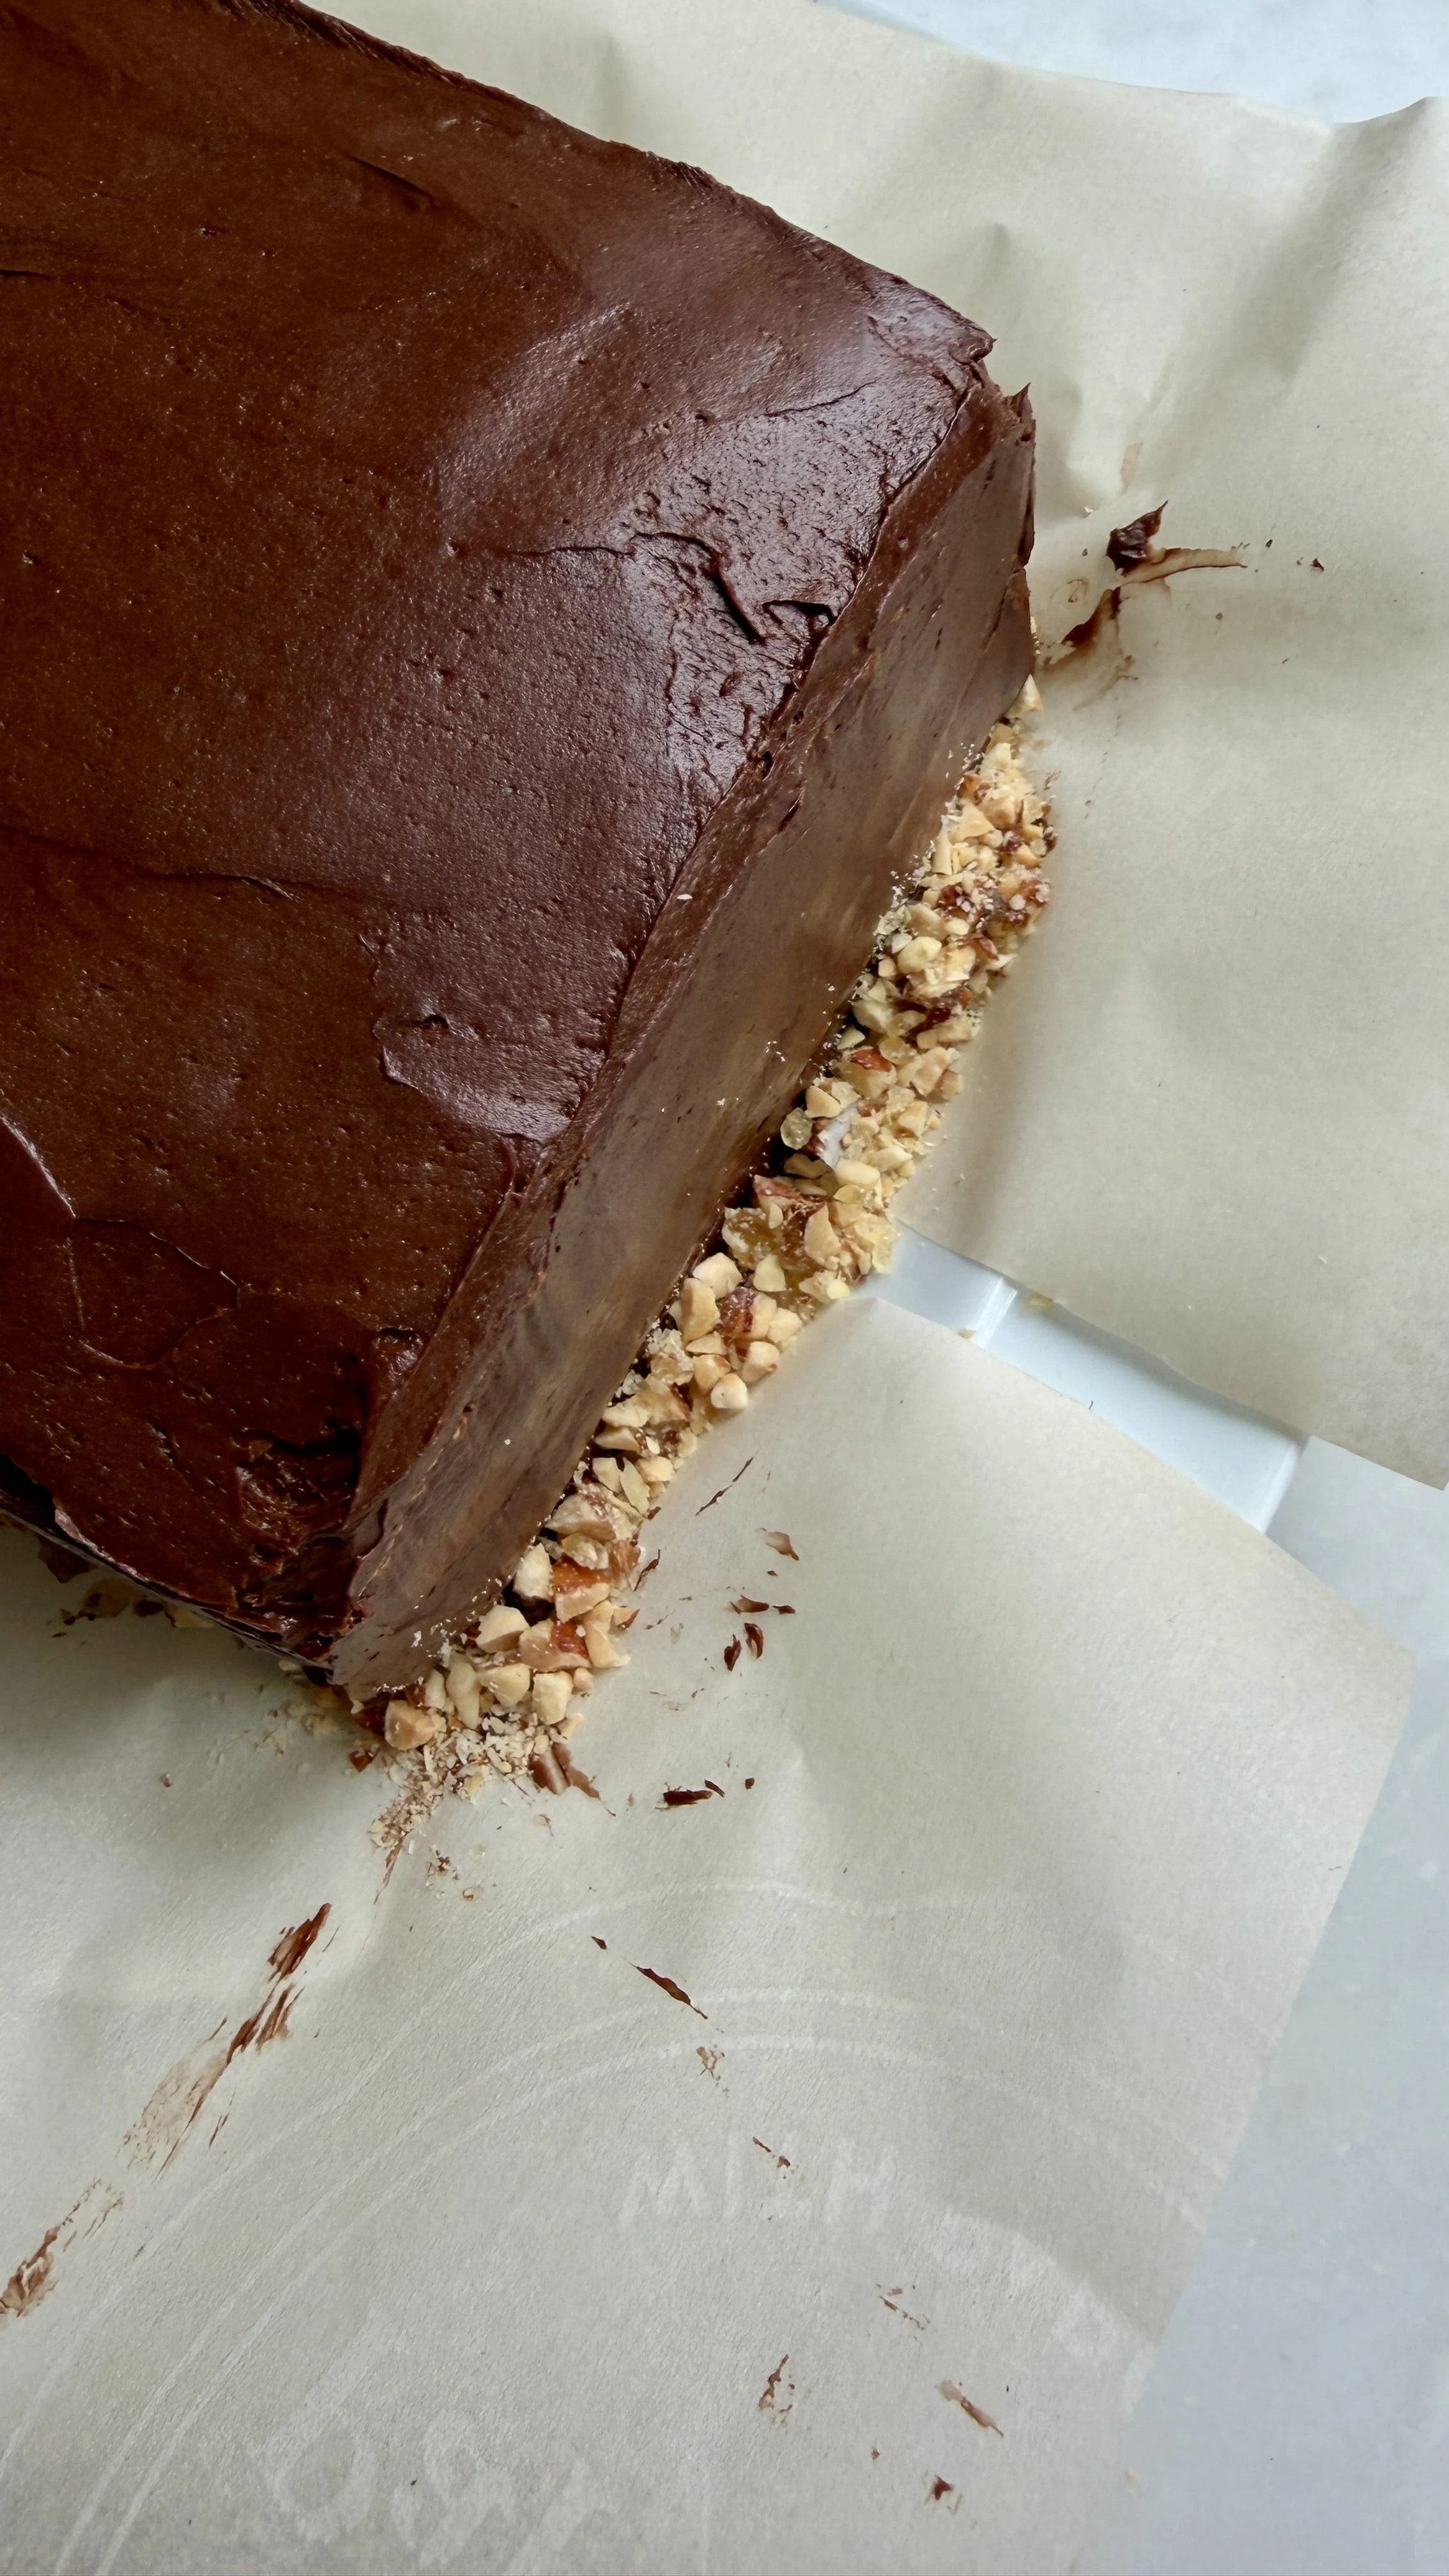
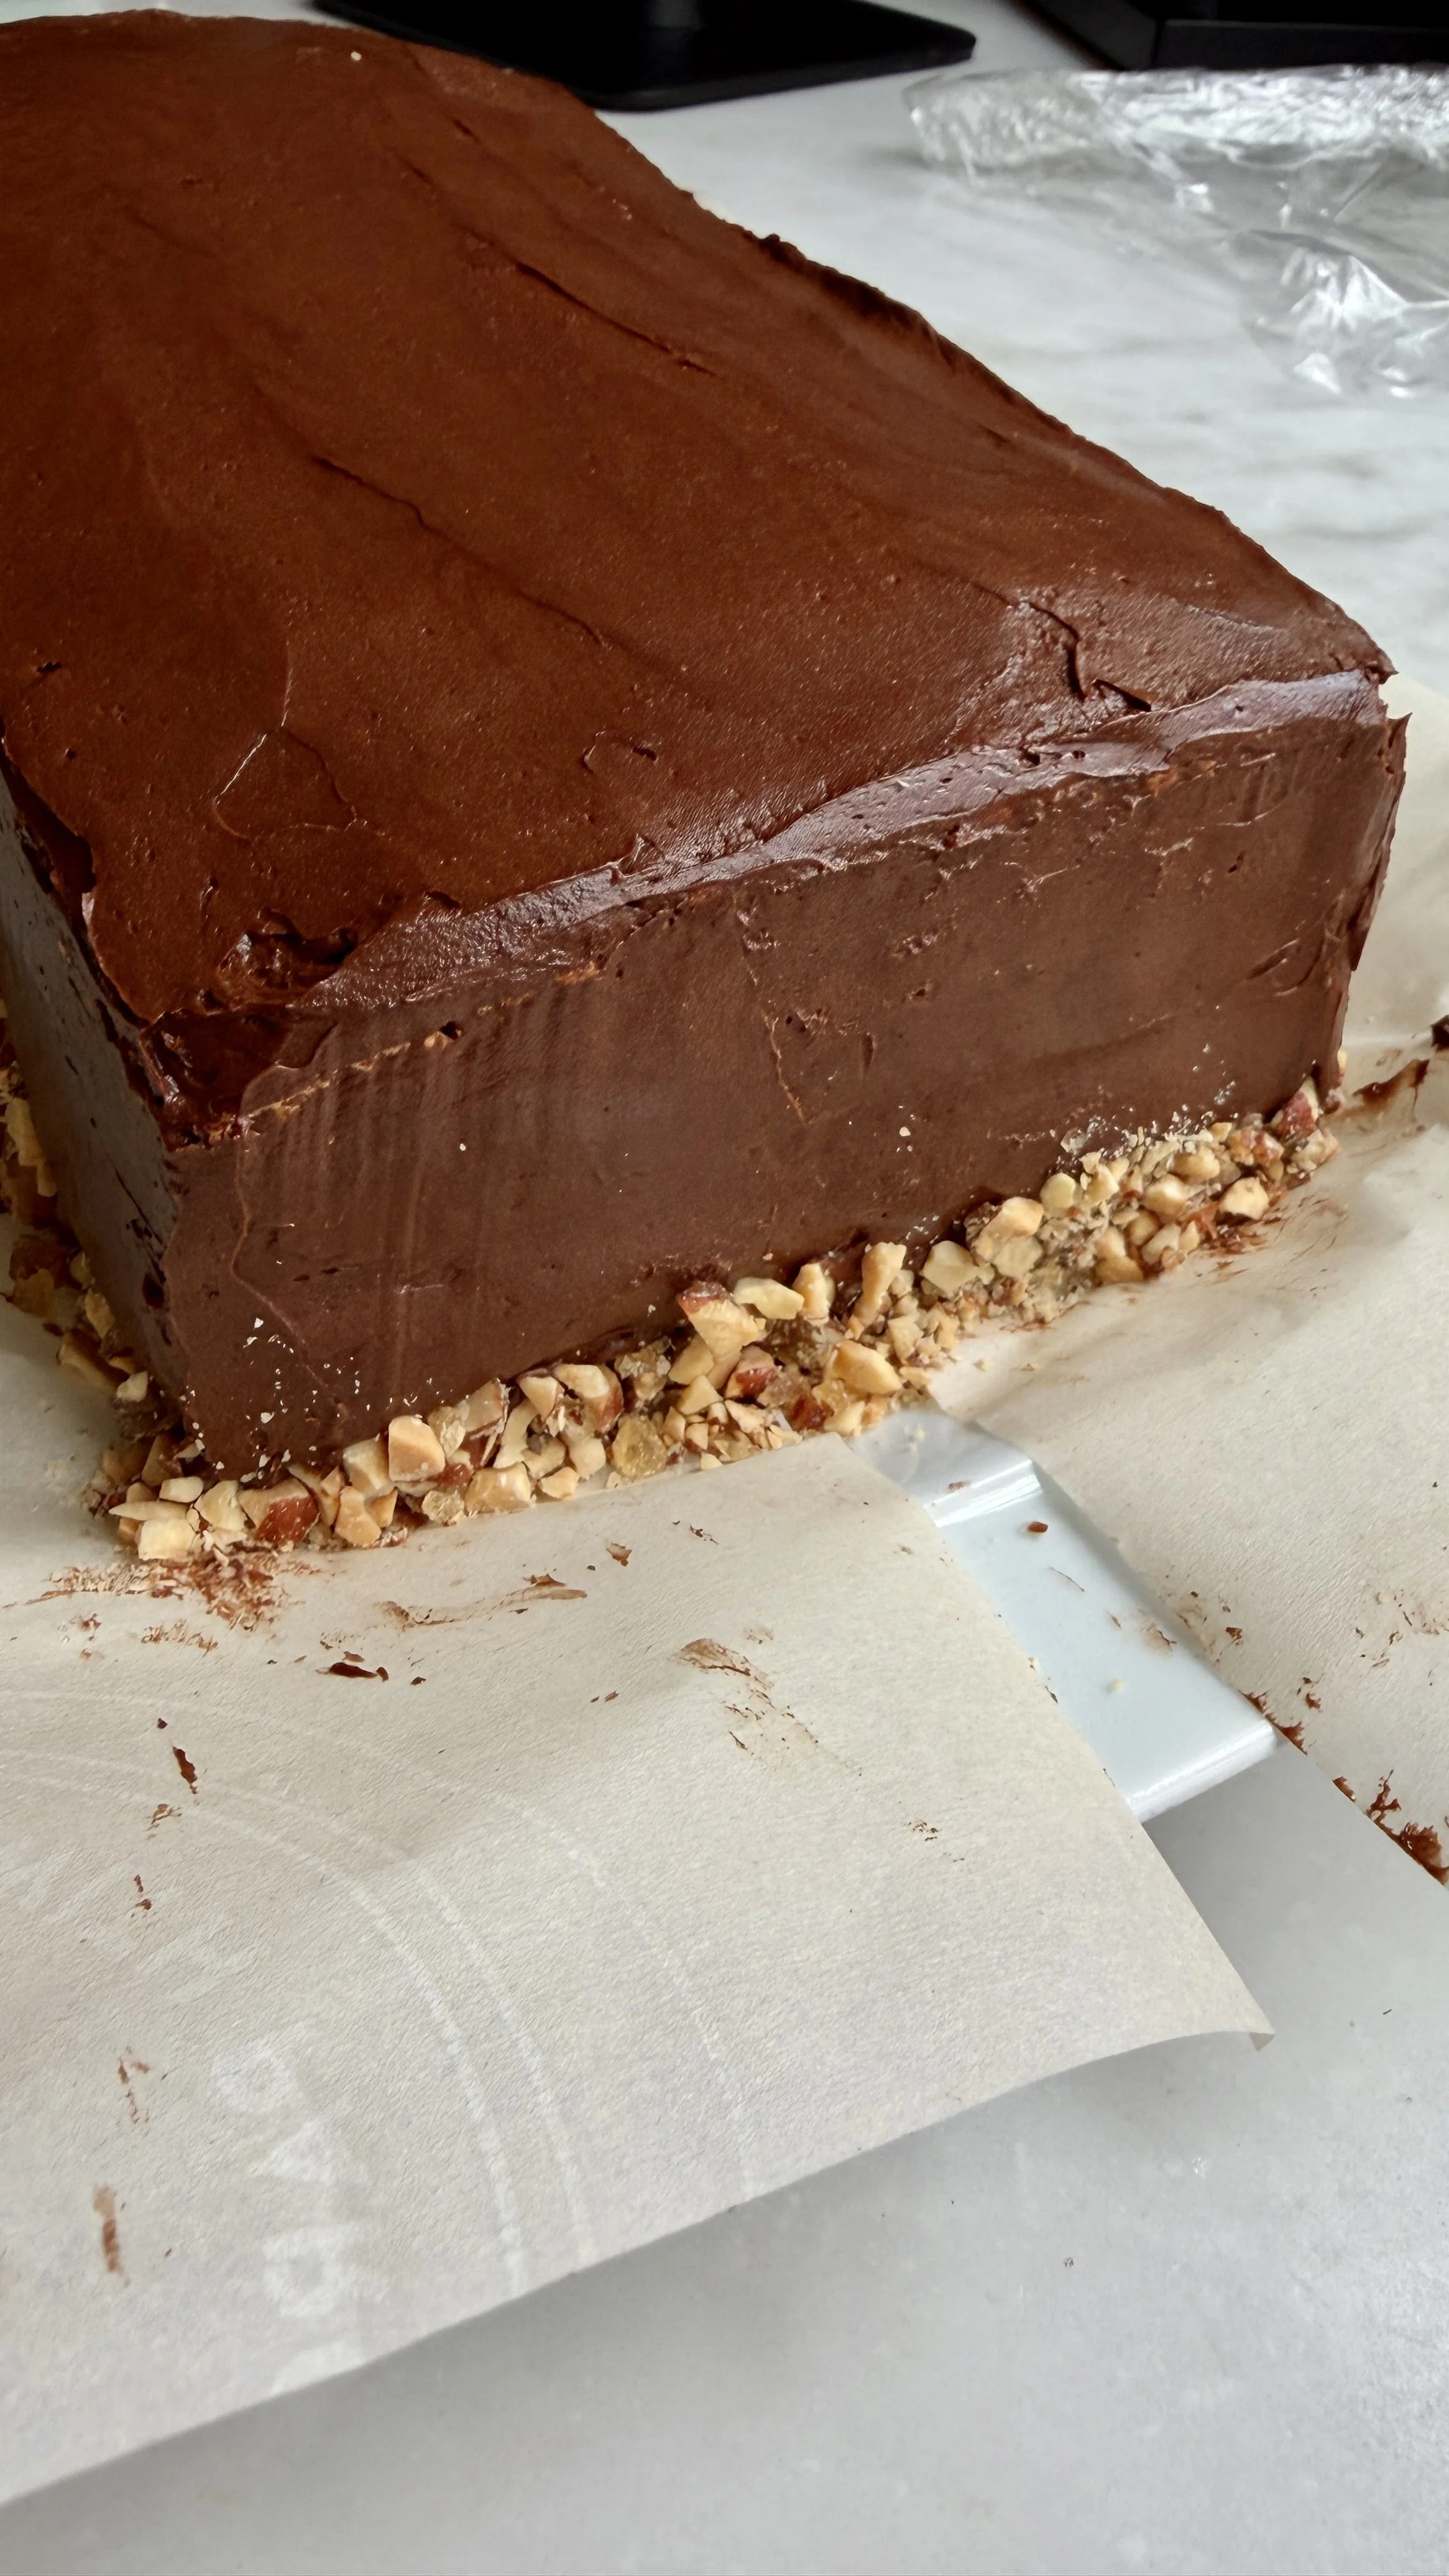
Decorate with praline crumbs. Use parchment overhangs to push them to adhere to the cake.
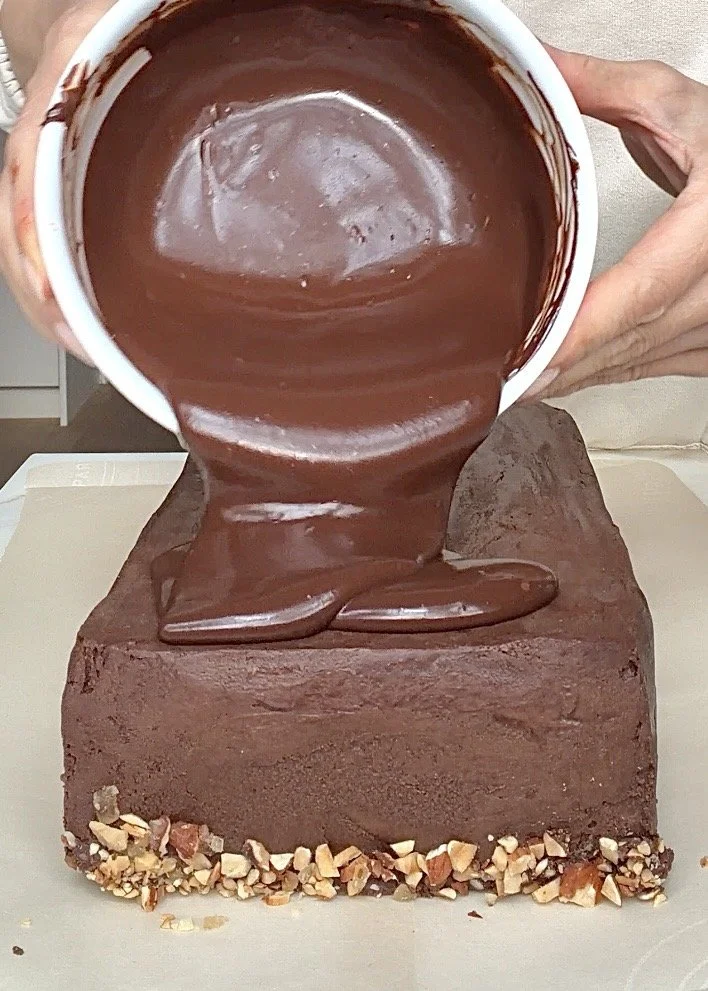
Chill cake briefly while preparing ganache drip, following the exact same ganache steps as above with the smaller quantities listed.
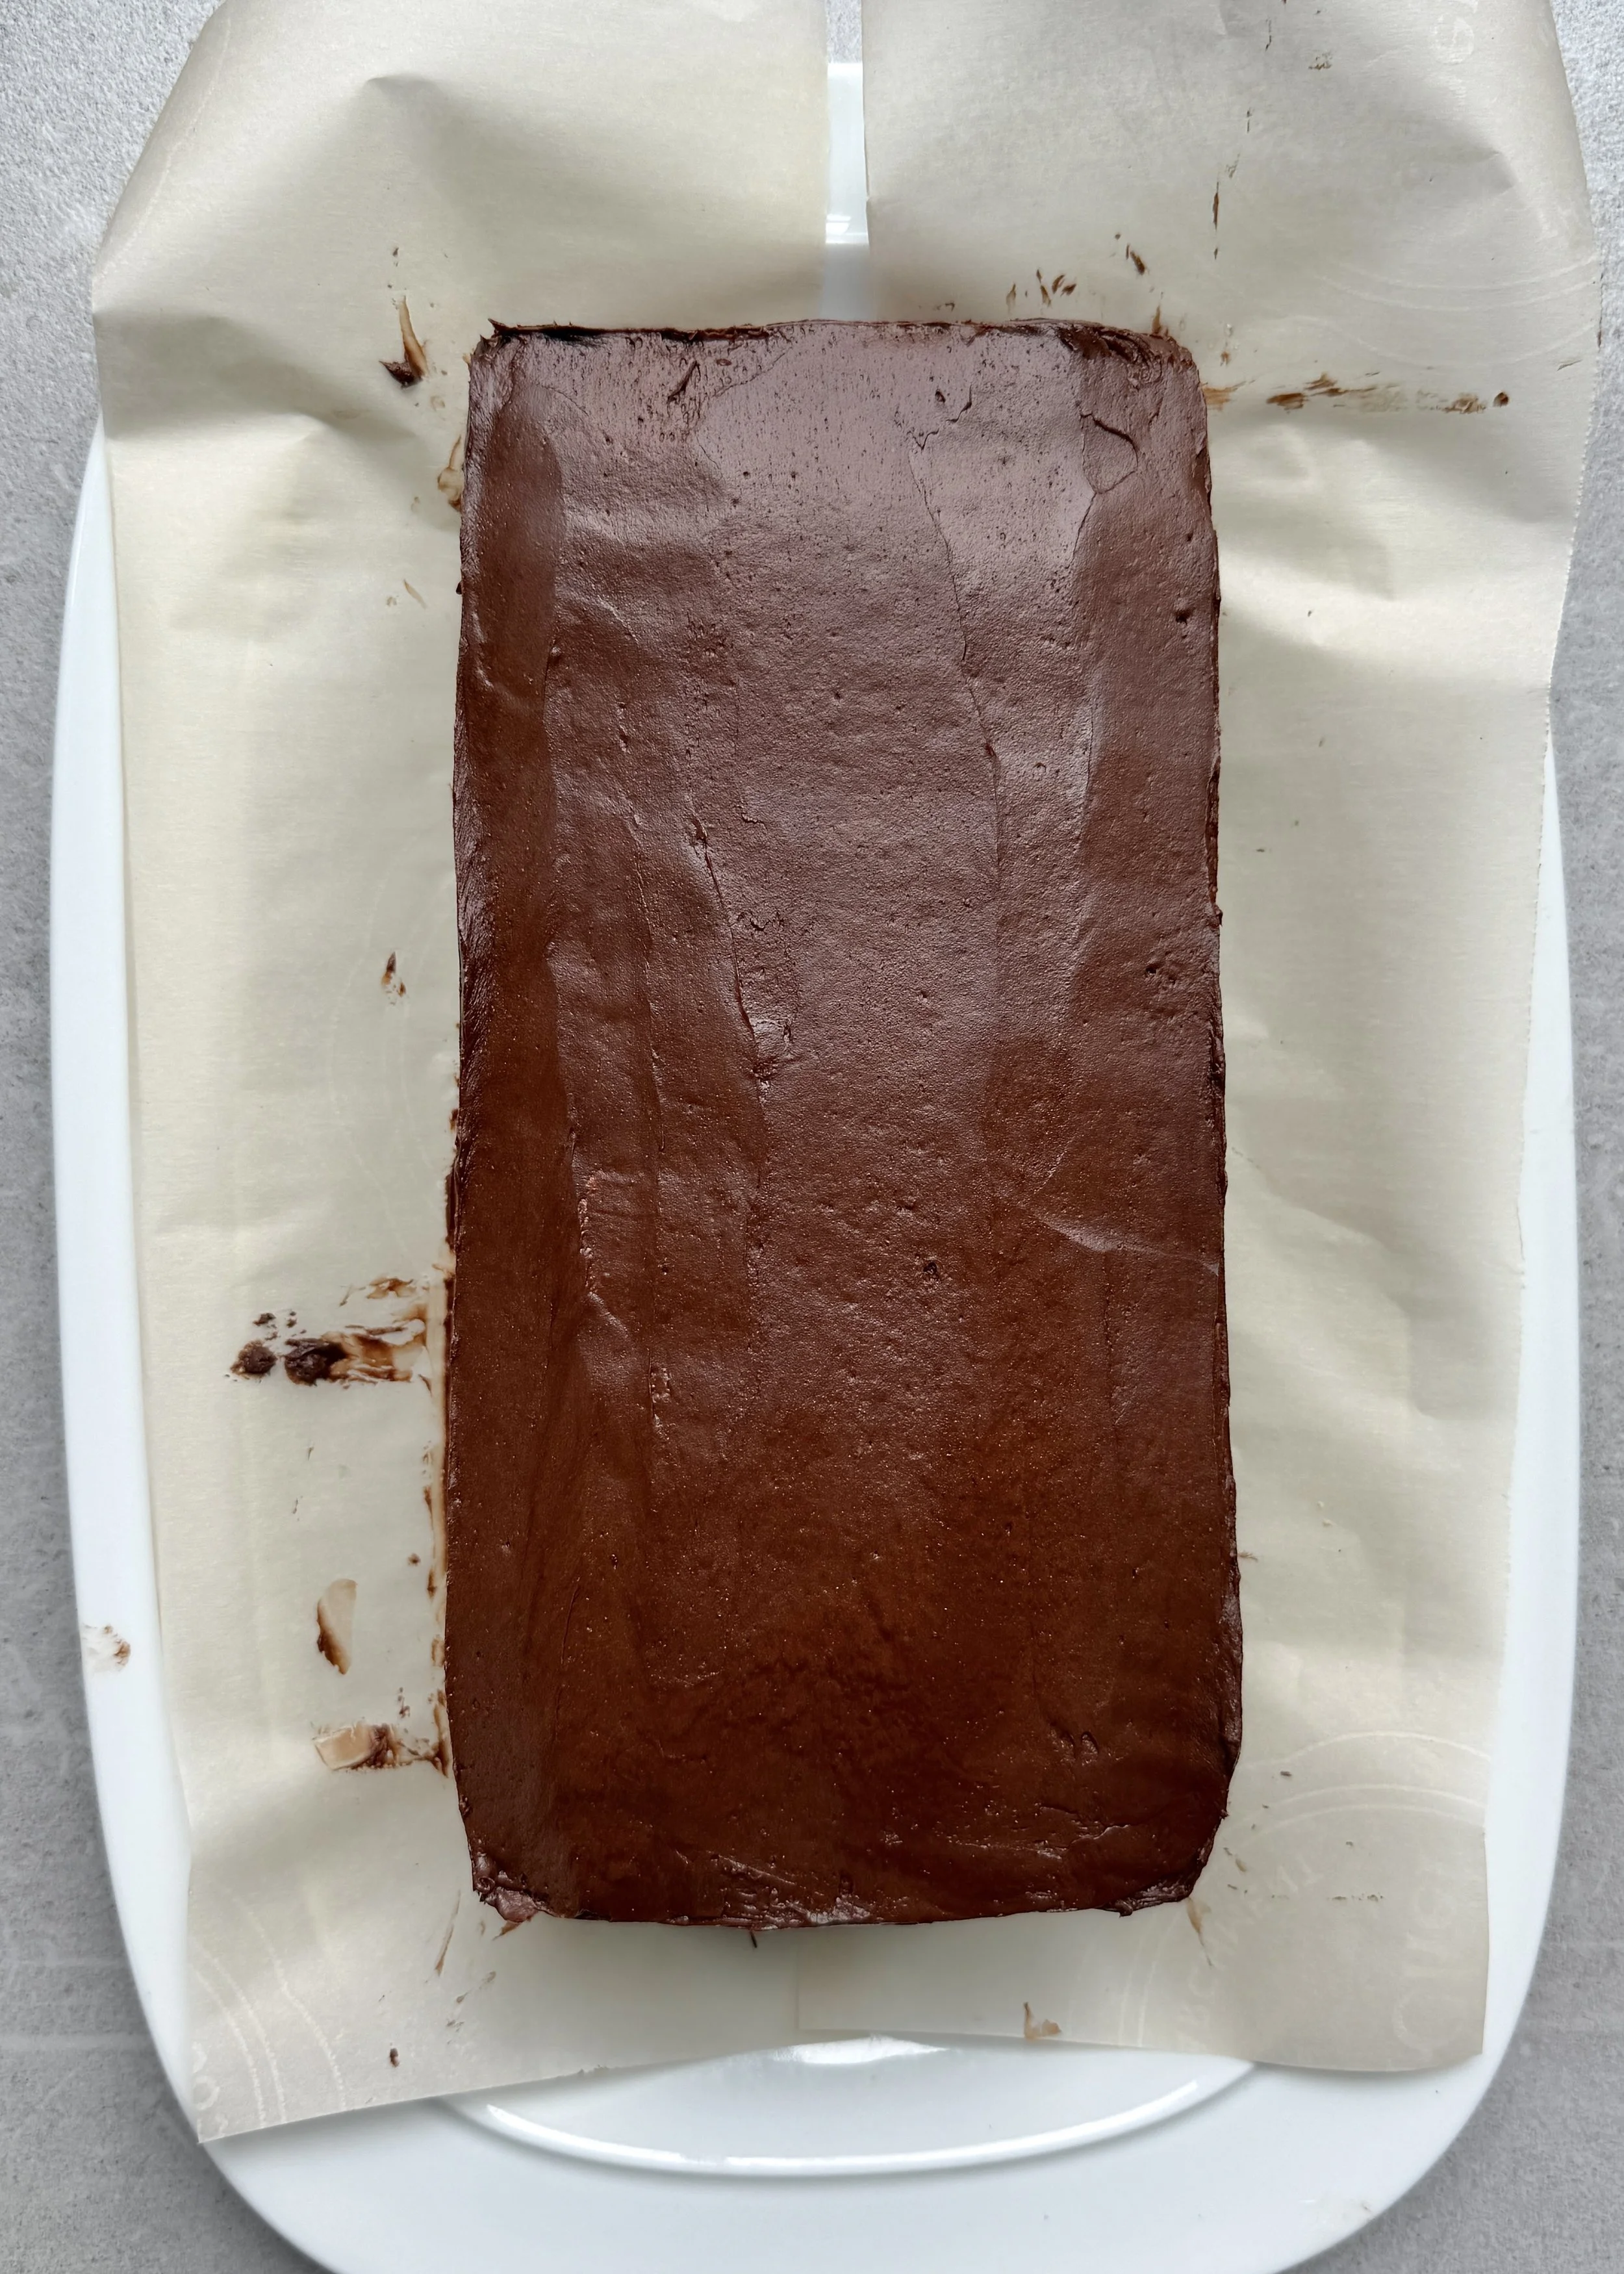
When ganache cools slightly to a thick but pourable consistency (86°F/30°C), pour over cake and immediately smooth it evenly across the top, allowing a little to drip down the sides decoratively.

Set ganache at room temperature or in the fridge depending on when it’s being served. Total chill time of the cake should be 6 to 8 hours, up to 2 days to allow layers to meld together — I personally prefer the texture at about the mid point of this range ~ 1 day’s rest time. Cut with hot knife into slices to serve.
Tips & FAQs
Special equipment
I will always espouse the virtues of a Kitchen Scale and Instant Read Thermometer for more fool-proof results, especially for more advanced recipes like this one.
Grinding nuts into nut flour
Most any nut can be turned into nut flour. I’ve made the dacquoise with hazelnuts and pistachios too! Place raw, skinless nuts into a food processor with the blade attachment. Pulse repeatedly until a fine, powdery texture is achieved, making sure to scrape the processor bowl frequently to ensure even grinding and to stop before the nuts turn into nut butter.
Meringue tips
If you’re new to making meringues, don’t be intimidated! As long as you know the basic tips to avoid pitfalls, it’s actually quite easy. It’ll take 30 minutes of active prep time and the rest is done in the oven. I can make meringues blindfolded at this point. Take a look at my pavlova recipe post for my “10 Tips for Meringue Success”!
Type of chocolate to use for ganache
First of all, this is a chocolate-forward dessert so use the best quality and best tasting chocolate you can find/afford because it makes a big difference to the end result. Use chocolate made with cacao butter (not palm oils) and little to no stabilizers like soy or sunflower lecithin. Stabilizers can interfere with the emulsification of the chocolate and cream, resulting in splitting.
55%-60% cacao chocolate seems to work best for ganache. Higher % tends to split more easily. Lower % would be too sweet for this recipe.
Couverture chocolates (e.g. Callebaut, Valrhona) are the highest quality with superior taste, but are expensive and may be harder for some people to get — although even Costco sells Callebaut and the price is pretty good if you don’t mind stocking up a 2.5kg bag!
You can get good quality block chocolate (e.g. Lindt, Ghirardelli) at the supermarket but pay attention to the ingredient labels for stabilizers such as sunflower/soy lecithin.
Certain brands of chocolate chips work but most of them contain stabilizers to retain their shape which make them more prone to issues.
Ganache tips
Sometimes, chocolate ganache can seize, split or get grainy (especially when whipped). Here are some tips to prevent and fix it:
Make sure bowls and tools are dry and free of water. Small splashes of water interfere with emulsification.
Don’t boil the cream – heat it to “scalding” temperature 190°F to 200°F (88°C to 93°C), just before simmering. If it boils, make sure to cool it off to the temperature range before continuing.
It’s very important to use quality chocolate – see Tips & FAQ above “Type of chocolate to use for ganache”
Use silicon spatula or metal spoon to stir – avoid a balloon whisk which adds unwanted air.
Don’t over stir – as soon as chocolate and cream are combined and smooth, stop and let ganache set.
Ideally do not refrigerate the ganache – allow it set on the counter. It takes a lot longer (plan head!) but has been more fool proof for me. If chilling ganache to cut time, you’ll need to stir it frequently to prevent uneven setting i.e. outside firming up faster than inside. In my experience, the extra stirring and messing around makes it more prone to splitting so I personally avoid it!
When whipping the ganache, don’t whip it longer than 3 minutes. Over-whippng can cause graininess or splitting.
If ganache splits or gets oily or grainy, heat ¼ cup of hot water and splash it one tablespoon at a time and whisk until mixture looks homogenous again. If that doesn’t work, use and immersion blender to blend until smooth. If that doesn’t work, start over by placing ganache in a pot over the lowest heat on the stove and stir until it comes back together, adding up to 3 or 4 tablespoons of hot water a bit at a time, as needed.
What if the ganache becomes too thick to spread?
Gently and briefly warm ganache over a double boiler or in the microwave in 5 to 10-second increments, stirring gently. Be careful to only reheat briefly or else it may become too runny and you’ll have to wait for it to set all over again.
You may also like these recipes:
Dacquoise with Chocolate and Praline Cream

Dacquoise with Chocolate and Praline Cream
Crisp nutty meringue layered with praline pastry cream and rich chocolate ganache, this incredible multilayered cake is a rich and indulgent dessert that will have everyone swooning.
Ingredients
Instructions
- Line two standard-sized baking sheets (18” x 13”) with parchment paper.
- Prepare praline (make the night before assembly):
- Preheat oven to 350°F (180°C). Spread nuts on one baking sheet and toast until fragrant and light brown, about 10 minutes, stirring once midway. Remove from oven and cool.
- In a small pot, add the water first, followed by sugar, salt and corn syrup. Place pot over medium heat. Heat to a strong simmer, without stirring, until sugar is fully dissolved and reaches 240°F (116°C) on a candy thermometer, about 3 minutes. Remove from heat and using a stiff silicon spatula, stir in cooled nuts to evenly coat. Return pot to medium heat and cook, stirring often, until sugar turns amber in colour and reaches 300°F (150°C) aka “hard-crack stage”, about 5 minutes. Immediately remove from heat and transfer onto the lined baking sheet. Cool fully until hardened into brittle, about 30 minutes, then break into small pieces. In batches for even processing, place broken praline pieces into a food processor to grind to a powder. You may need to sift some out and repeat to get even results. Reserve a small handful of more coarsely ground/chopped praline for decorating the cake. (1C /145g whole raw skinless nuts, 2 tbsp water, 1C/200g granulated sugar, ¼ tsp salt, 1 tbsp light corn syrup)
- Make in advance: Praline and praline powder can be made and stored refrigerated or frozen in airtight containers up to 3 weeks. You will have extra praline powder – look up “uses for praline powder” to get inspired. My fave is sprinkled on vanilla ice cream.
- Prepare dacquoise / nut meringue layers (make the night before assembly):
- Check if your two baking sheets fit side by side in your oven. If so, set a middle rack. If not, set one middle rack and one lower rack and rotate the trays midway through baking. Heat oven to 225°F (110°C).
- Use a pencil to draw two 10” x 4” rectangles on the underside of each parchment paper with 1¾” gap between them. Flip parchment over so pencil is on the underside.
- In a stand mixer with whisk attachment, whip egg whites and cream of tartar (or lemon juice/vinegar) on medium-high (speed 6 of 10 on Kitchen Aid) past the foamy stage to soft peaks, about 2 minutes. “Soft peaks” means when you turn the whisk upside down, the mixture peaks briefly but droops back onto itself. With mixer still on medium-high, add sugar by the tablespoon, whisking 3 seconds before adding the next. Once all sugar is added, scrape the bowl. Whisk on high (speed 8 of 10 on Kitchen Aid) for 3 minutes or until thick and glossy, and the mixture has no or minimal sugar grit when rubbed between your fingers. Sprinkle almond flour on top in 2 to 3 additions and fold gently with a spatula. Try not to deflate the meringue however it is normal for the mixture to become looser. (8 large/285g egg whites, 1⅔C /335g superfine sugar, ¼ tsp cream of tartar or 2 tsp lemon juice/white vinegar, 1⅓C/145g fine ground almond flour)
- In batches as needed to fit, fill a large piping bag with meringue mixture and snip a ½” opening at the tip. Pipe onto parchment along the inside edge of the drawn rectangle outlines, then fill in the centers. Use up all the meringue mixture between the 4 rectangles. Bake 3 hours. Turn off oven and, without opening the oven door, leave to cool and dry at least 3 hours up to overnight.
- Carefully lift dacquoise off the parchment. Meringue may have expanded to the point the rectangles touch slightly in places. Don’t worry, they detach easily if you gently lift them. Use a long serrated knife or microplane, with a sawing motion, to straighten/trim edges to get four uniformly-sized rectangles. You should obviously handle the meringue carefully, but they’re fairly sturdy and easily trimmed. Even with breakage, they can be pieced together during cake assembly. Keep them stored in airtight containers or, I simply put them back in the turned-off oven until I’m ready to use them.
- Make in advance: Dacquoise / nut meringue can be baked and allowed to dry in the turned-off oven 3 hours up to overnight.
- Prepare chocolate ganache (make the night before assembly):
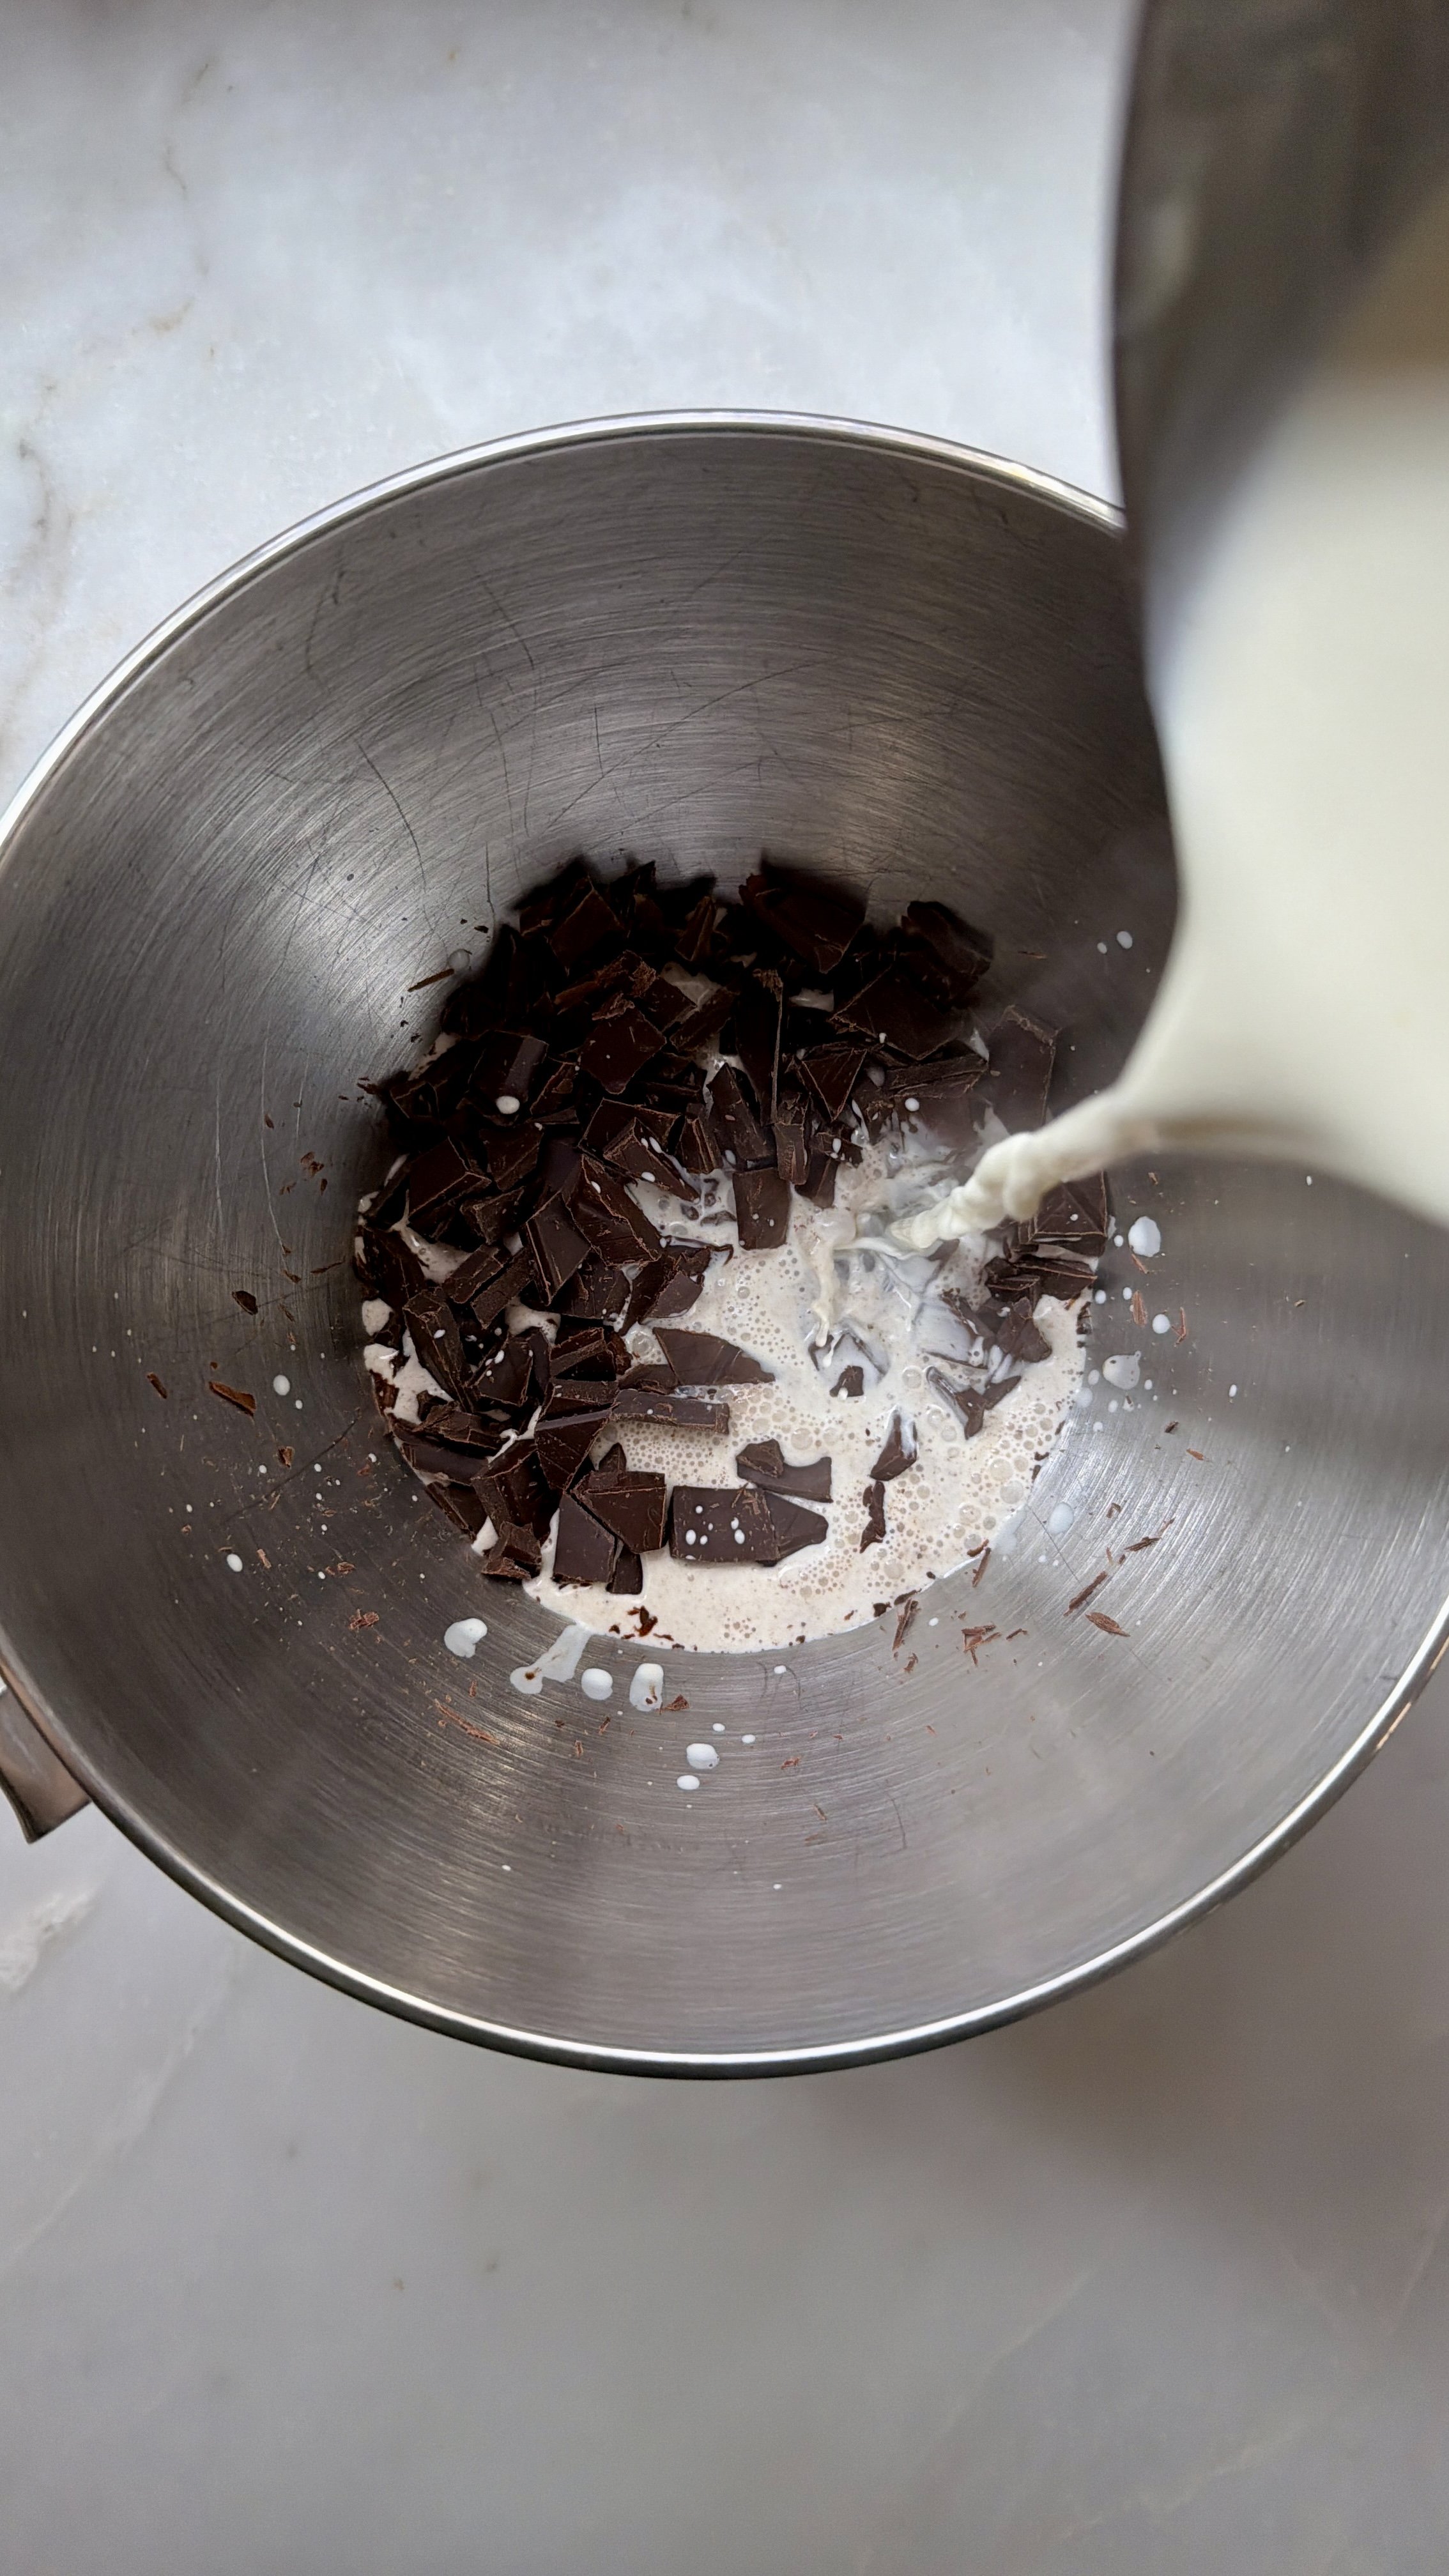
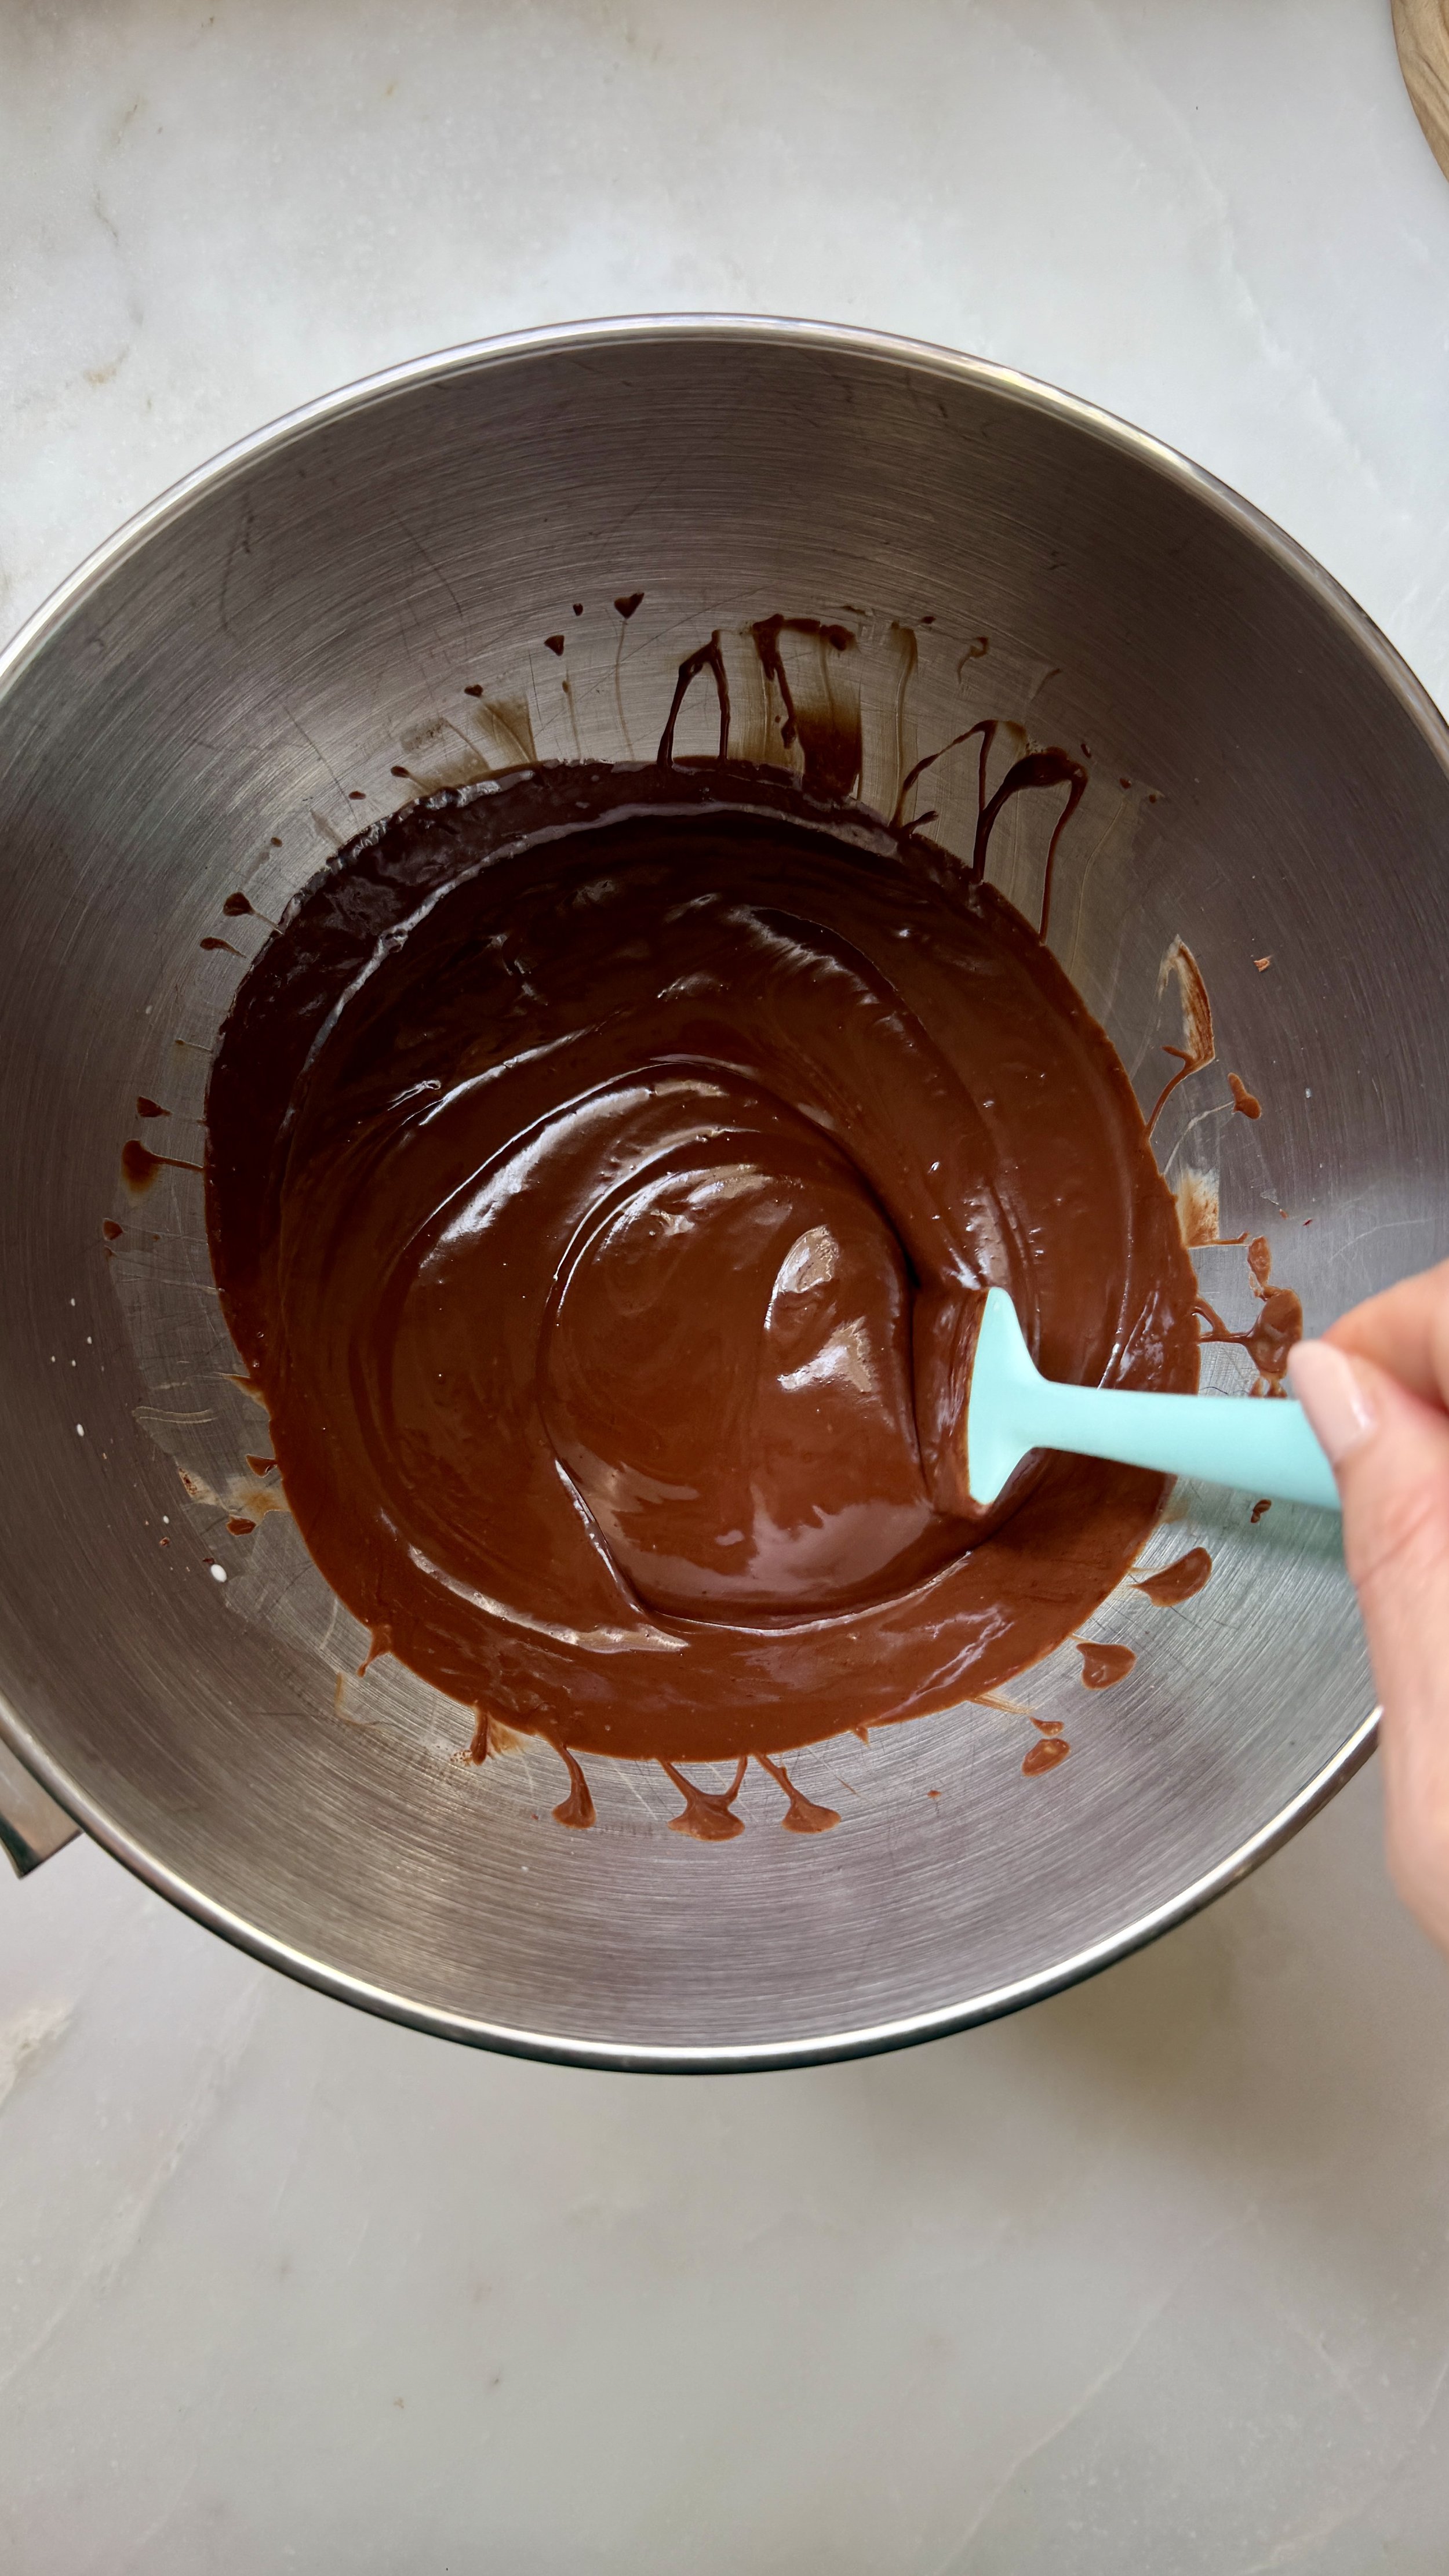
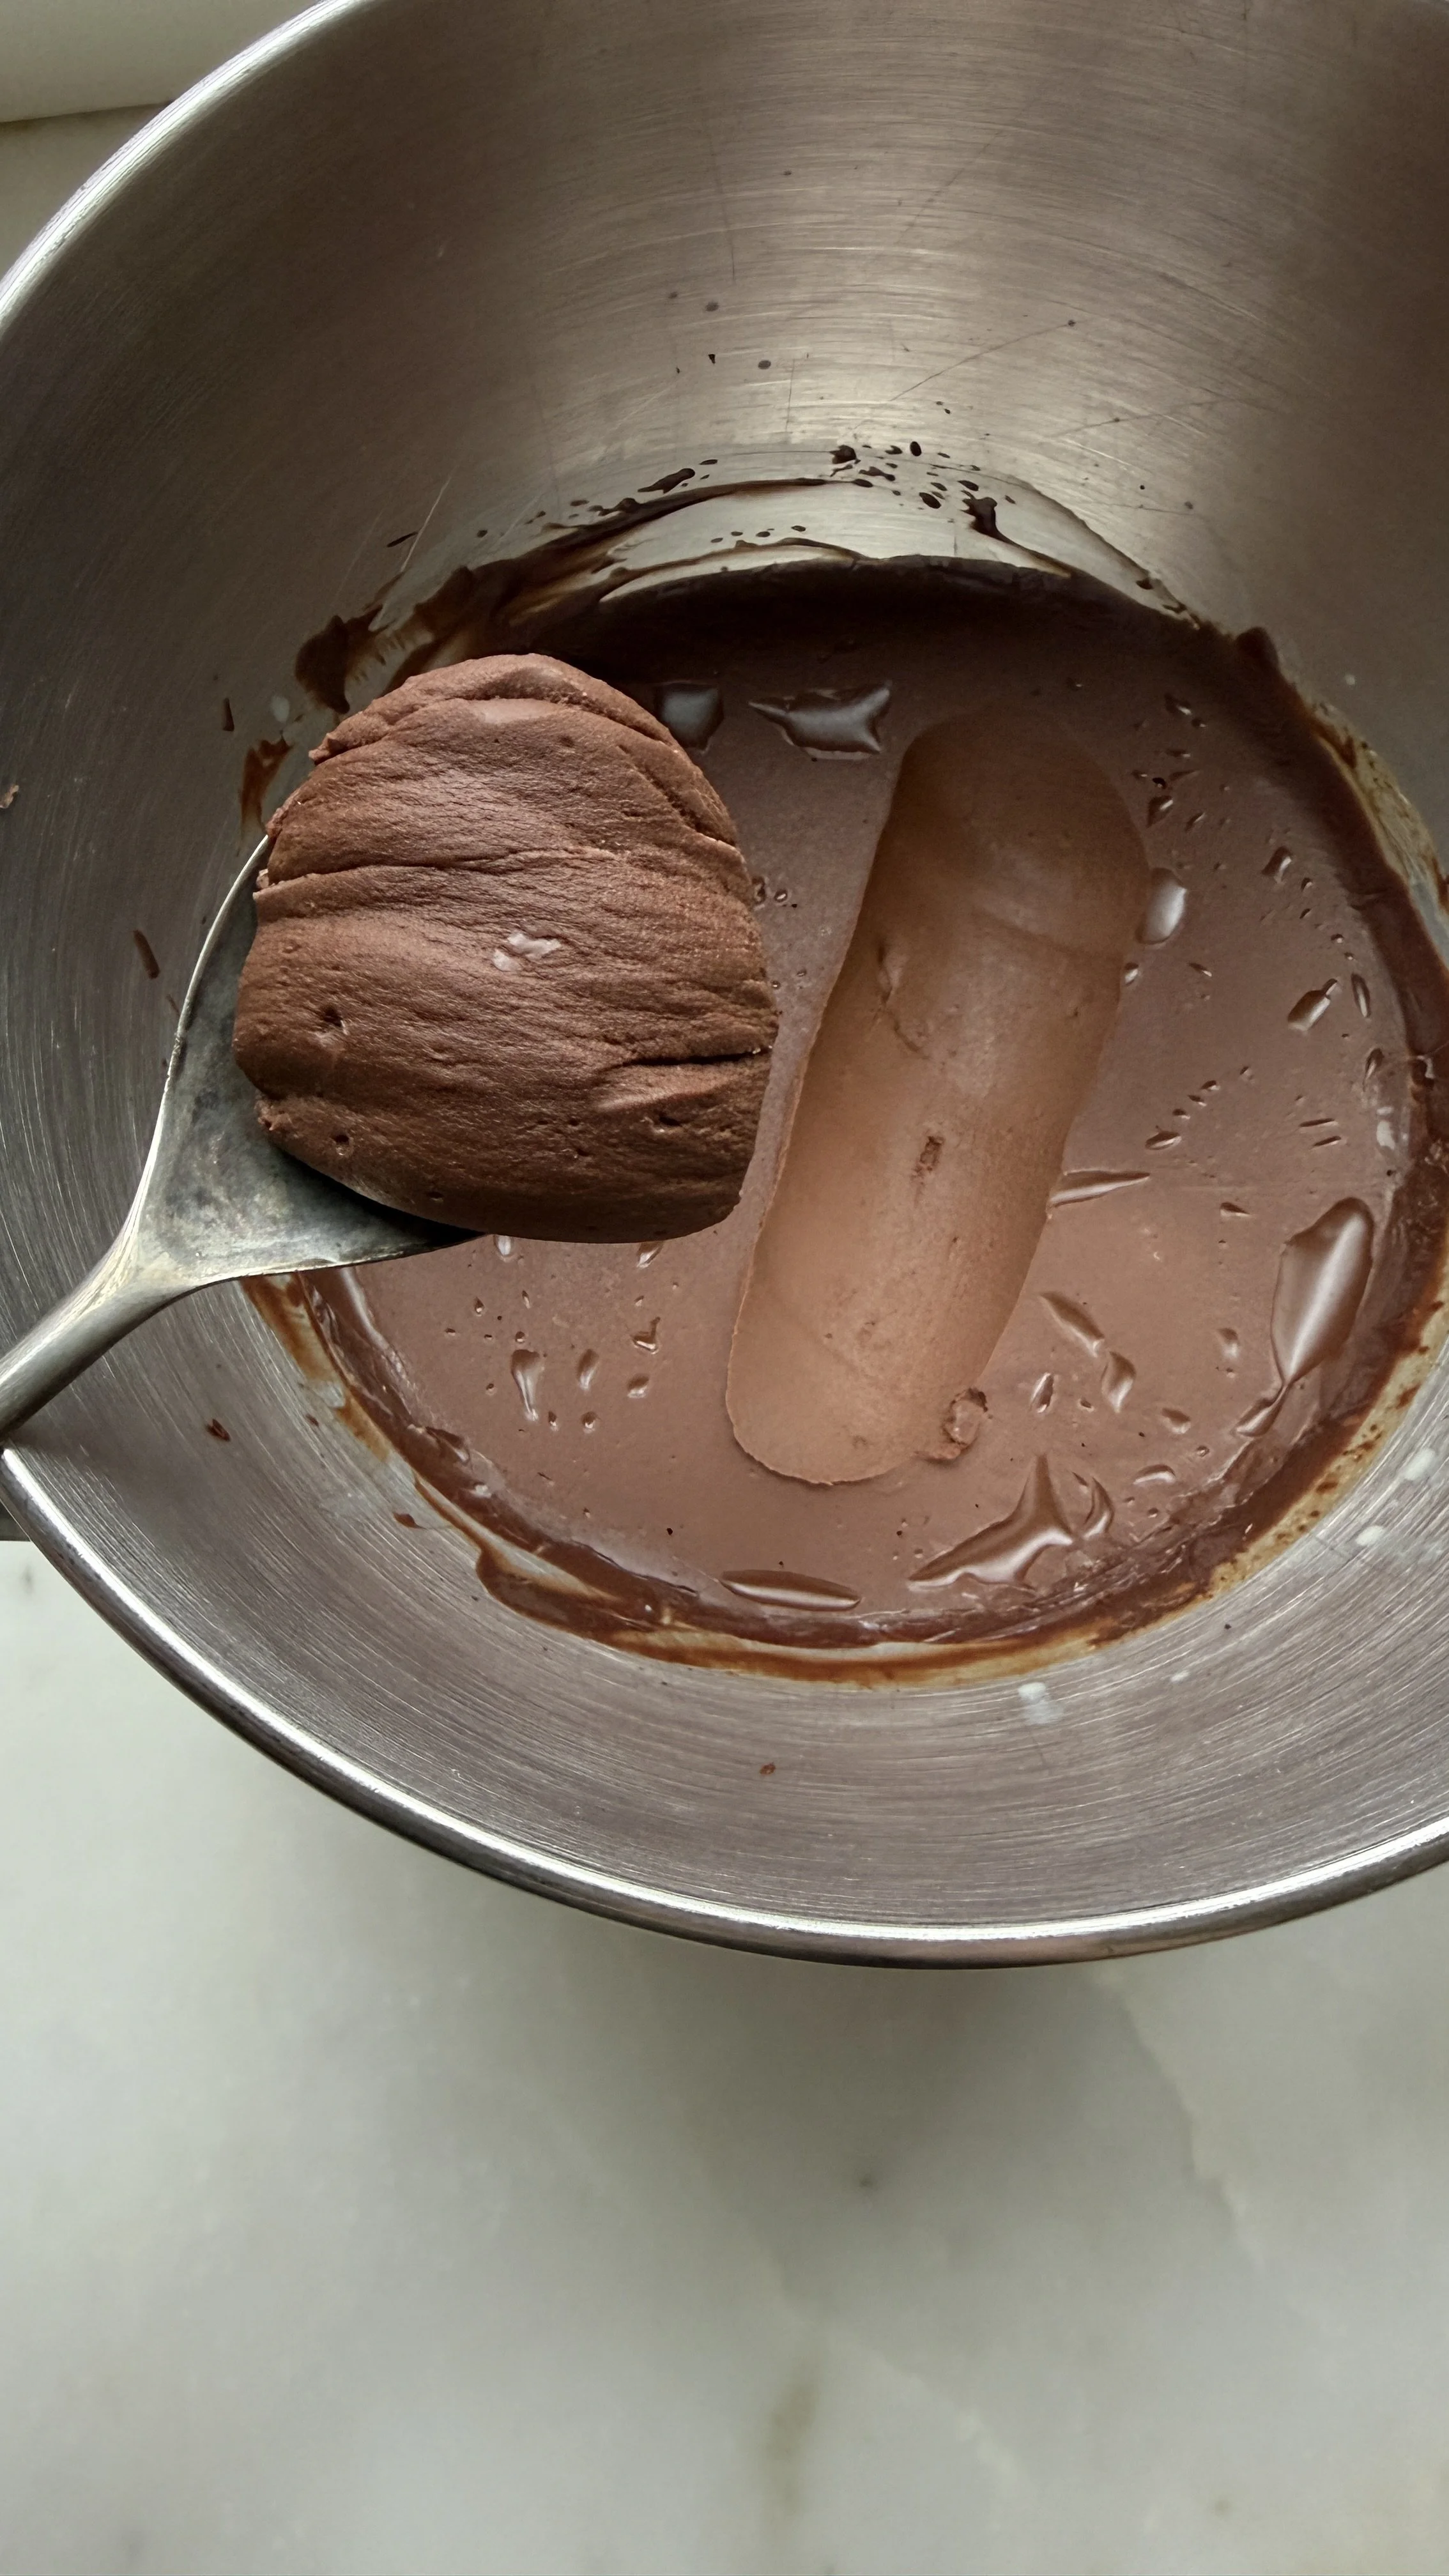
- Place finely chopped chocolate in the bowl of a stand mixer. In a small pot, place cream, corn syrup, vanilla and salt. Heat over medium until scalded i.e. just before simmering but not boiling. Pour over chocolate. Stand uncovered 5 minutes. Using a spatula or metal spoon, gently stir until smooth and glossy. Stop stirring as soon as mixture is fully combined. Cool to room temperature before covering with plastic wrap directly on the surface. Continue to let ganache firm up on the counter until it becomes the consistency of thick, soft peanut butter. This can take 4 to 6 hours (or longer!) depending on cocoa butter content in the chocolate and ambient temperature. This is why I recommend making it the day before to set overnight so you’re not waiting around for it. Resist the temptation to put it in the fridge. Many recipes do this to speed up the process but I avoid it because, in my experience, the ganache is more prone to splitting. This could just be me?! (10½oz /300g bittersweet block chocolate bars (60%-70% cacao), 1¼C/300ml 35% heavy cream, 2 tbsp light corn syrup, 1 tsp vanilla extract or paste, pinch of salt)
- The next day (day of cake assembly): Whisk set ganache in stand mixer with whisk attachment until lightened and slightly fluffy, 2 minutes. Don’t overwhip beyond 3 minutes or it may get grainy or split. If ganache splits, see Tips & FAQs section on the blog post for ways to fix it.
- Make in advance: Chocolate ganache can be made and stored at room temperature for up to 3 days.
- Prepare pastry cream (needs 2 hours chill time):
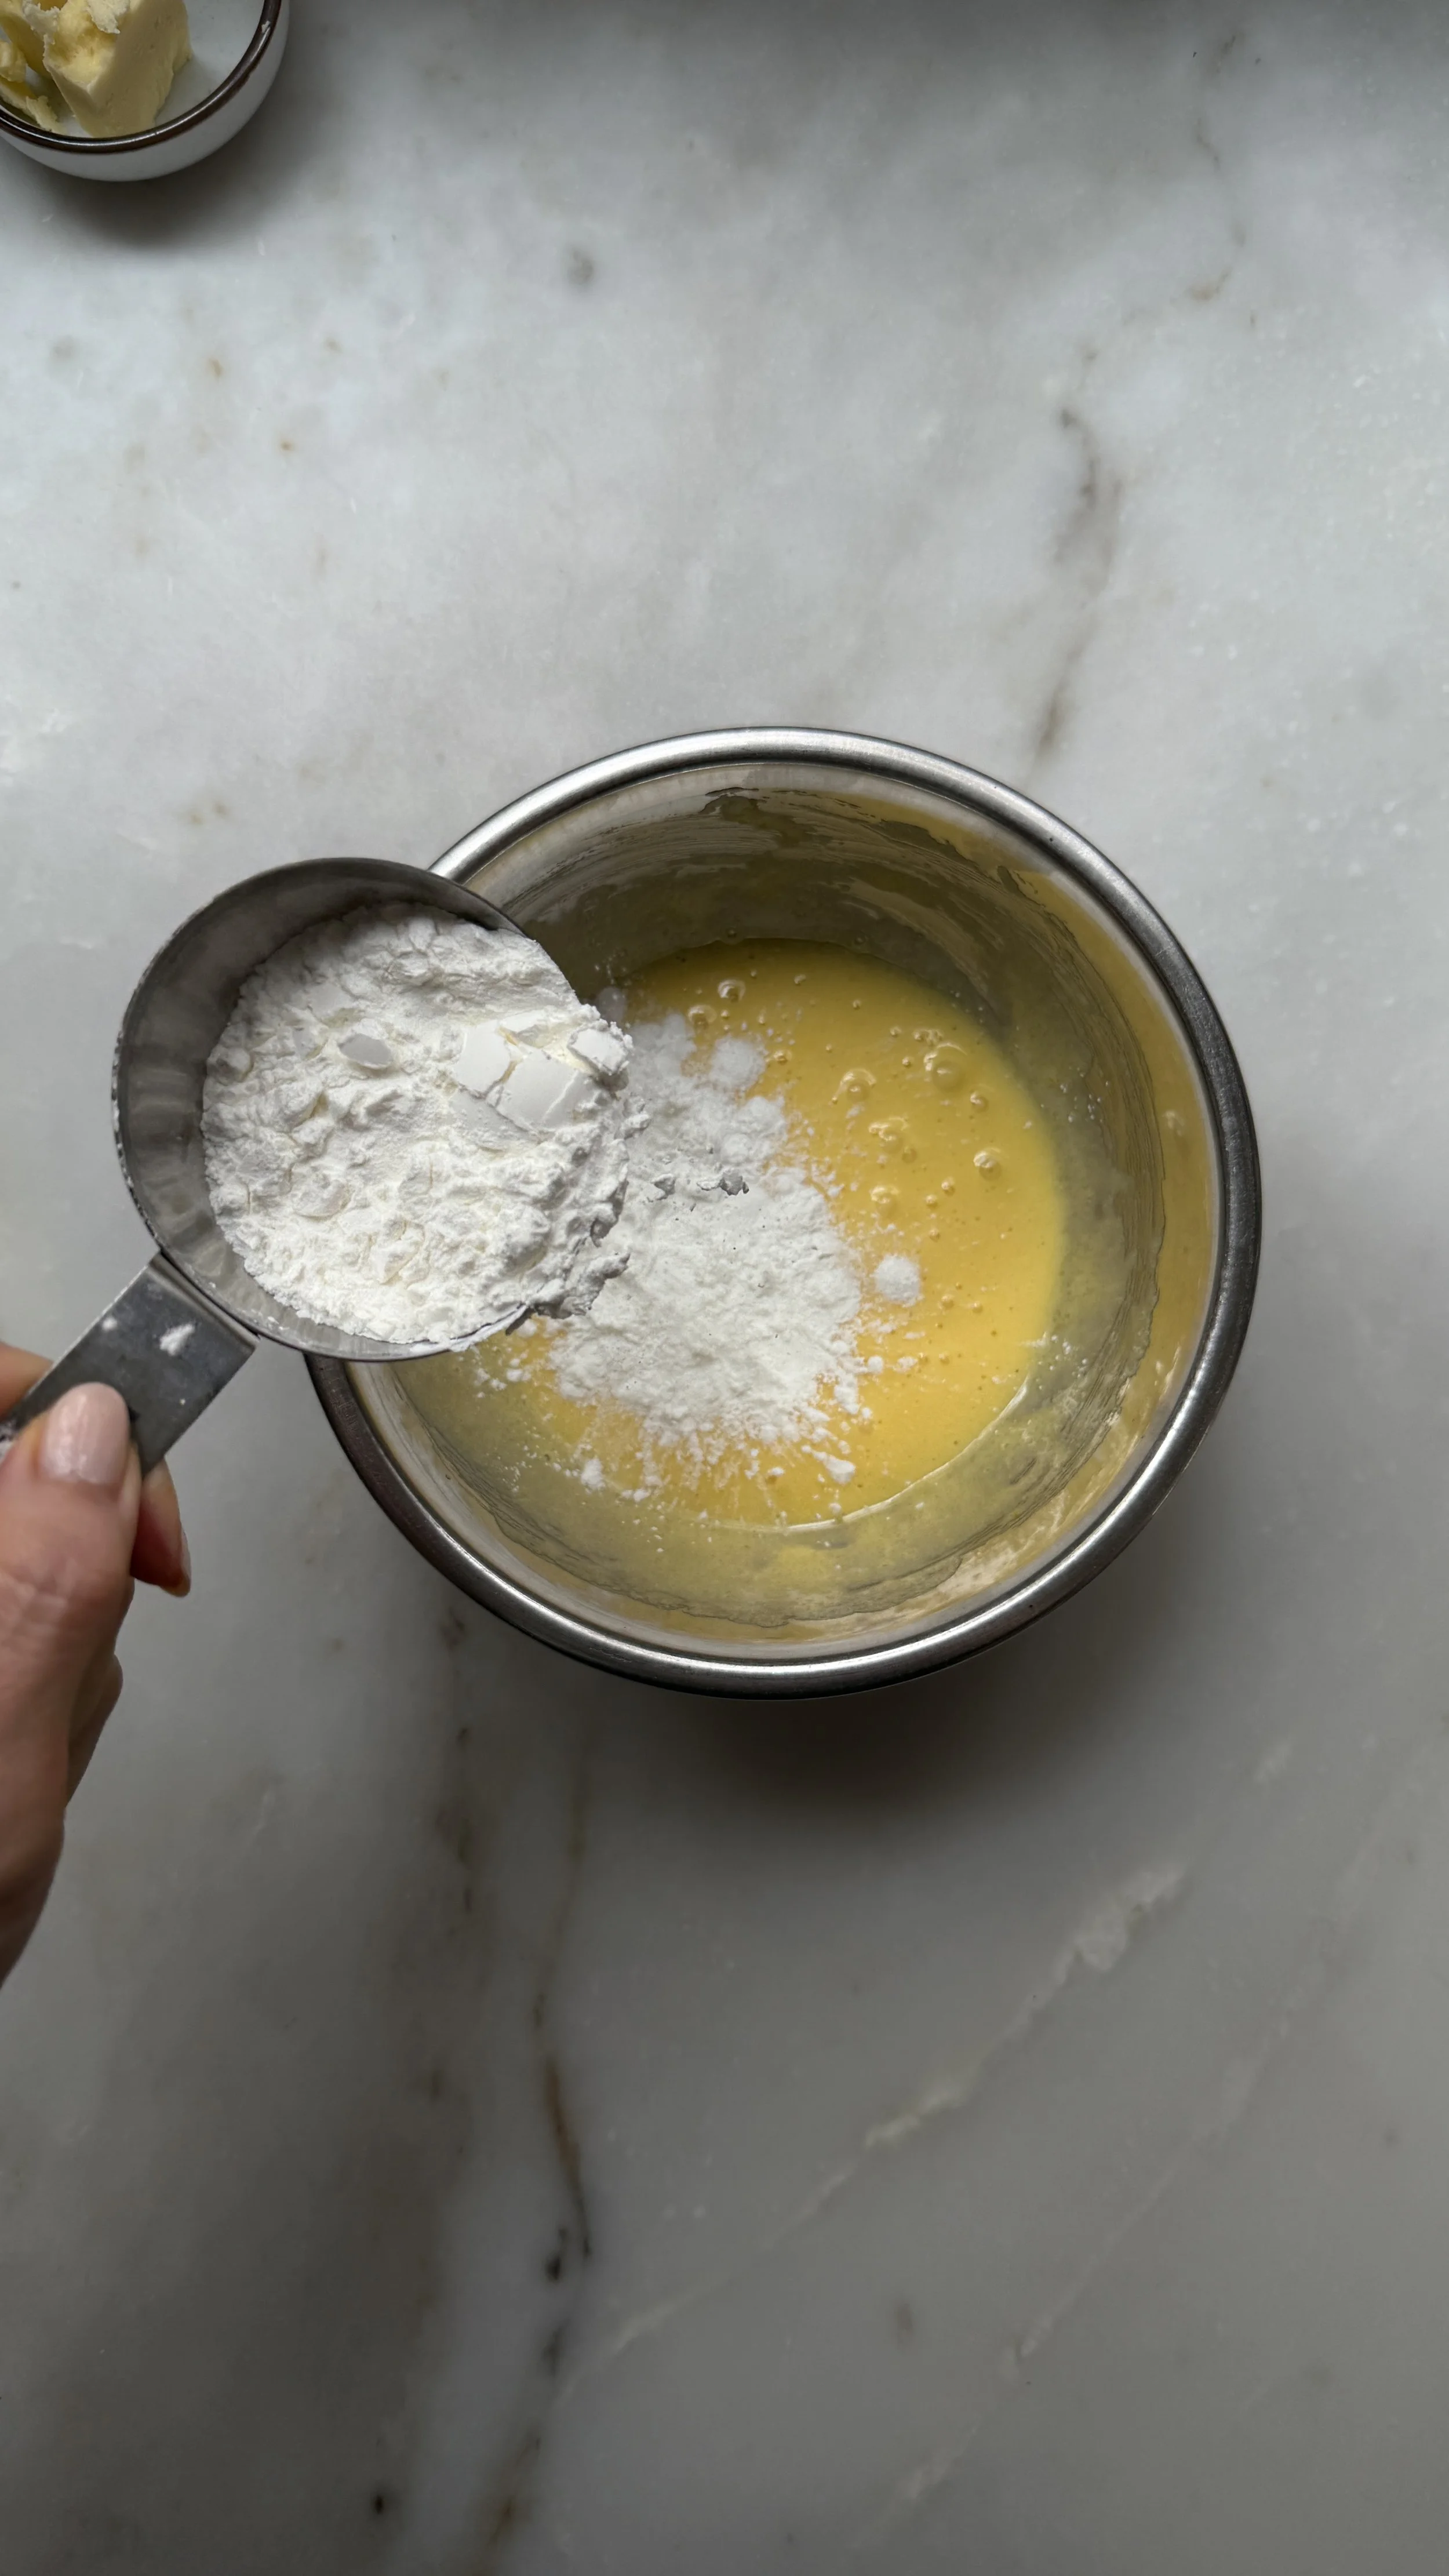
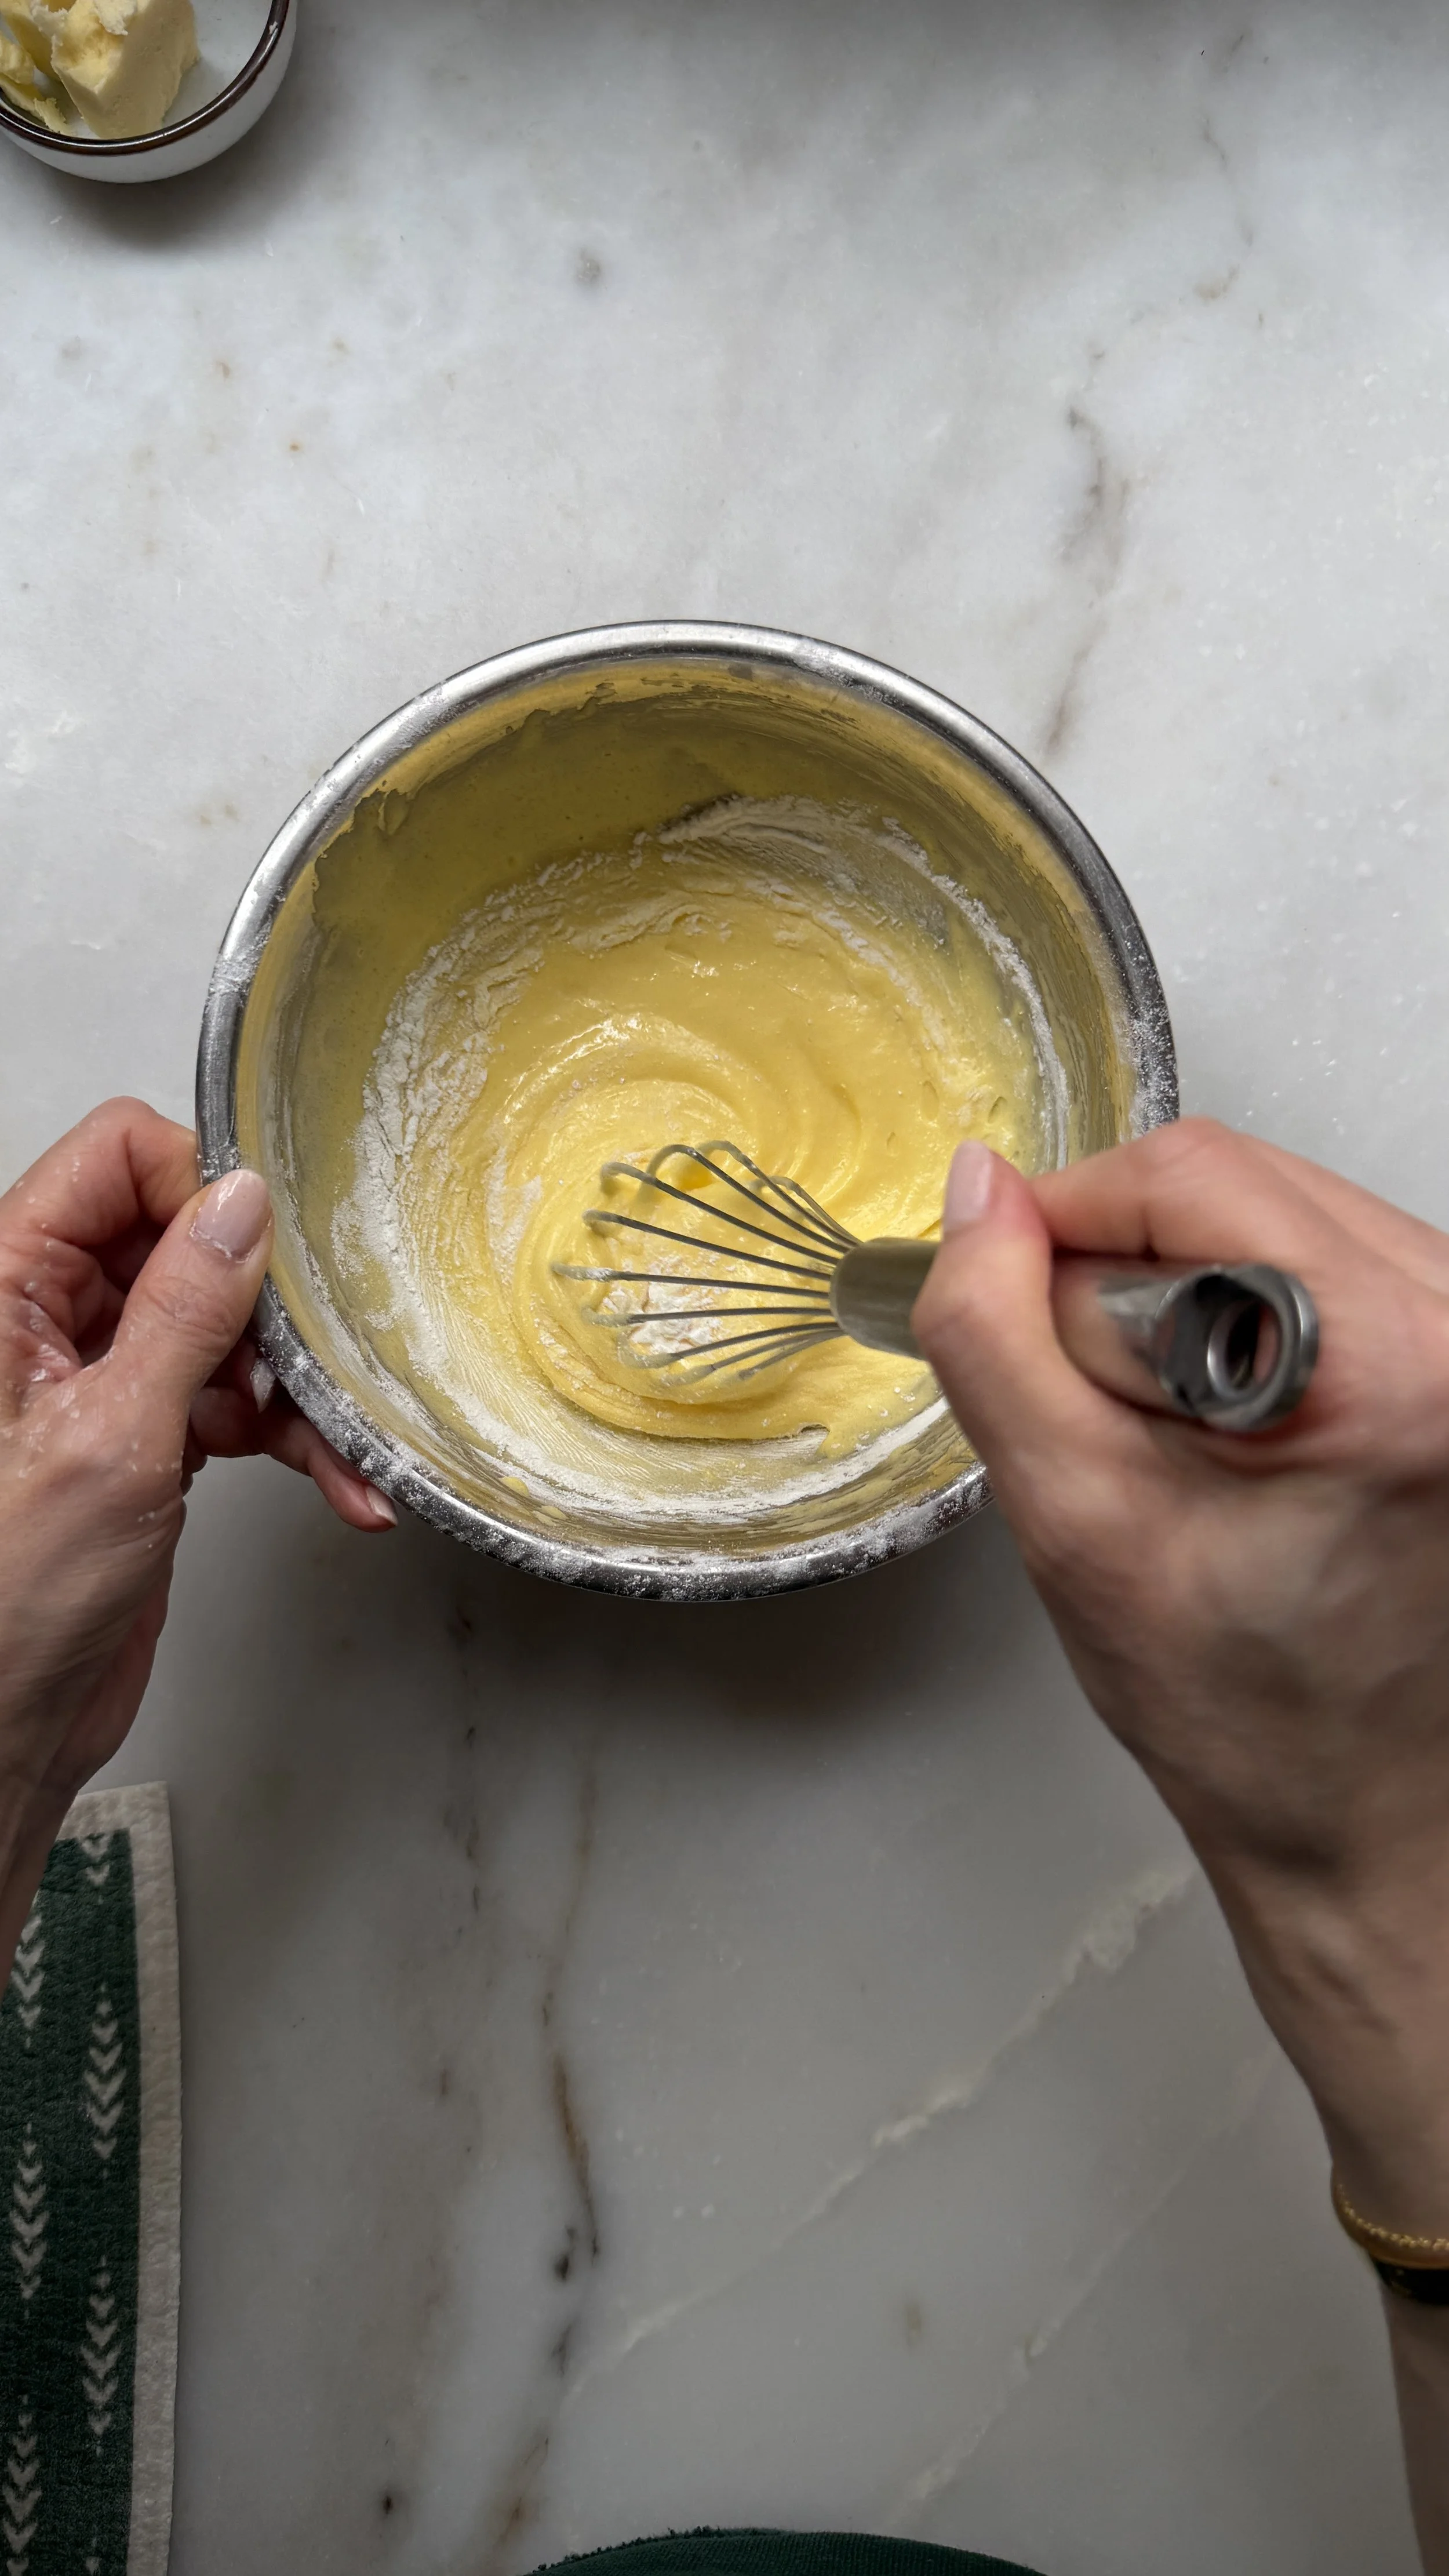
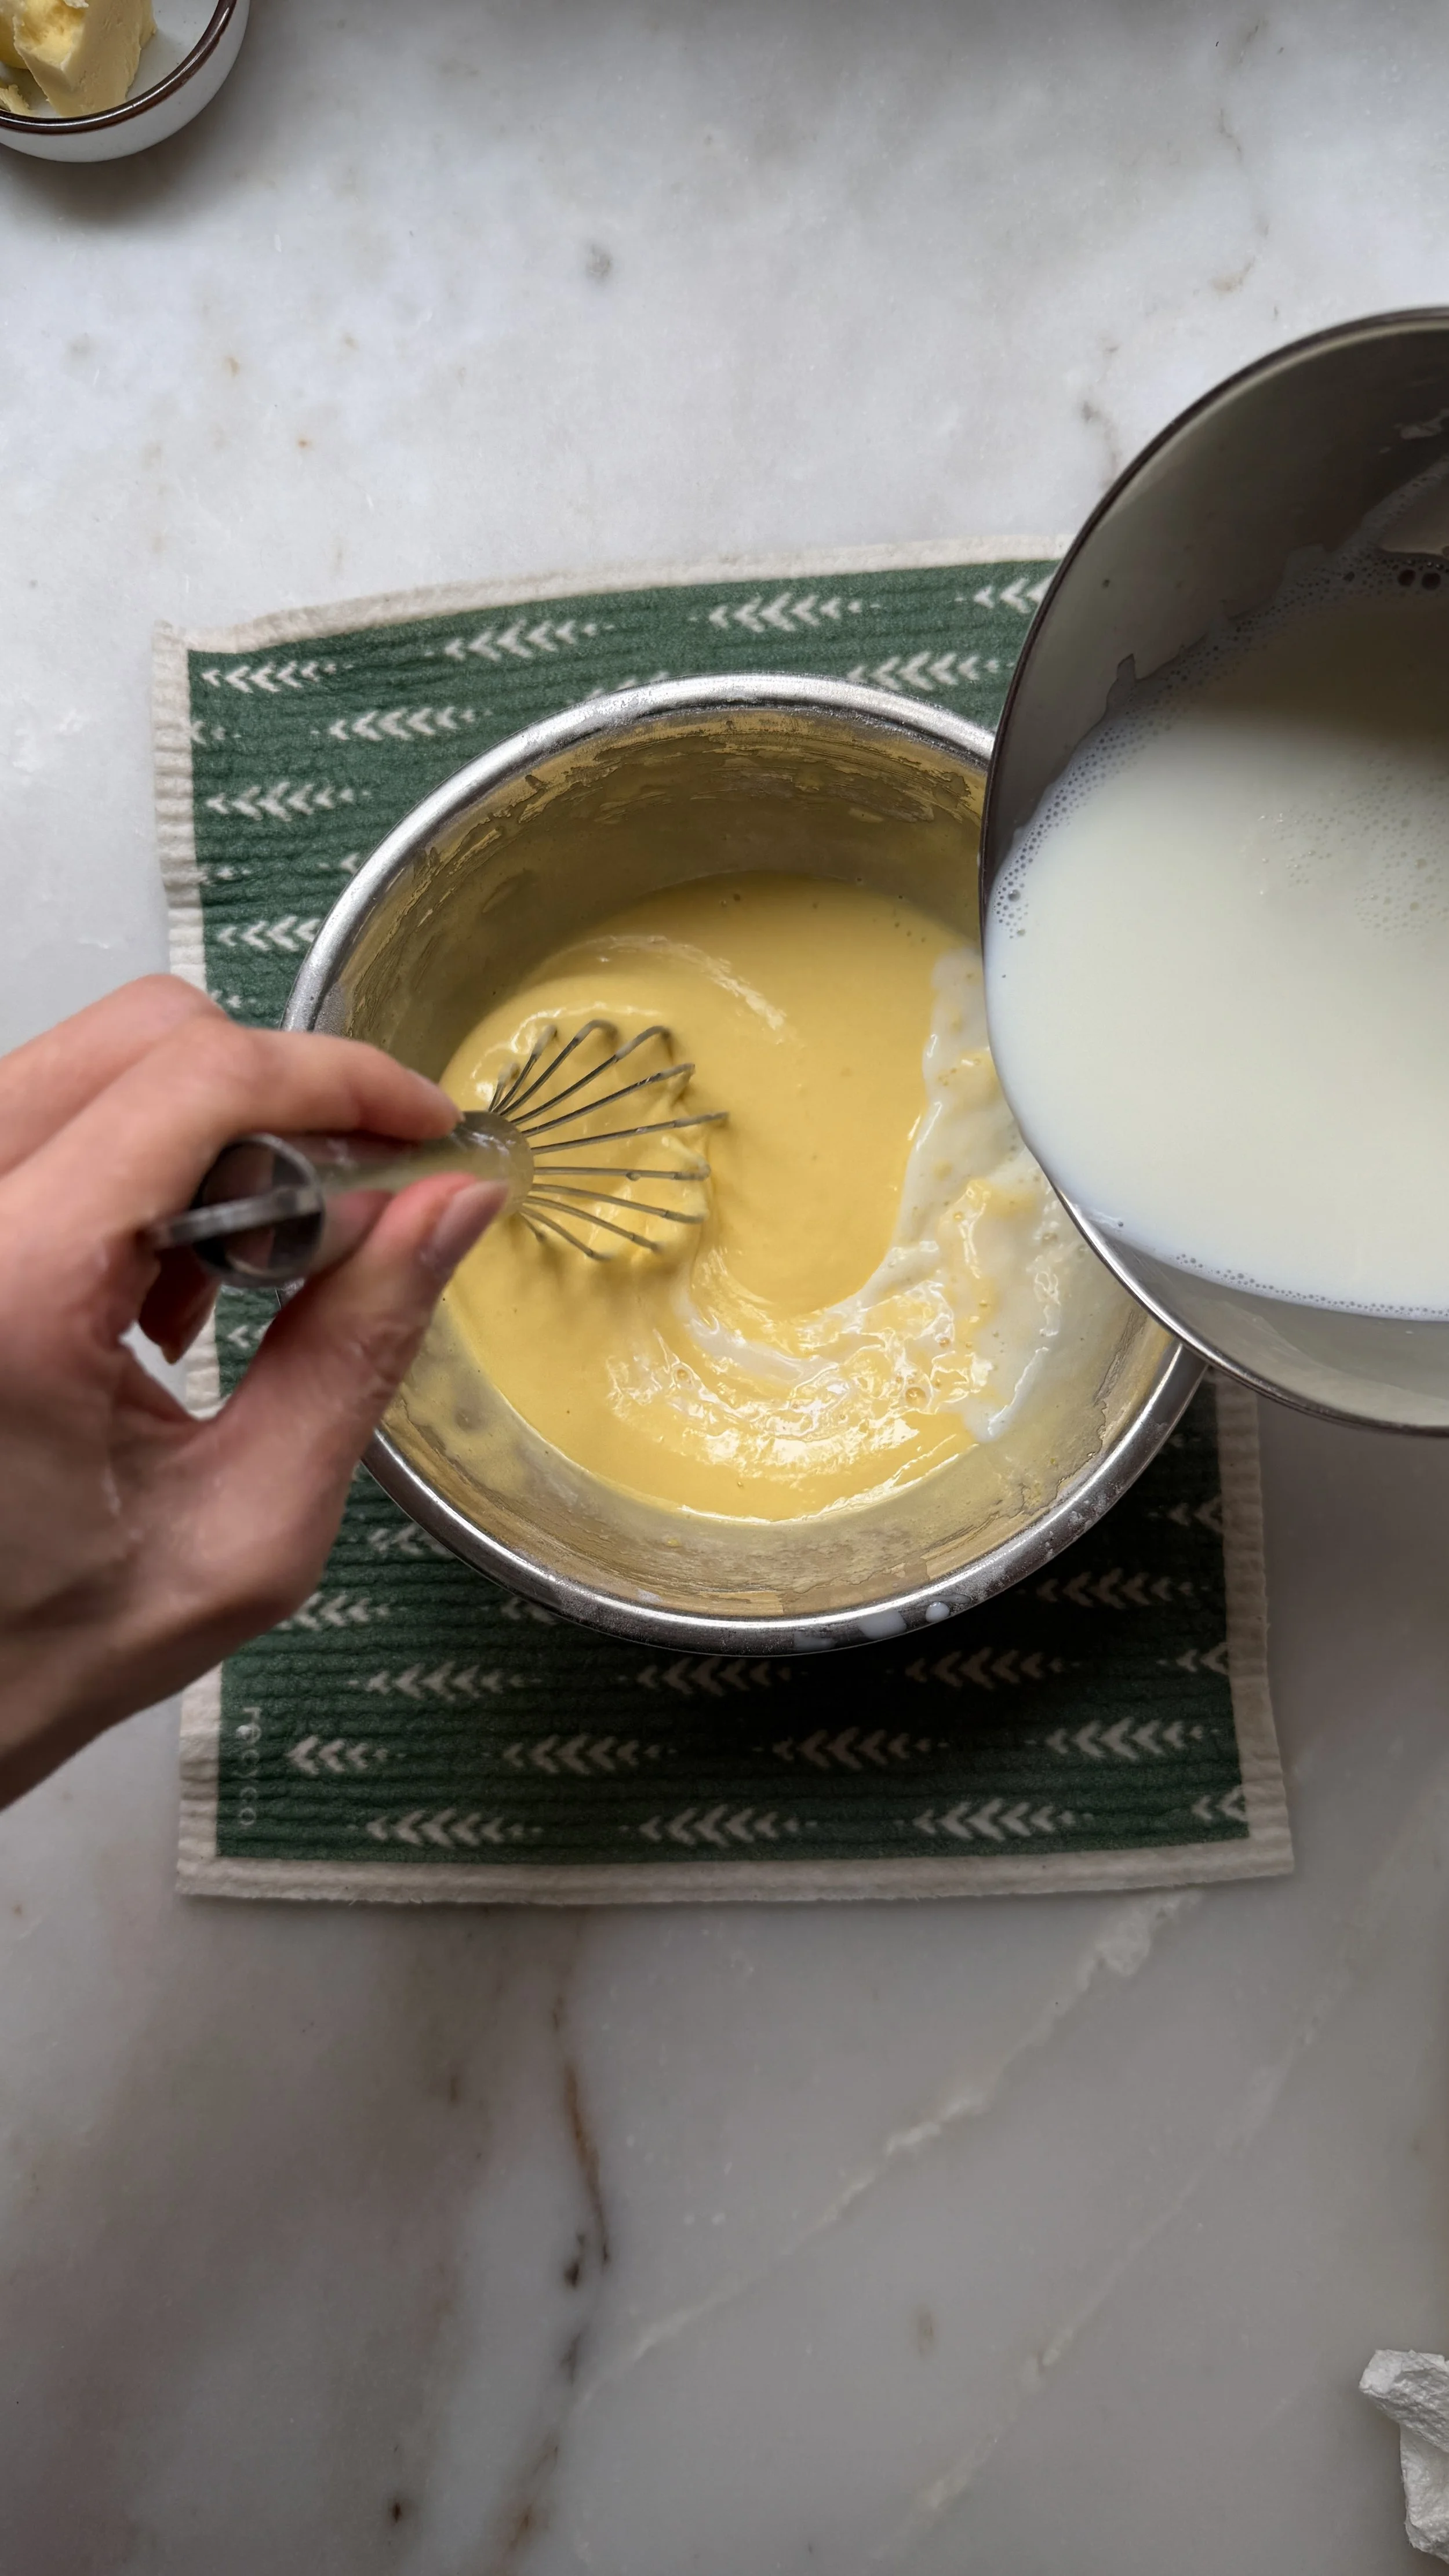
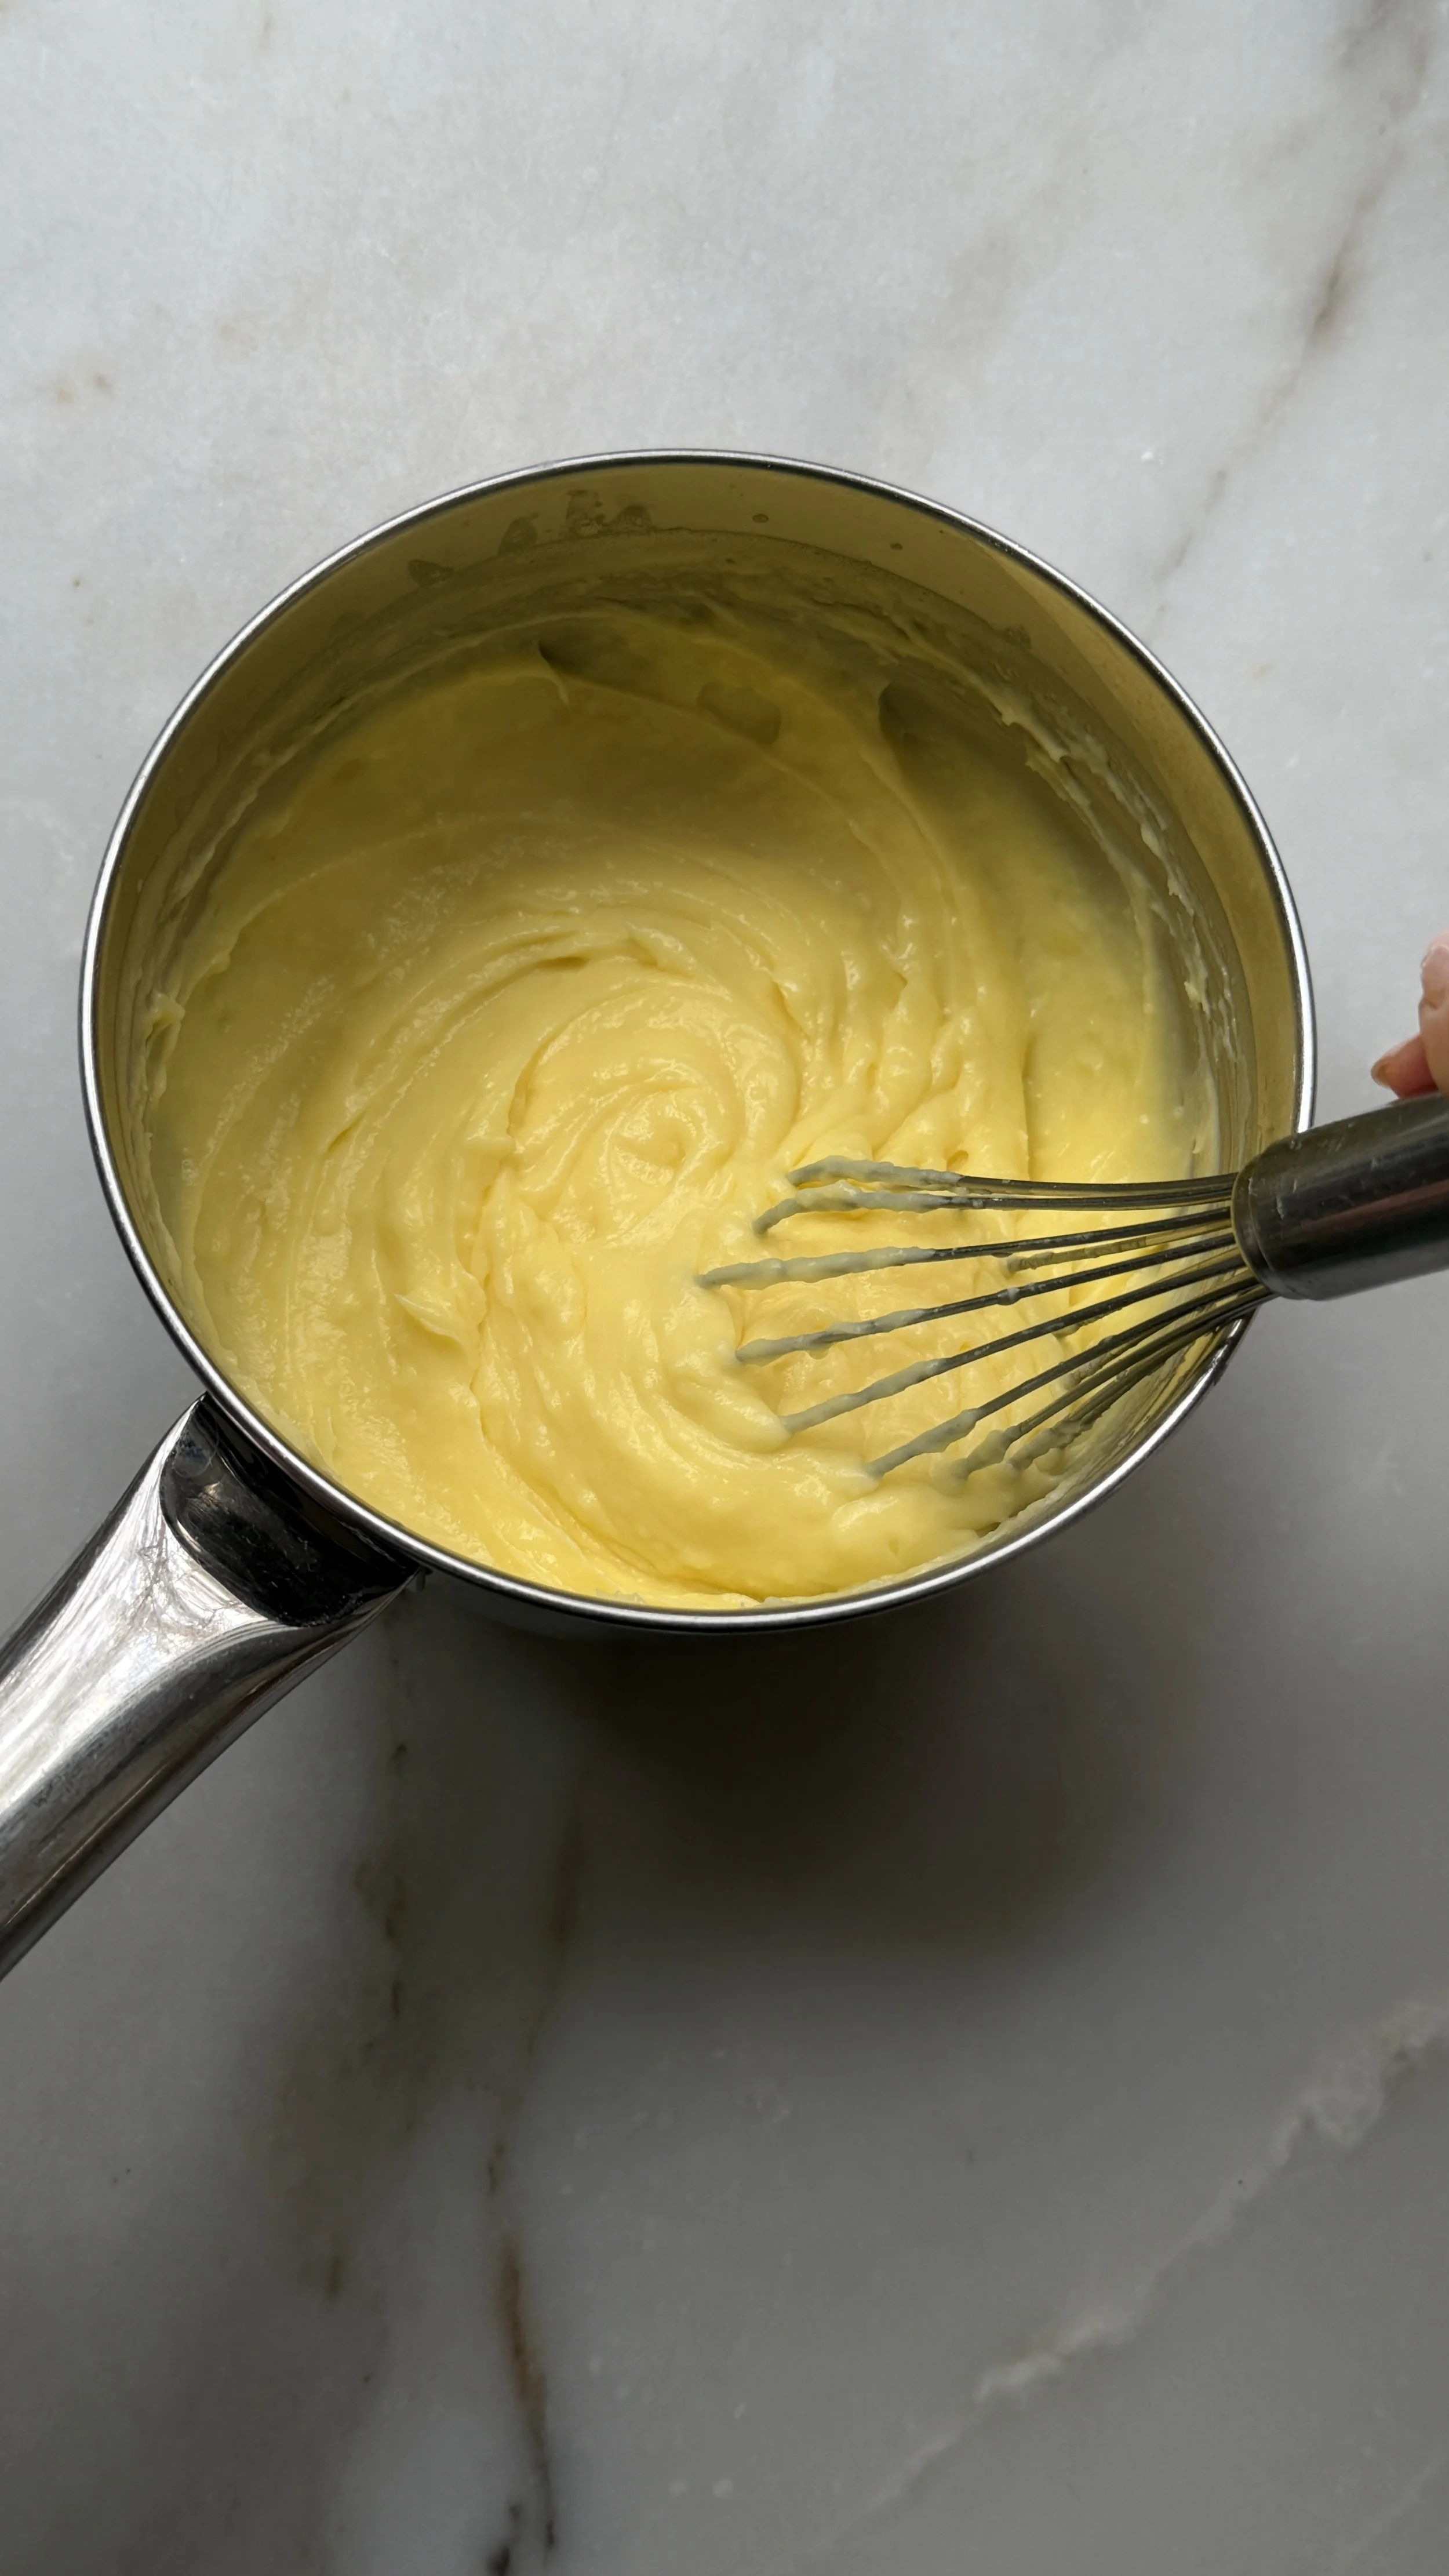
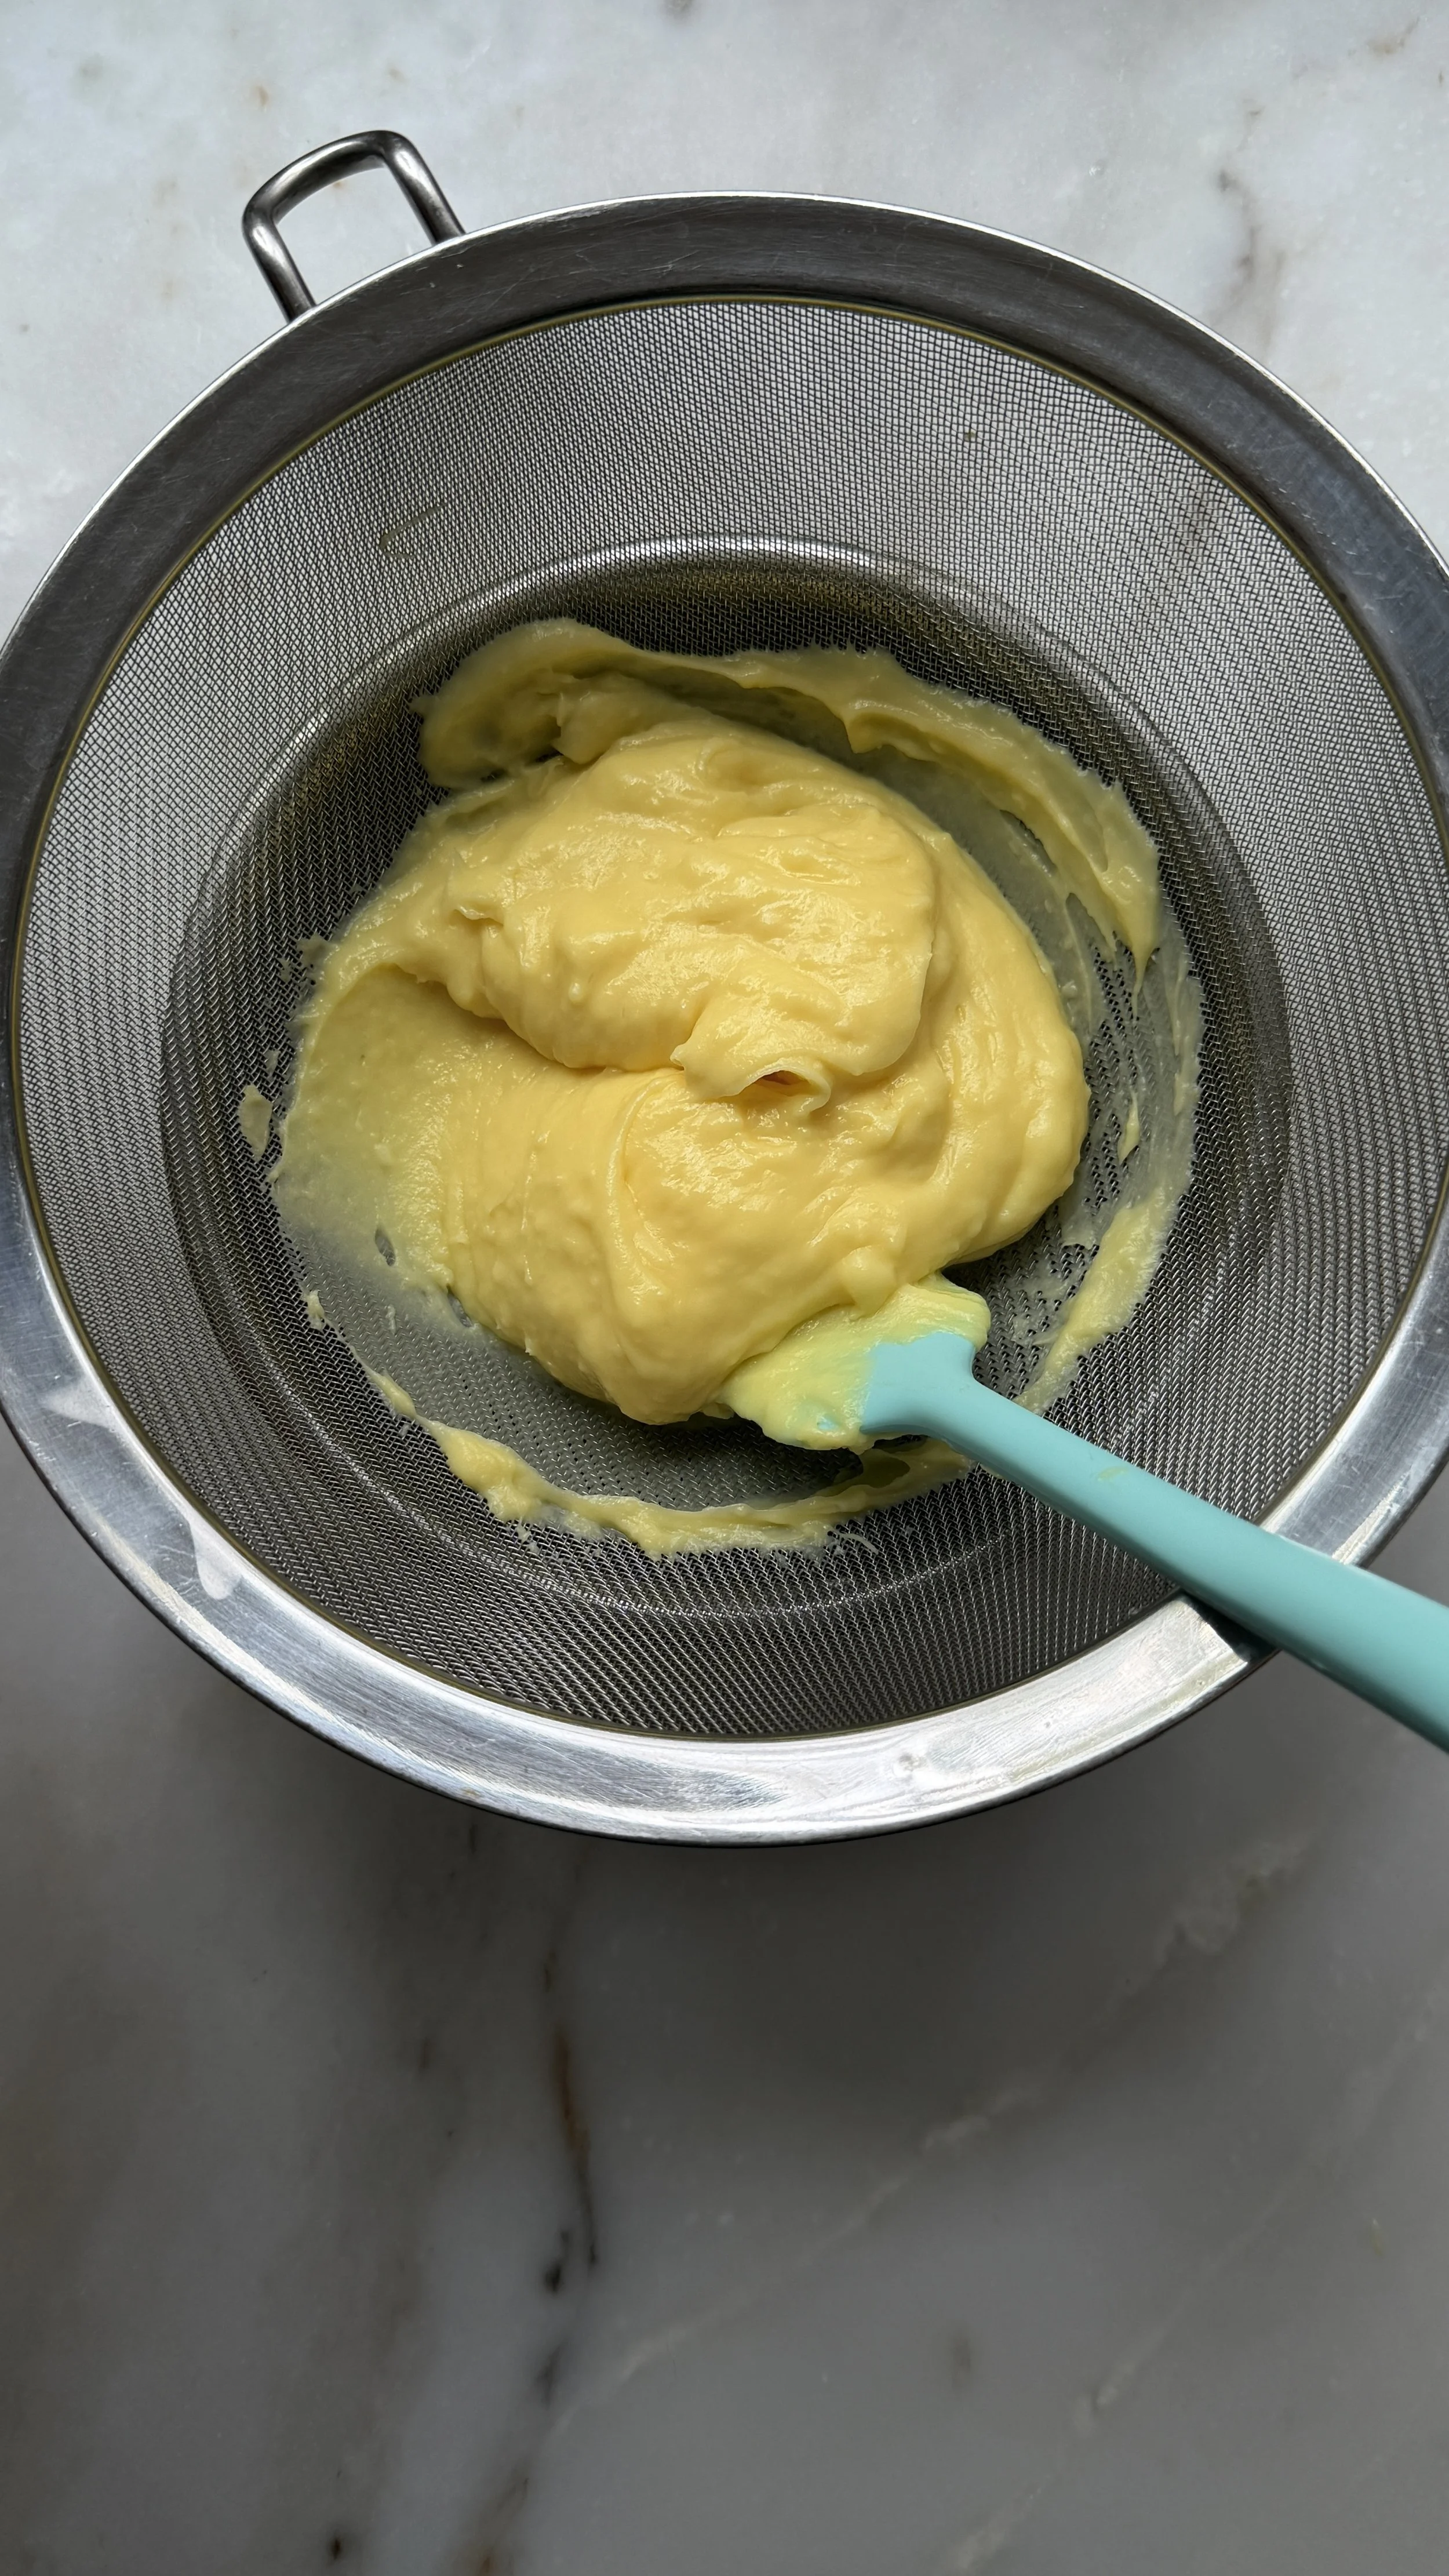
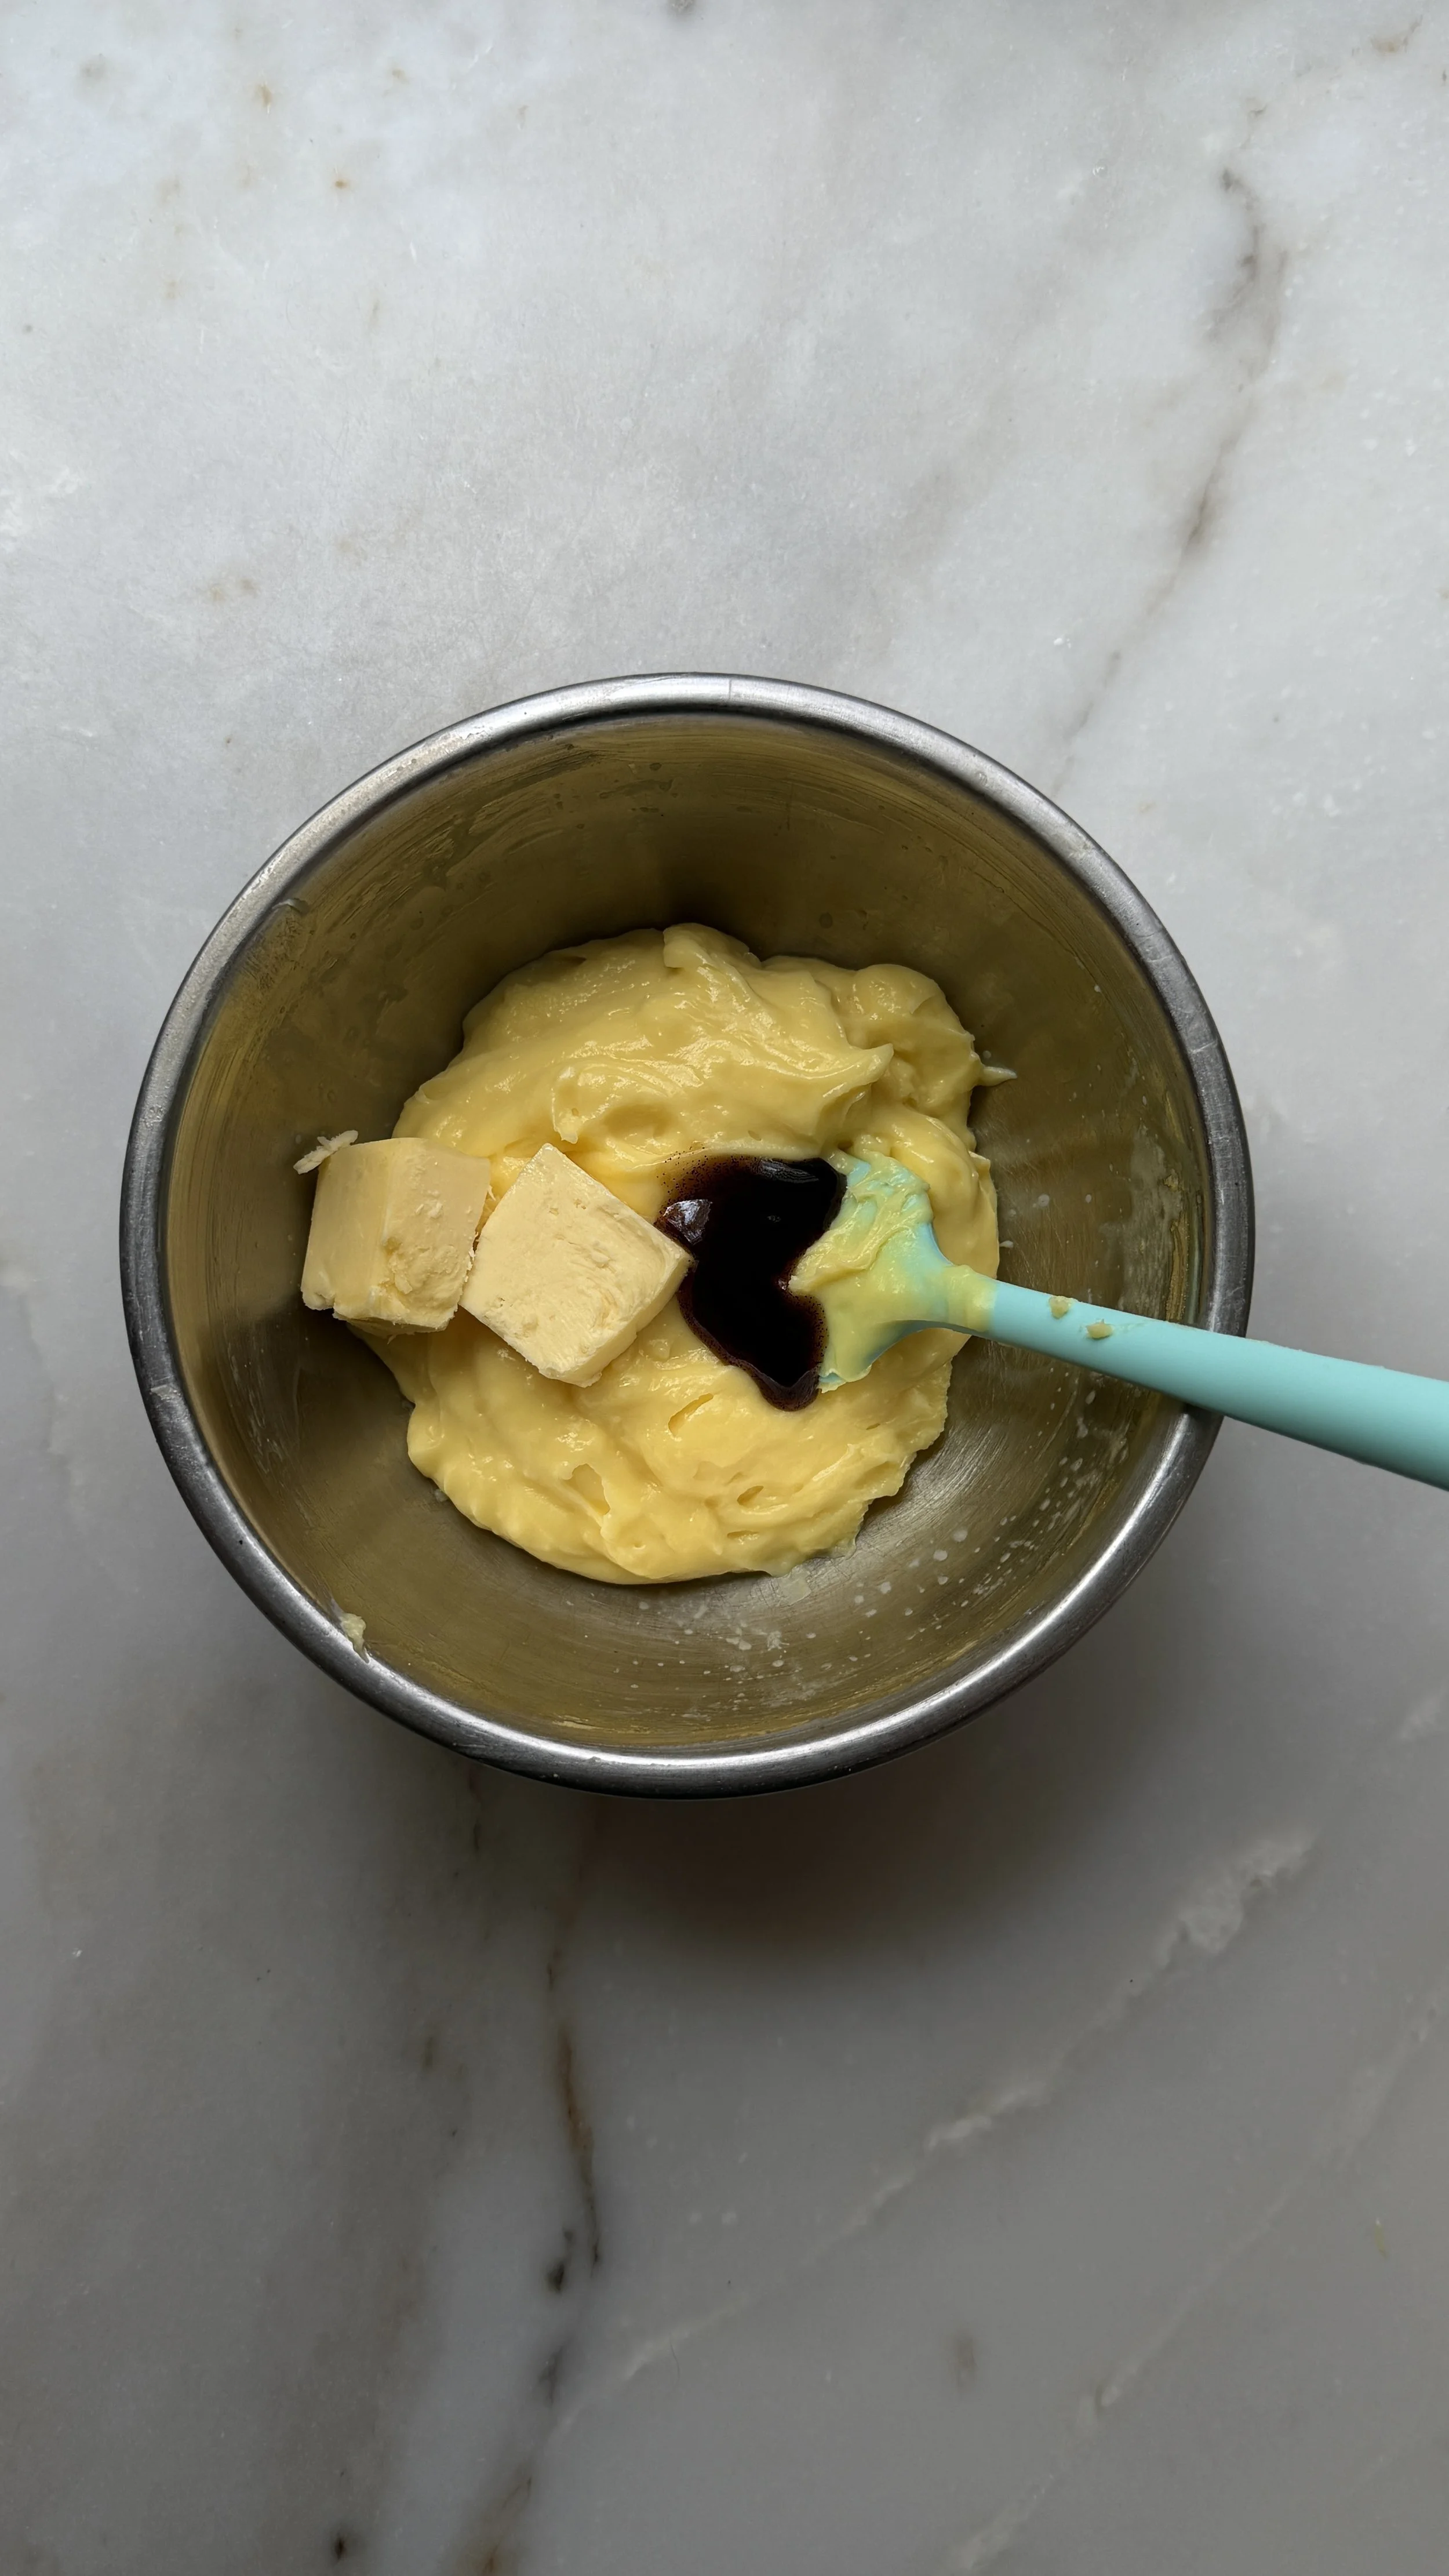
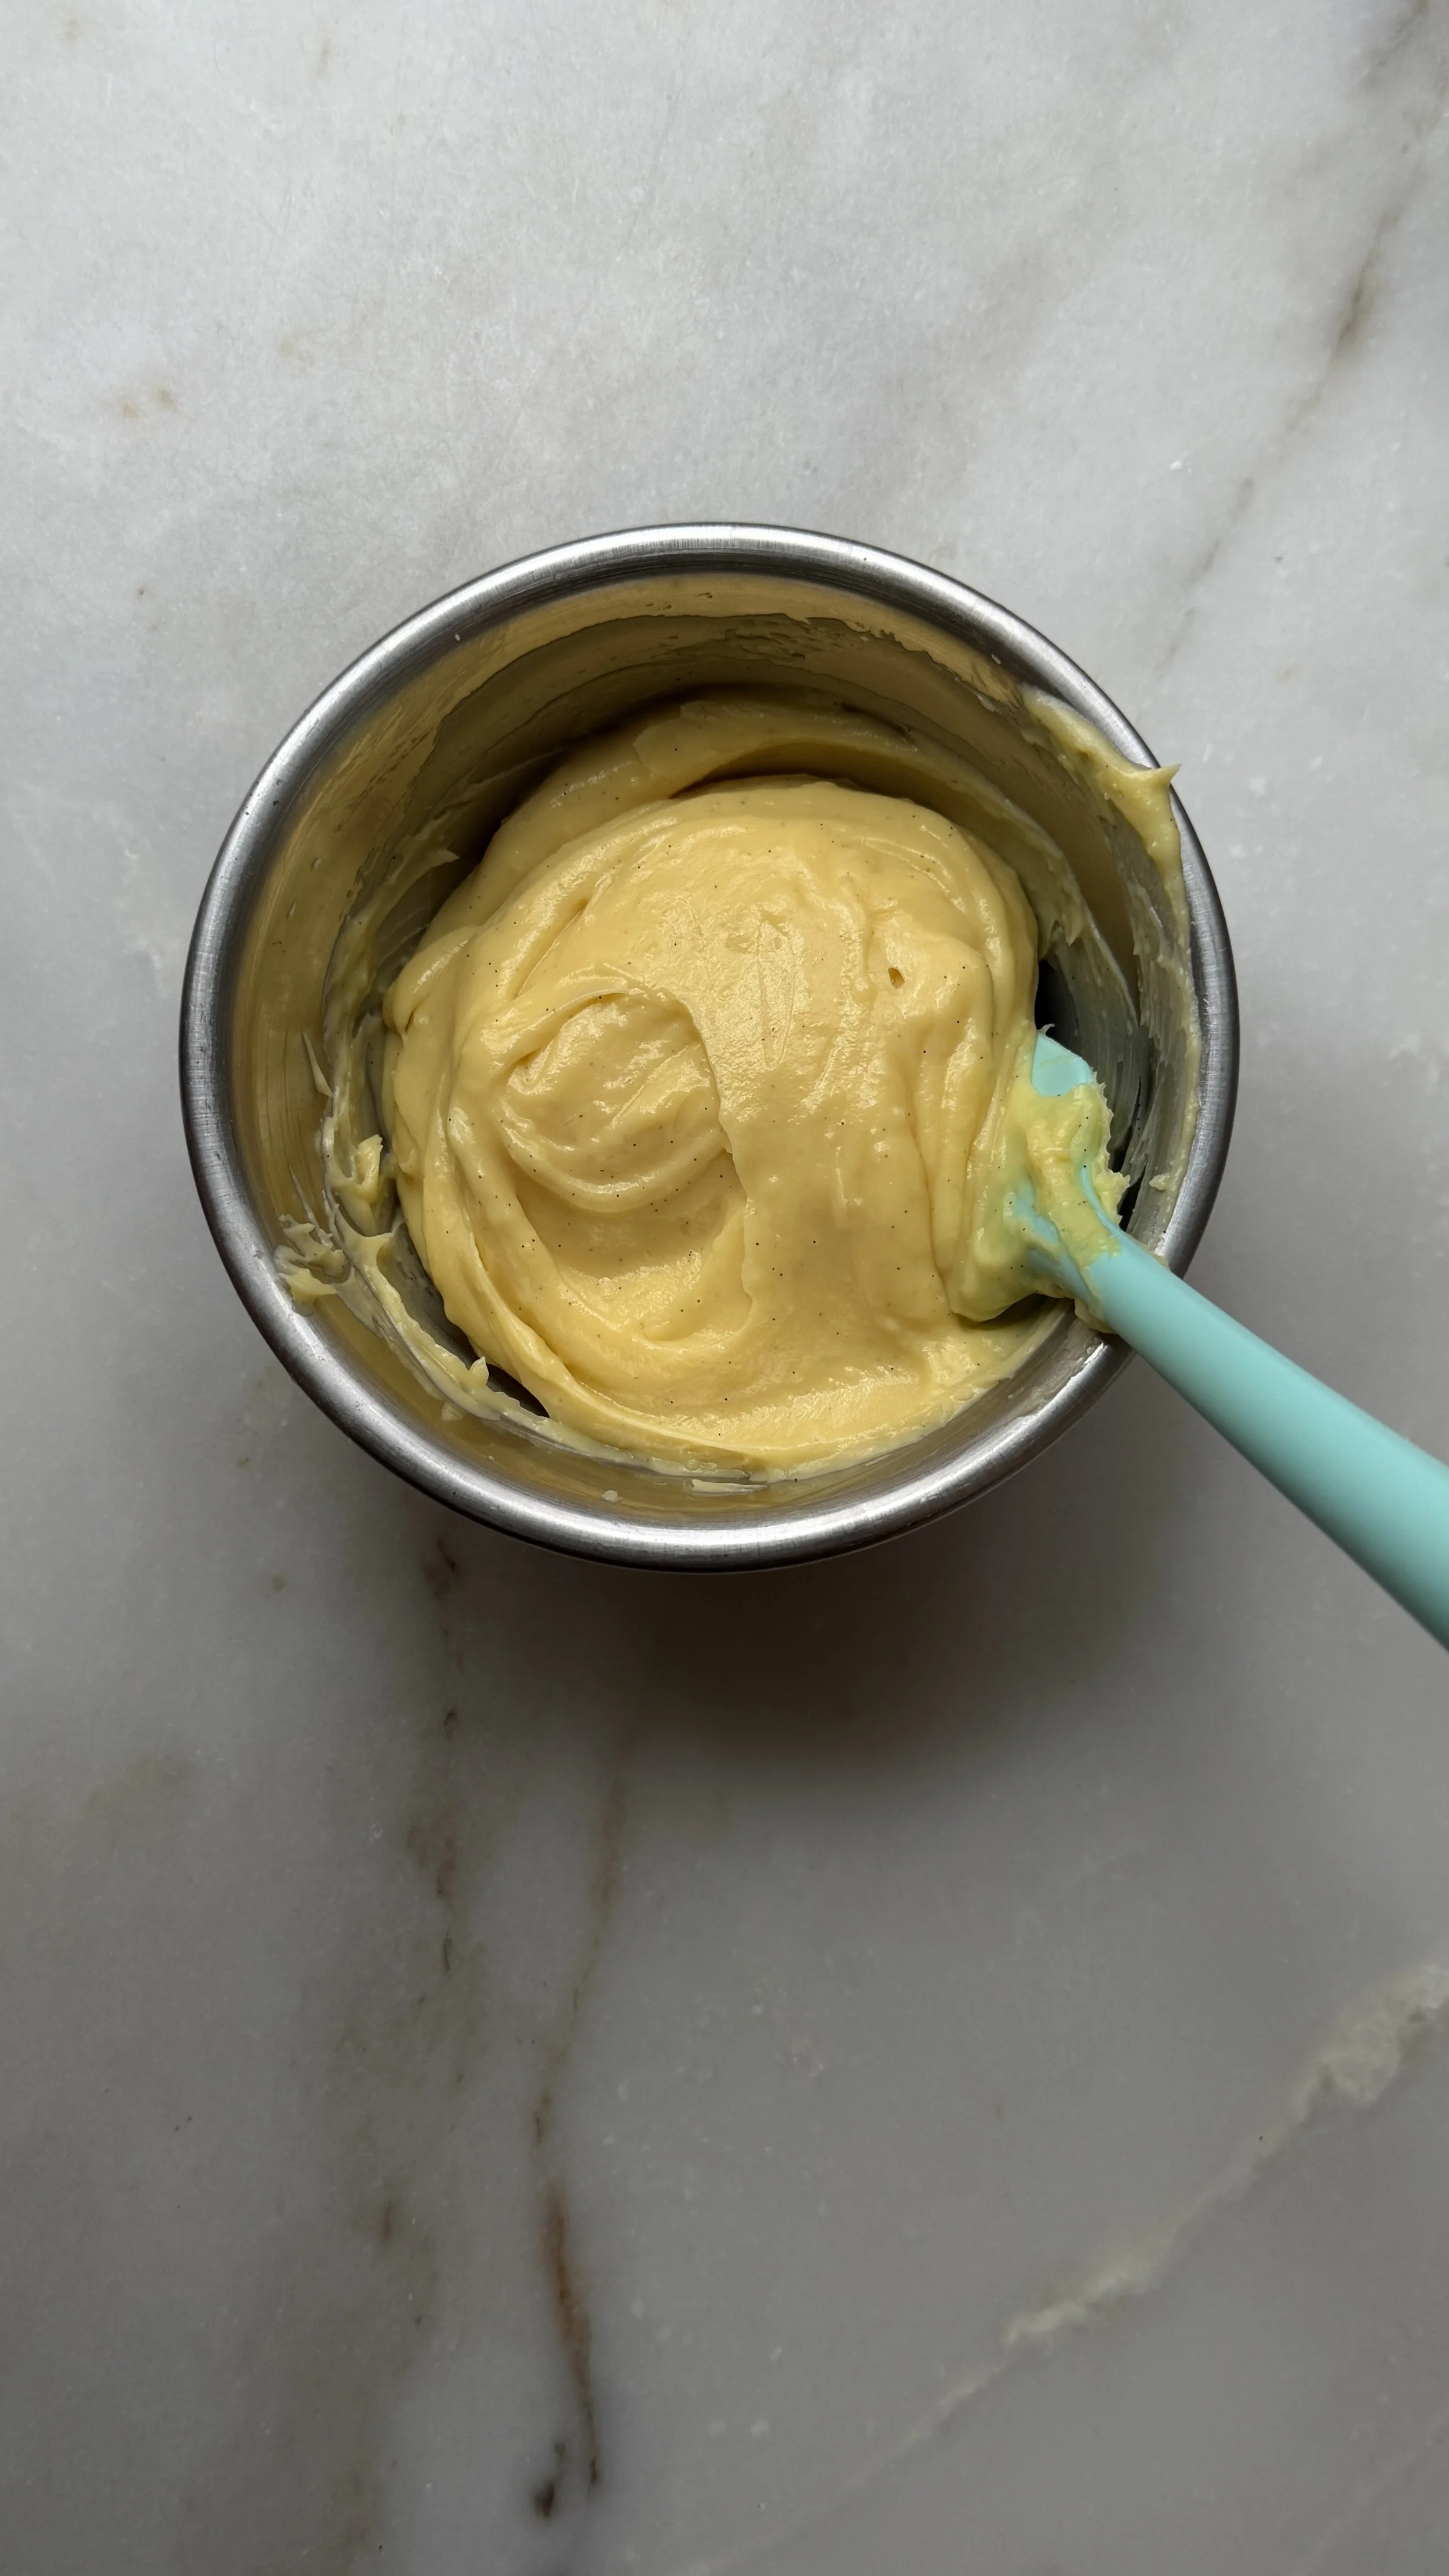
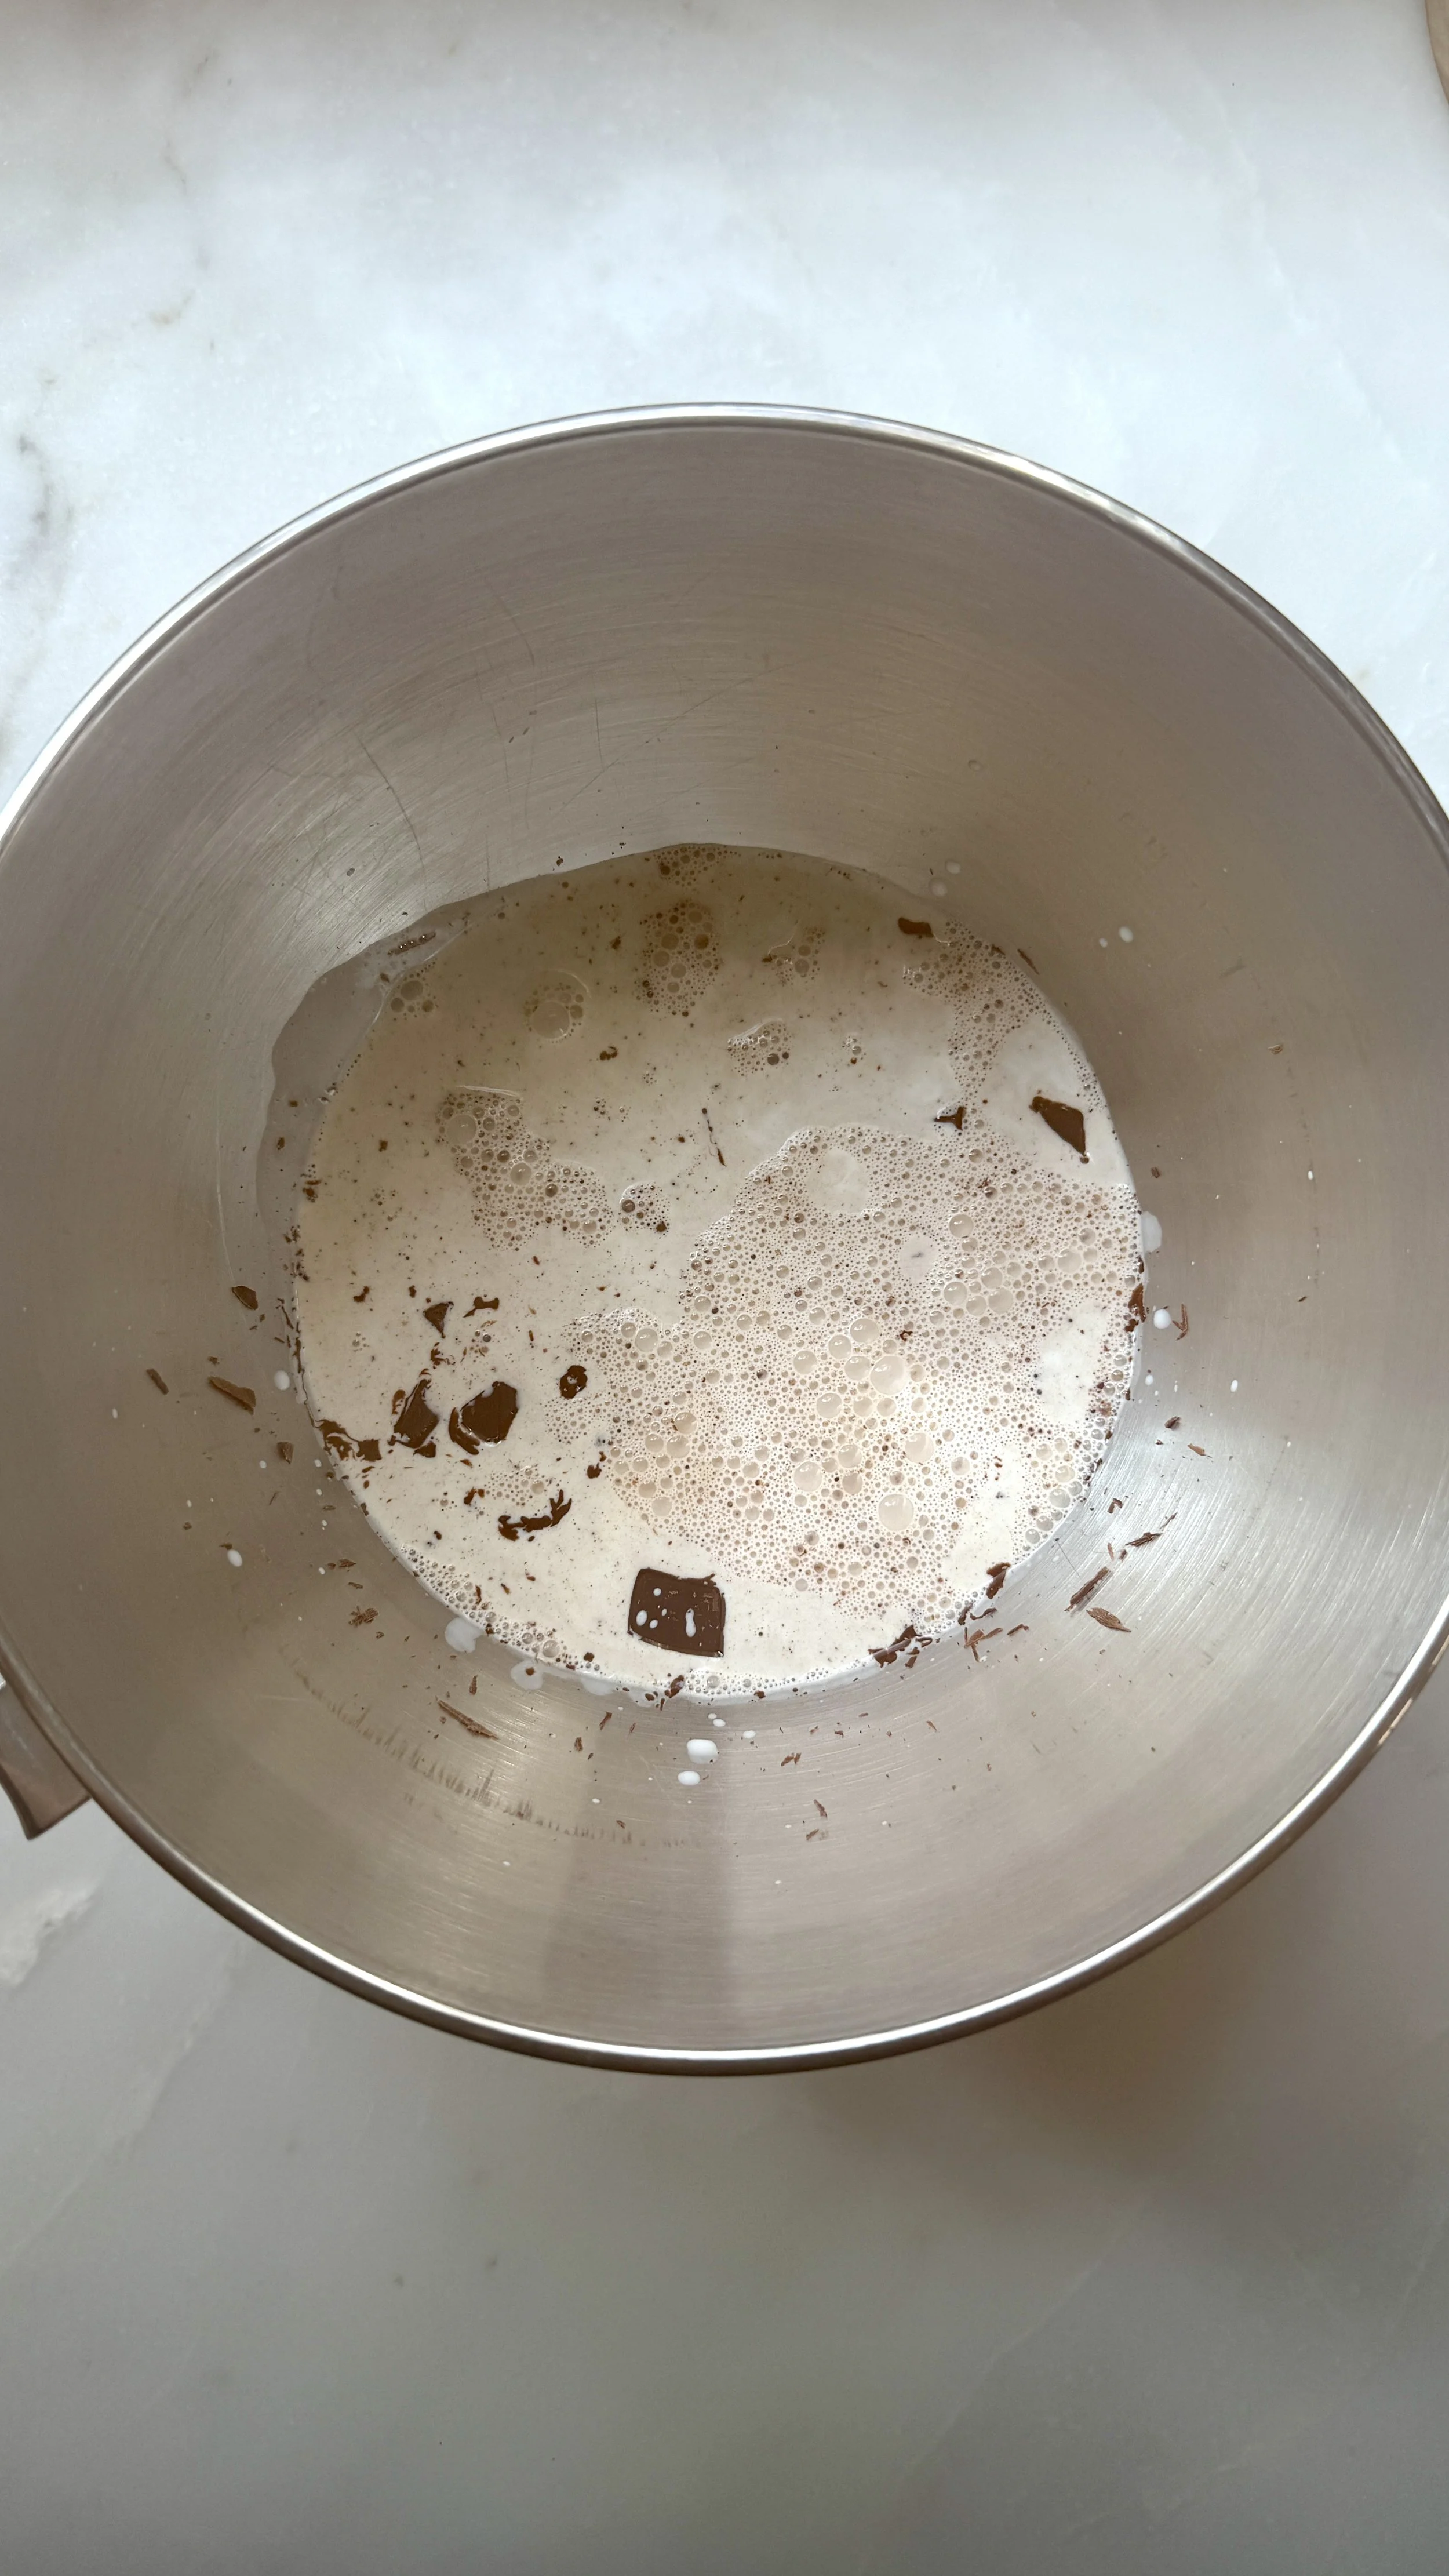
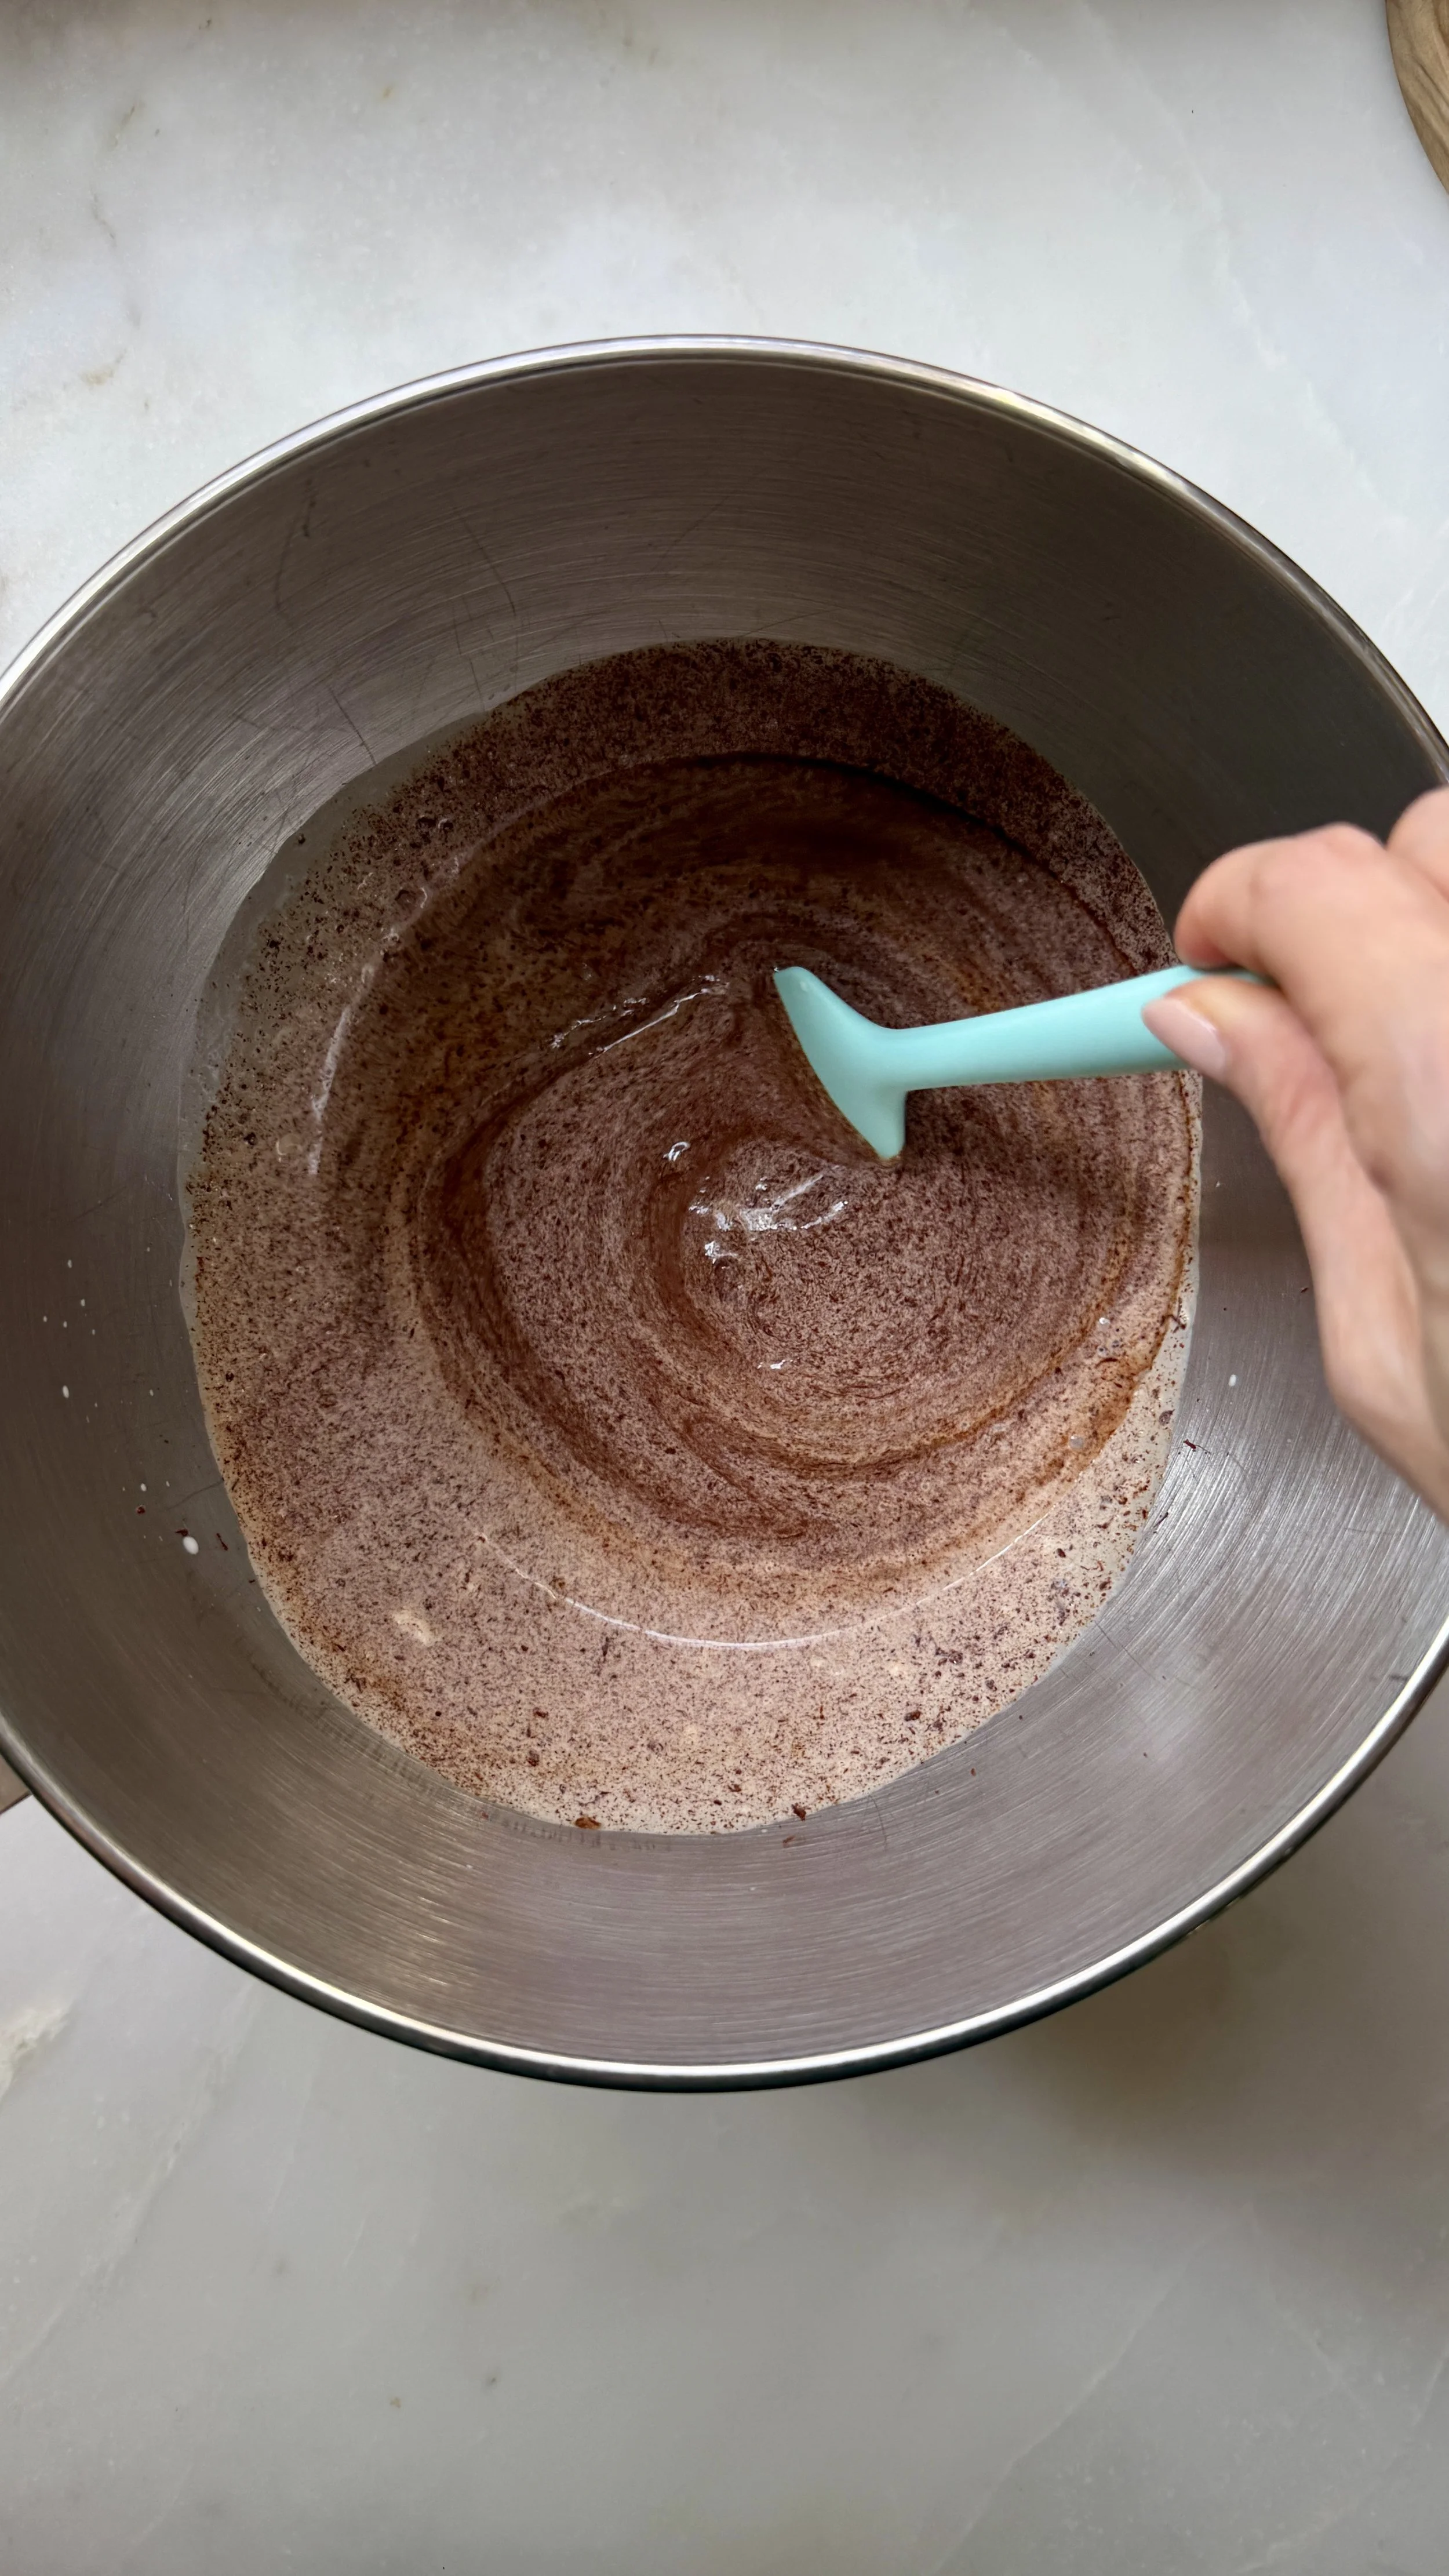
- In a medium mixing bowl, whisk yolks and sugar until thick and pale yellow. Gradually whisk in cornstarch until no lumps remain. In a large pot, bring milk to a strong simmer. Drizzle about 4 tablespoons – 1 tablespoon at a time – of hot milk into the yolk mixture while whisking to slowly temper it without cooking the yolks. Then drizzle in the remaining milk. Transfer all of it back into the pot. Set over medium heat and cook until thickened, stirring constantly until thickened to consistency of pudding, about 2 minutes. Strain through a sieve back into the mixing bowl. Add butter immediately and whisk until melted. Whisk in vanilla and salt. Cool to room temperature, cover with plastic wrap directly on the surface to prevent skin forming, and transfer to set in the fridge, at least 2 hours. (4 large egg yolks, ⅓C/65g granulated sugar, 3 tbsp cornstarch, 1C/240ml 2% or whole milk, 2 tbsp unsalted butter, 1 tsp vanilla extract or paste, pinch of salt)
- Make in advance: Pastry cream can be made and stored refrigerated in airtight containers up to 5 days.
- Assemble and frost cake (the day before serving or at least 6-8 hours before serving):
- Reserve 1¾ cup of whipped ganache for frosting the outside of the cake. Divide remaining whipped ganache into two portions to spread on two meringue rectangles in thin, even layers. Divide pastry cream in half and spread on the other two meringue rectangles. Sprinkle praline powder over one of the pastry cream rectangles, leaving the other one ‘plain’ vanilla – or sprinkle that one too if you want more crunch and sweetness!
- Stack meringue rectangles in alternating layers – chocolate, praline cream, chocolate and final vanilla cream rectangle turned upside down with flat bottom facing up.
- Optional step: If you have time, carefully wrap cake snugly in plastic and refrigerate to set the layers – an hour or so. Otherwise continue without chilling.
- Optional step: Gently saw the 4 edges of the cake with a serrated knife for a neater finish, using care to avoid snapping the meringue.
- Cut a piece of parchment about 14” long. Cut it down the middle in half and lay the two strips side by side on your serving plate. They will keep the plate clean during frosting and be removed from under the finished cake by tugging them out both sides. Carefully transfer cake on top of the parchments.
- Using an offset spatula, frost cake with a thin, even layer of the reserved whipped chocolate ganache. (Tip: I dip my spatula in a tall cup of warm water, wipe it completely dry, and use the warm spatula blade to smooth the ganache.) Decorate with reserved coarsely chopped praline. I sprinkled it along the base of the cake and used the parchment overhangs to adhere them to the ganache. Chill in the fridge 2 hours until ganache is fully set, before wrapping in plastic wrap. Continue to chill for another 4 to 6 hours, over overnight, whichever is more convenient! To serve, cut with a long sharp knife into slices.
- Make in advance: Made 1 day in advance (minimum 6-8 hours), up to 3 days before serving. The flavours improve with a bit of chilling time.
Nutrition Facts
Calories
765Fat
42 gSat. Fat
17 gCarbs
90 gFiber
5 gNet carbs
85 gSugar
79 gProtein
12 gSodium
139 mgCholesterol
118 mgDisclaimer: nutritional information is auto-generated and should only be used as an approximation.


Did you make this recipe? Please consider leaving a comment below or star rating on the recipe card to let me and other readers know how it went!