Bone Broth (Two Ways: Stove Top + Instant Pot)
RECOMMENDED: READ NOTES + TIPS BEFORE YOU BEGIN!
JUMP TO STOVE STOP METHOD ⇣ JUMP TO INSTANT POT METHOD ⇣
I used to think it was too much trouble to make my own broth. I purchased good quality stock from my butcher made from naturally-raised animals from local farms. So why bother with homemade?

It wasn't until I started making it myself that I came to realize how much more amazingly flavorful my own broth is. So much better than any store-bought broth I have access to. And artisan bone broth cost an arm and a leg, relatively speaking. It is dirt cheap to buy bones ($1-3/lb depending what type of bone) or basically FREE if you, like me, collect every bone from every meal just for bone broth! I keep it all in a freezer bag until I've got enough or feel like making some.

And if cost is not enough to convince you, making bone broth at home ensures you get that collagen-rich magical elixir that is dense in nutrients, vitamins and keratins. These are things you want, for beautiful skin, nails and hair, as well as a healthy gut which in turn supports a healthy immune. Are these things we want? Of course they are!
The way to that is to simmer the bones ever so gently over a long period of time, anywhere between 6 and 48 hours depending on the type of bone (i.e. larger bones like beef take longer). Don't be turned off by the length of time, it's all passive hands-off cooking time! I leave it going on the stove overnight or even when I'm out, since it is one the most minimal simmer.
Alternatively, bone broth can also be made in a pressure cooker much more quickly, in 3-5 hours. I have included the instructions below for using an Instant Pot, the pressure cooker I own and love. Some people do it in a slow cooker too, if you own one. Whichever way, the key is to not to break down the gelatin (the cooked form of collagen) in the process. Even though the bone broth is still nutritious, you know you want that collagen too amiright? Over-boiling is the sure way to kill off the gelatin, so take care not to. Gentle simmering is where it's at.
Bone broth can be made in the oven too! It was a life-changing moment for me when I made this realization in 2022 and you can find out more about the oven method in this post How To Make Bone Broth in the Oven.
You'll know your bone broth successfully "gels" when it has a jello-ish consistency when cold, after refrigeration. One popular move is to add a splash of vinegar into the pot which is said to help extract more collagen out of the bones. I’m not 100% sure how scientifically supported that is and personally don't always do it but it’s easy to do and doesn’t hurt so I’ll leave that up to you.
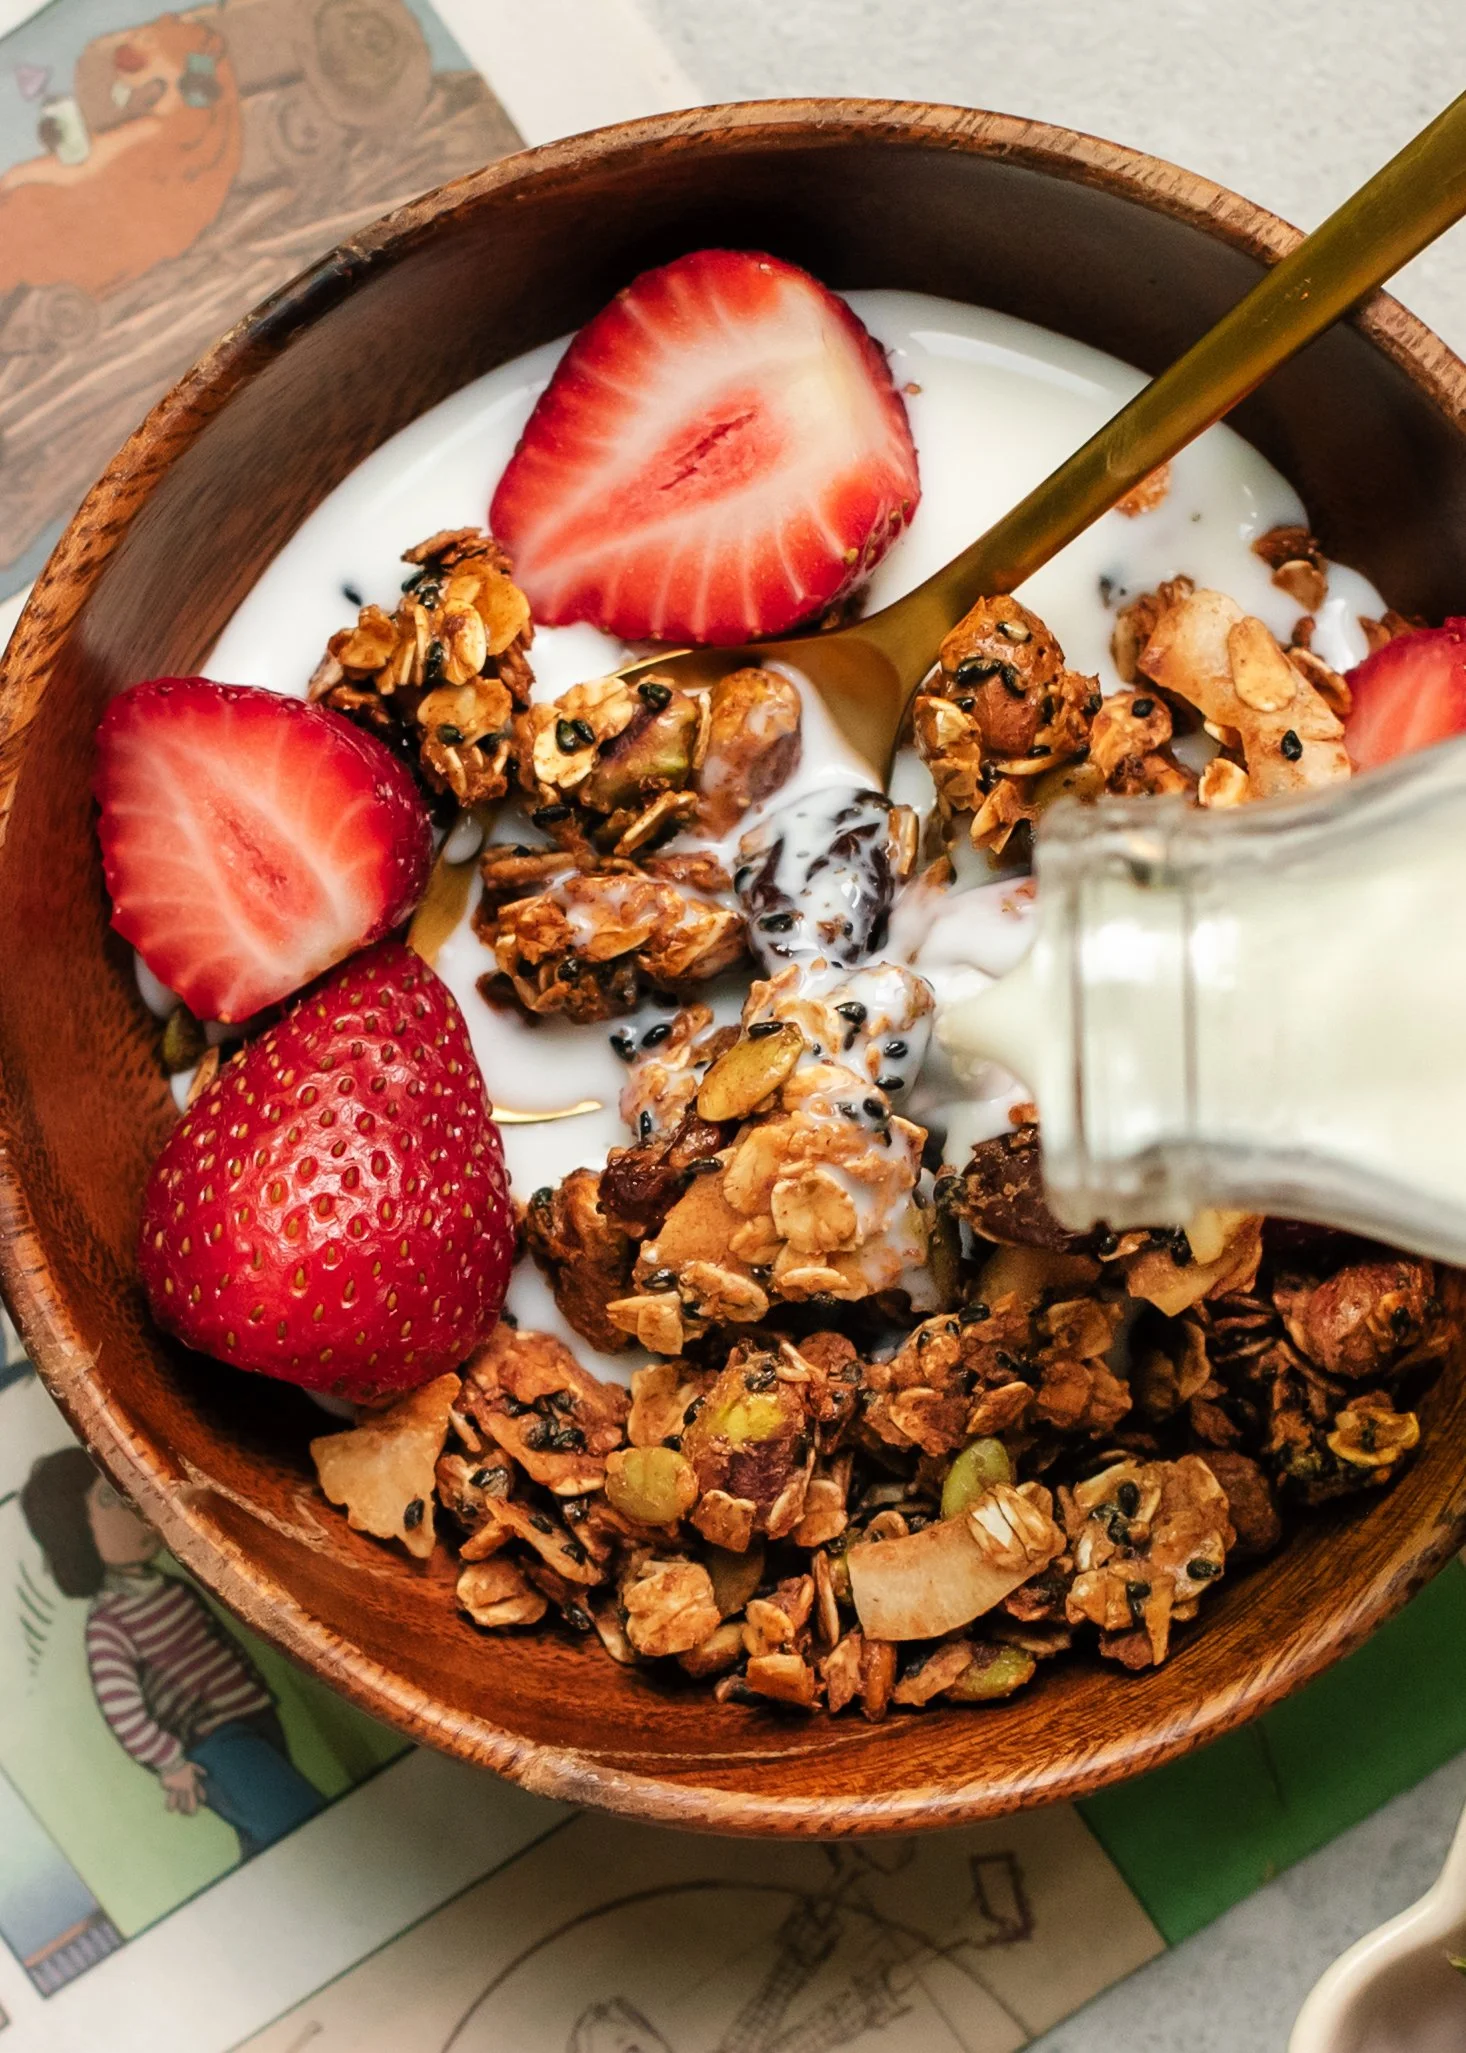
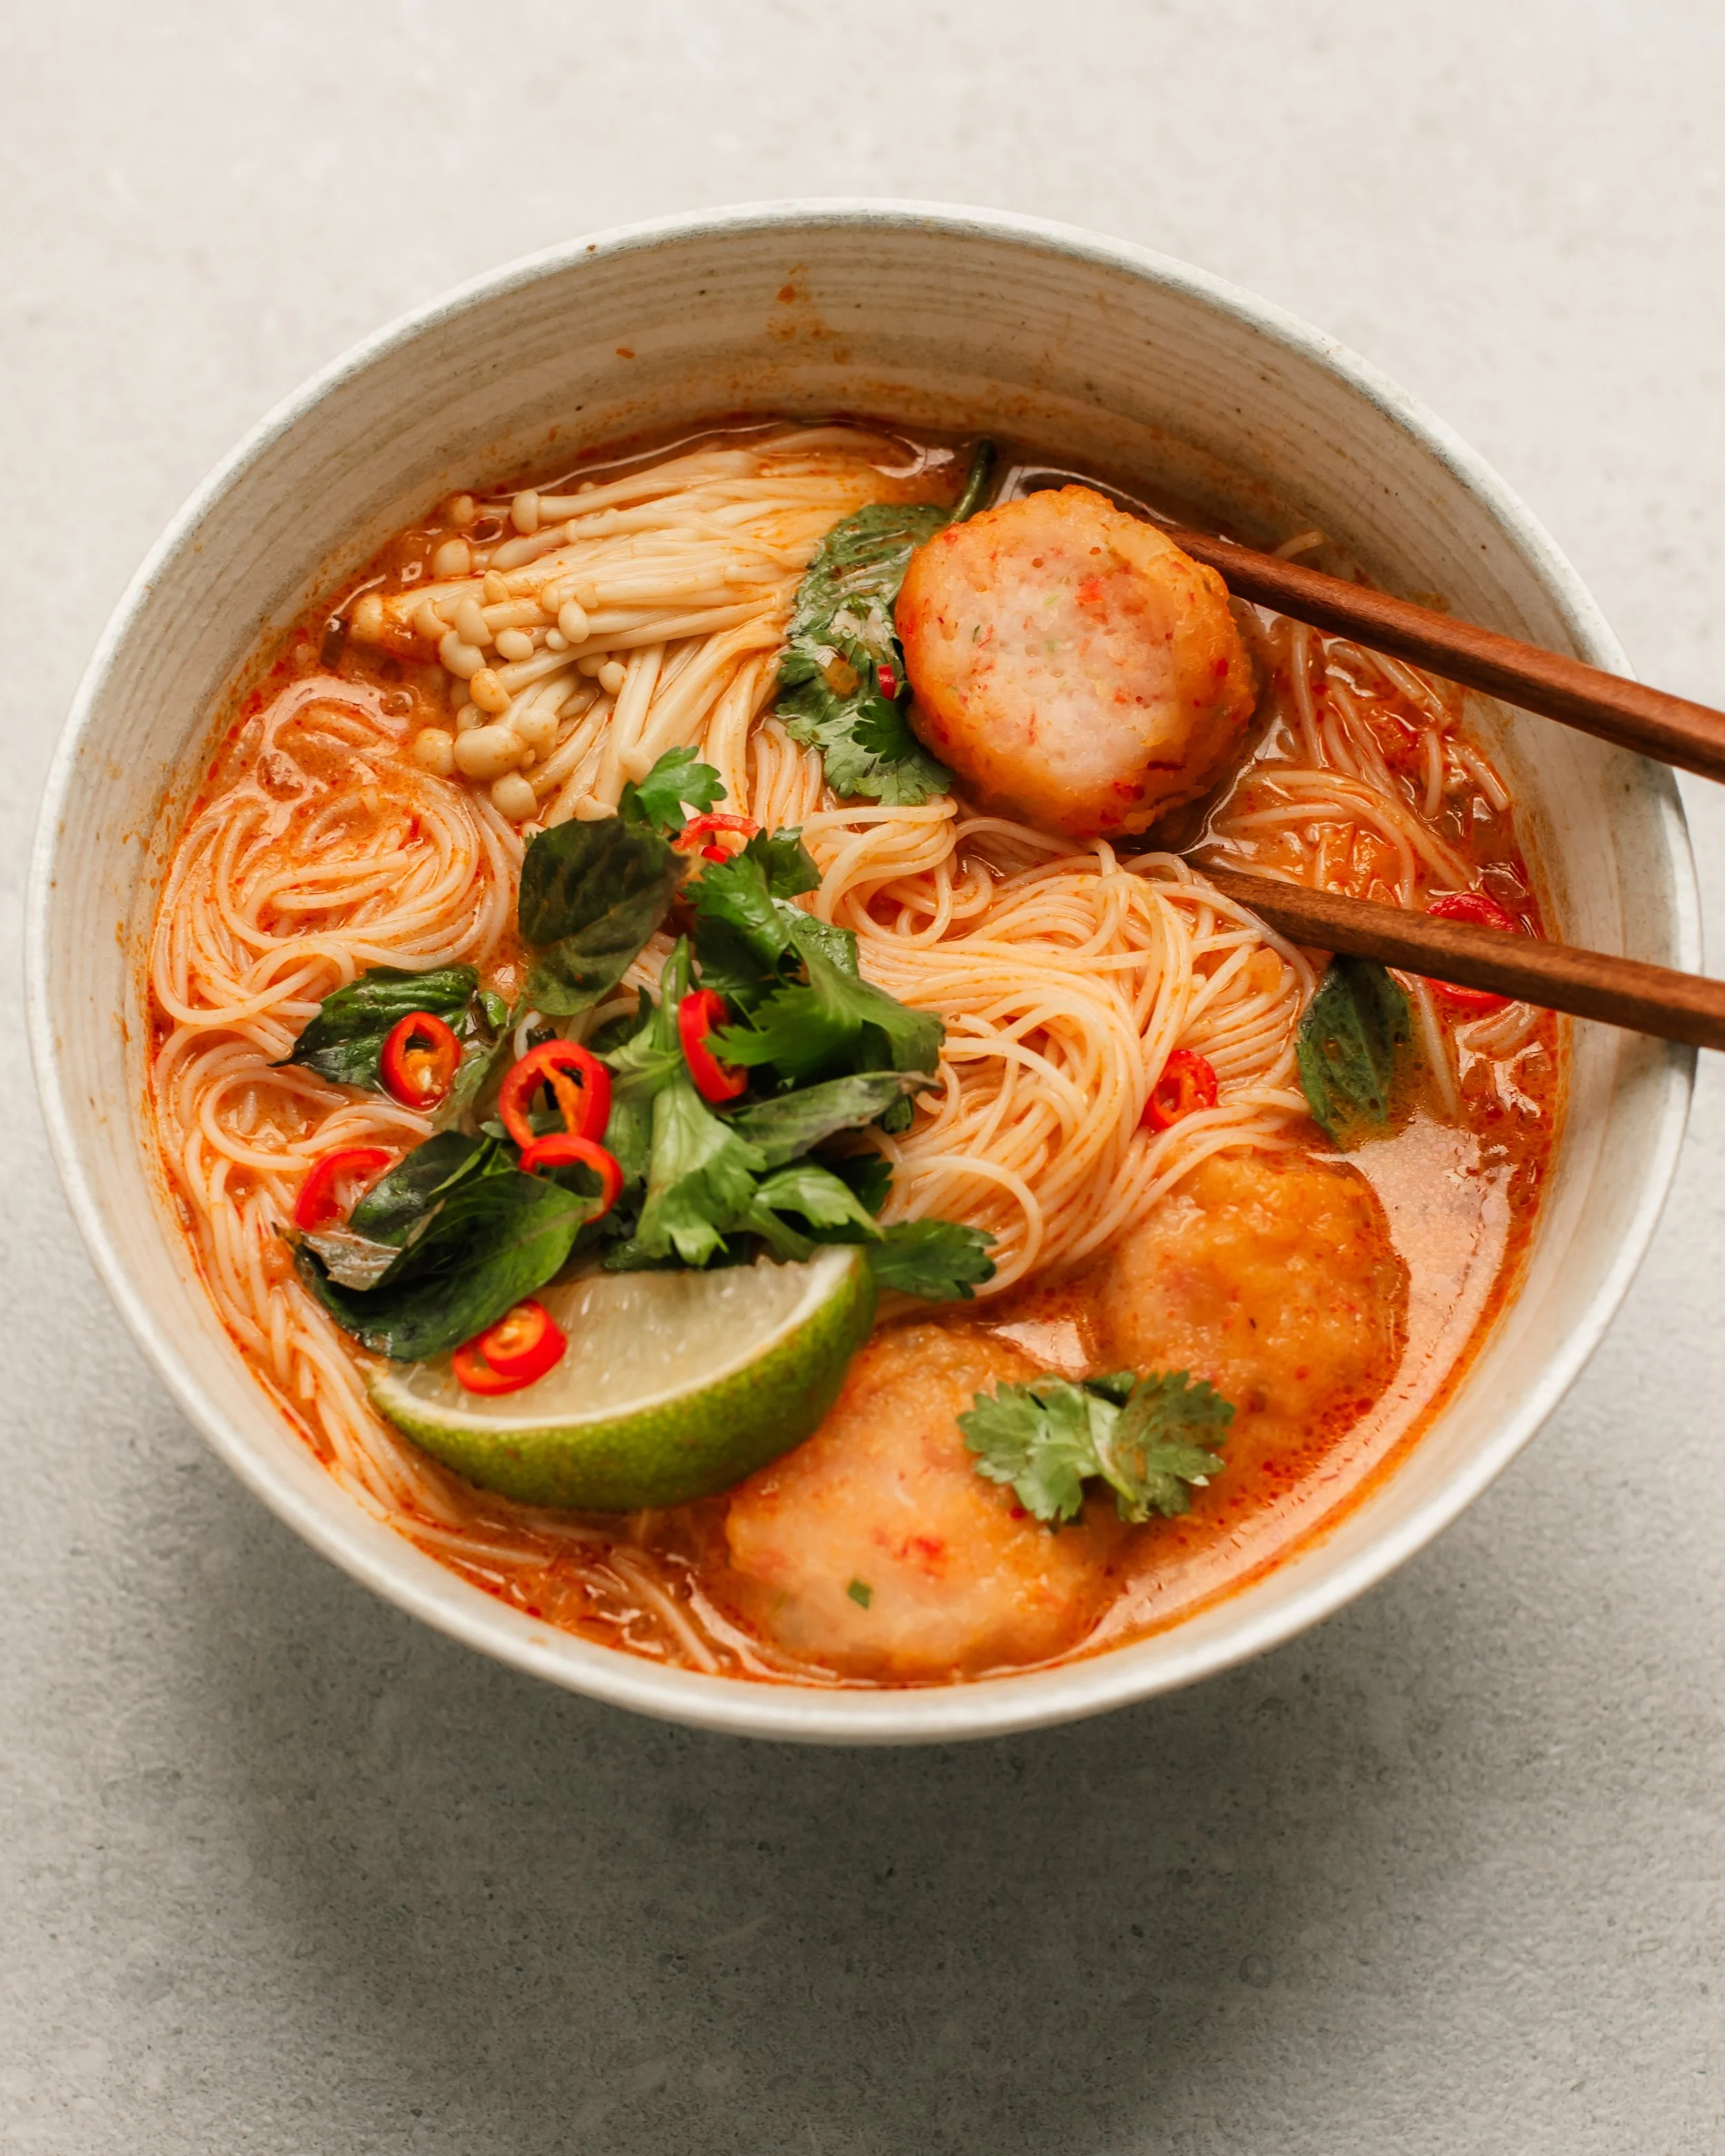
Apart from all of that nutrition stuff, I guarantee your bone broth will taste amazing sipped straight from a mug, in a simple bowl of noodle soup or used in all of your favorite recipes calling for broth or stock such as braises, stews and sauces. It has the power to elevate every single thing you make by injecting deep and rich flavor. I'm crazy about bone broth! And really, you should be too!
Eat well and be well,
Sonia
RECOMMENDED: READ BEFORE YOU BEGIN
NOTES AND TIPS:
1. If you’re very keen on getting gelatin-y bone broth, err on the side of adding less water. Fill it up to an inch below the bones. In particular, I do this when I don’t have super collagen-rich bone pieces (see #2 below). You can always dilute your broth with water later for drinking or use in recipes.
2. When purchasing bones from the butcher, don't shy away from the collagen-rich parts like chicken feet, wings and necks for chicken broth or marrow bones, knuckles and ox tail for beef broth. That said, if I’m using bones from a meal (see #3 below), they’re usually thigh or drum bones, which are great as well and also produces gelatin.
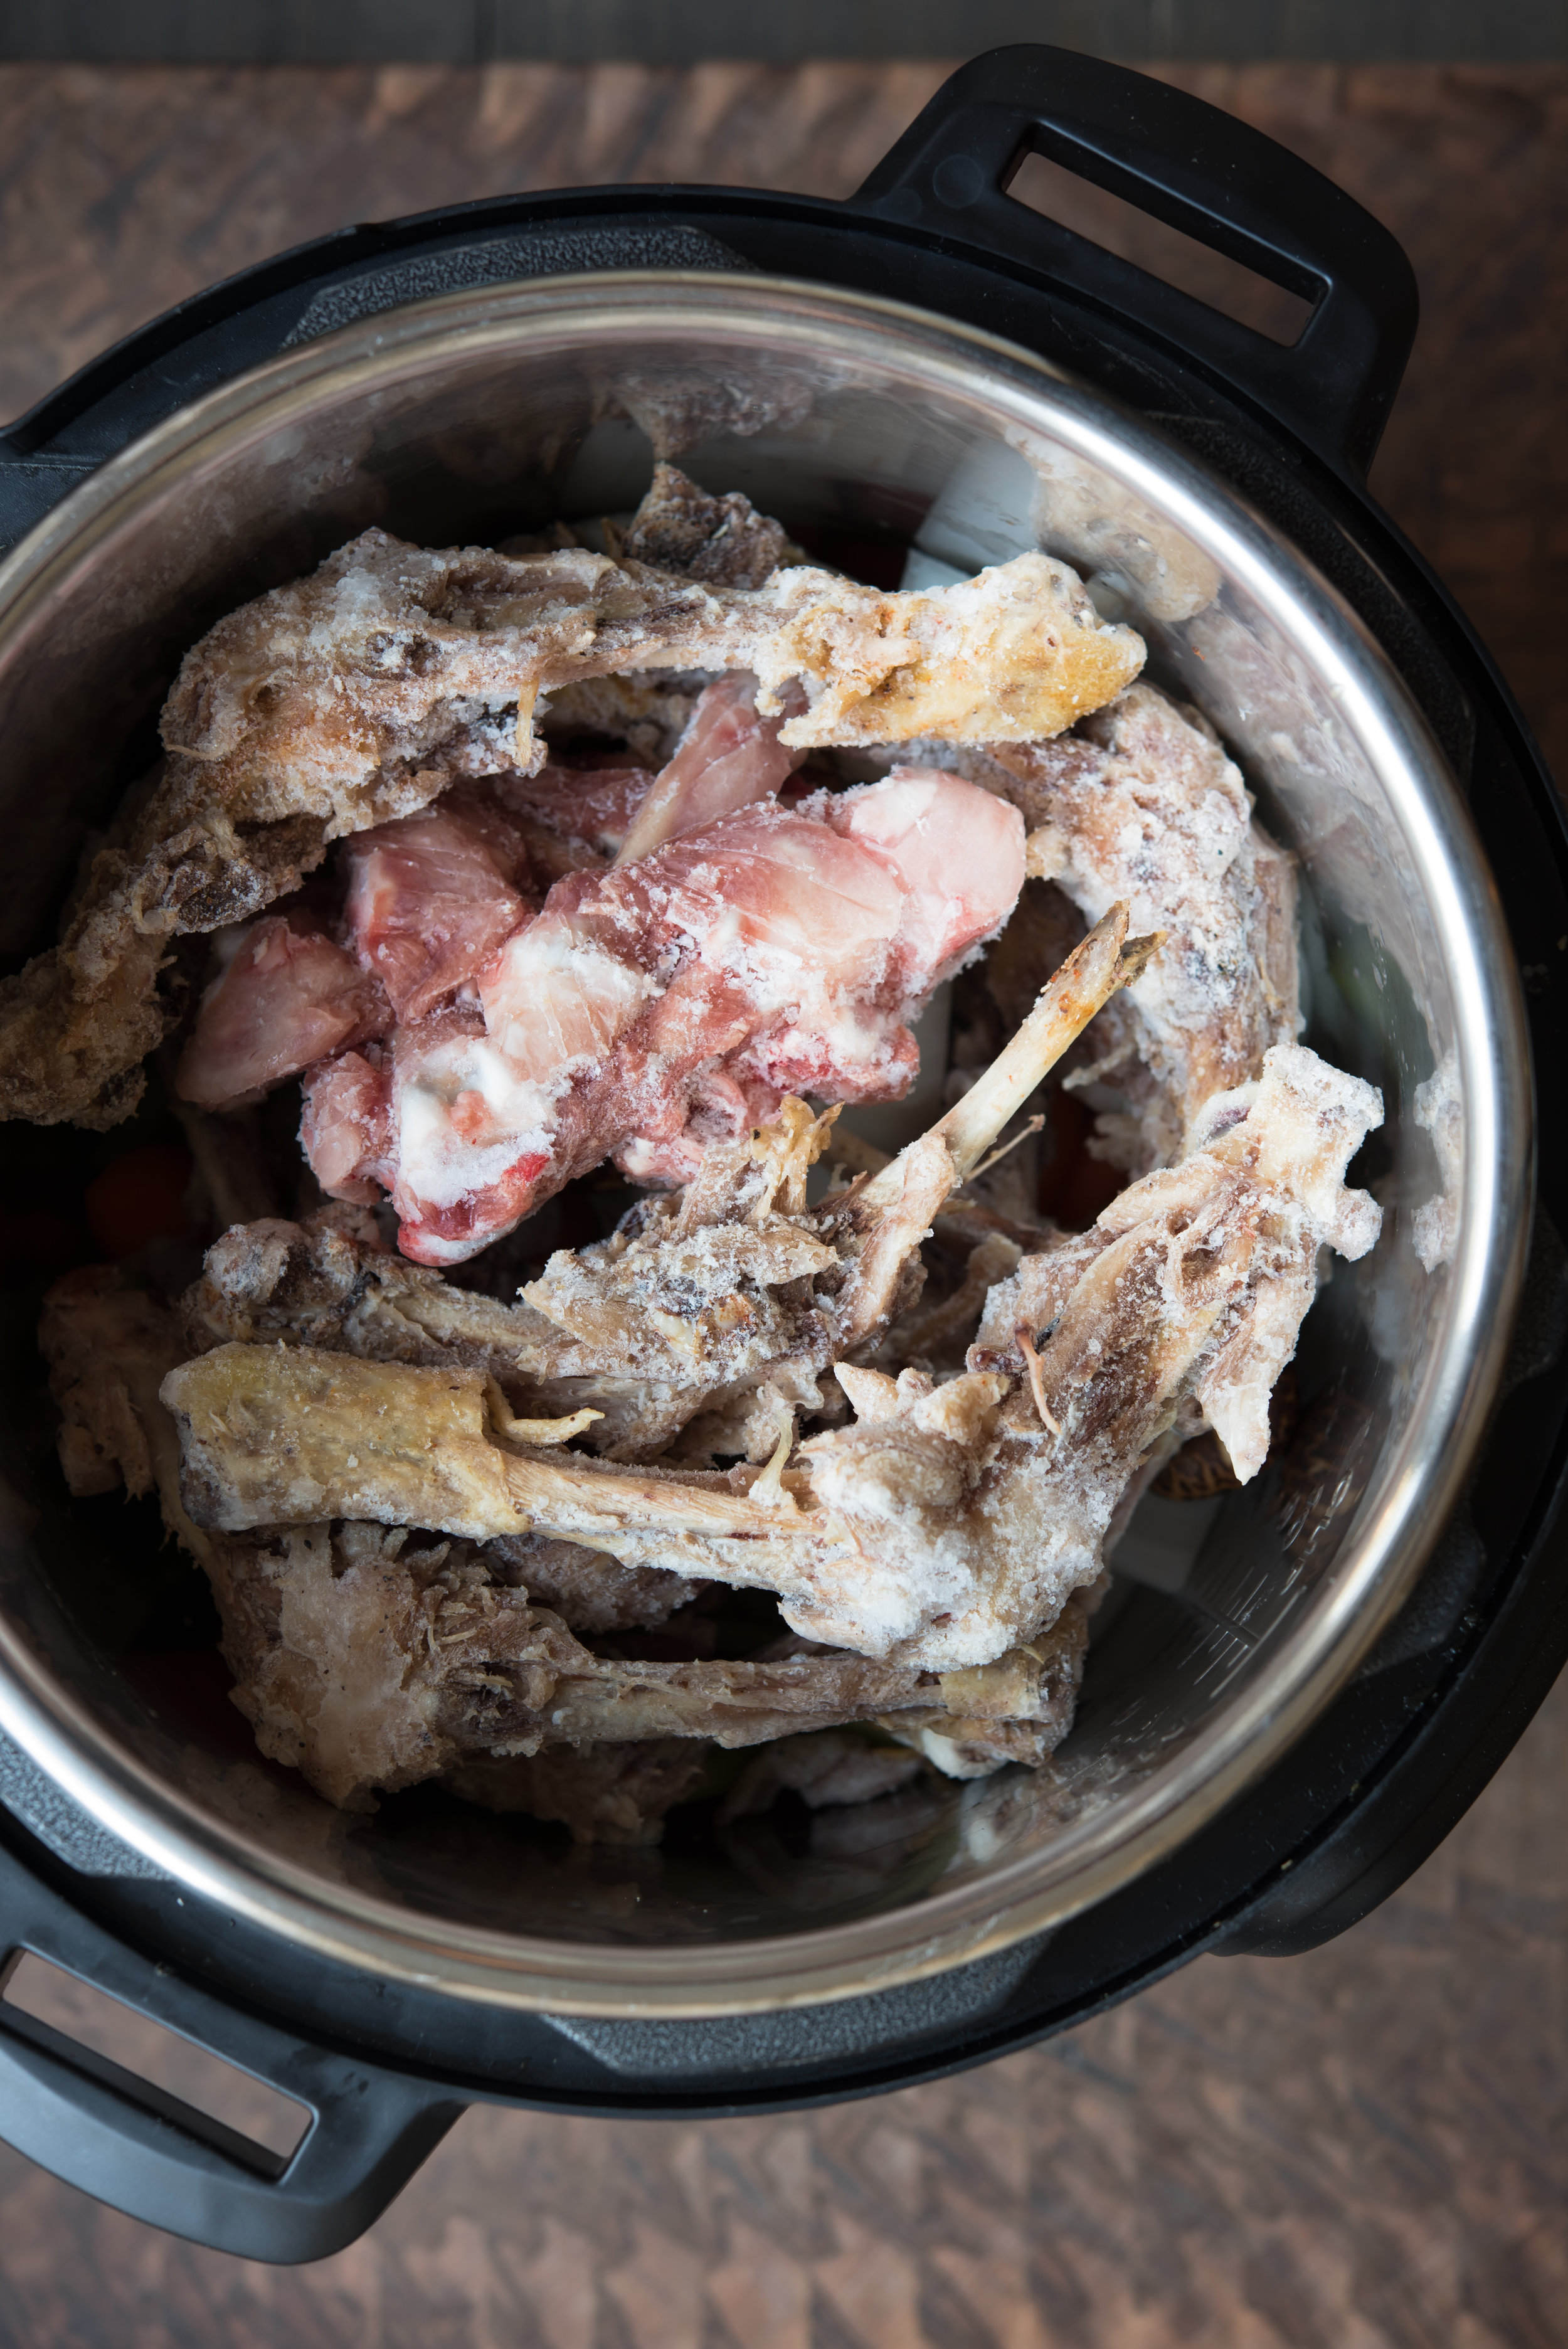
3. Save every bone from meals cooked at home. Do not ever throw them away. No one in my family is allowed to suck on the bones ;) Once the meat is pulled off and enjoyed, I toss the bones into a ziptop freezer bag and freeze until I am ready to make a batch of broth. Rinse off the bones if there is a lot of sauce on them, depending on how they were cooked. Usually I am adding about a pound of these saved bones to fresh bones purchased at the butcher. Sometimes, my entire broth is made from these discarded bones if that’s all I have on hand.
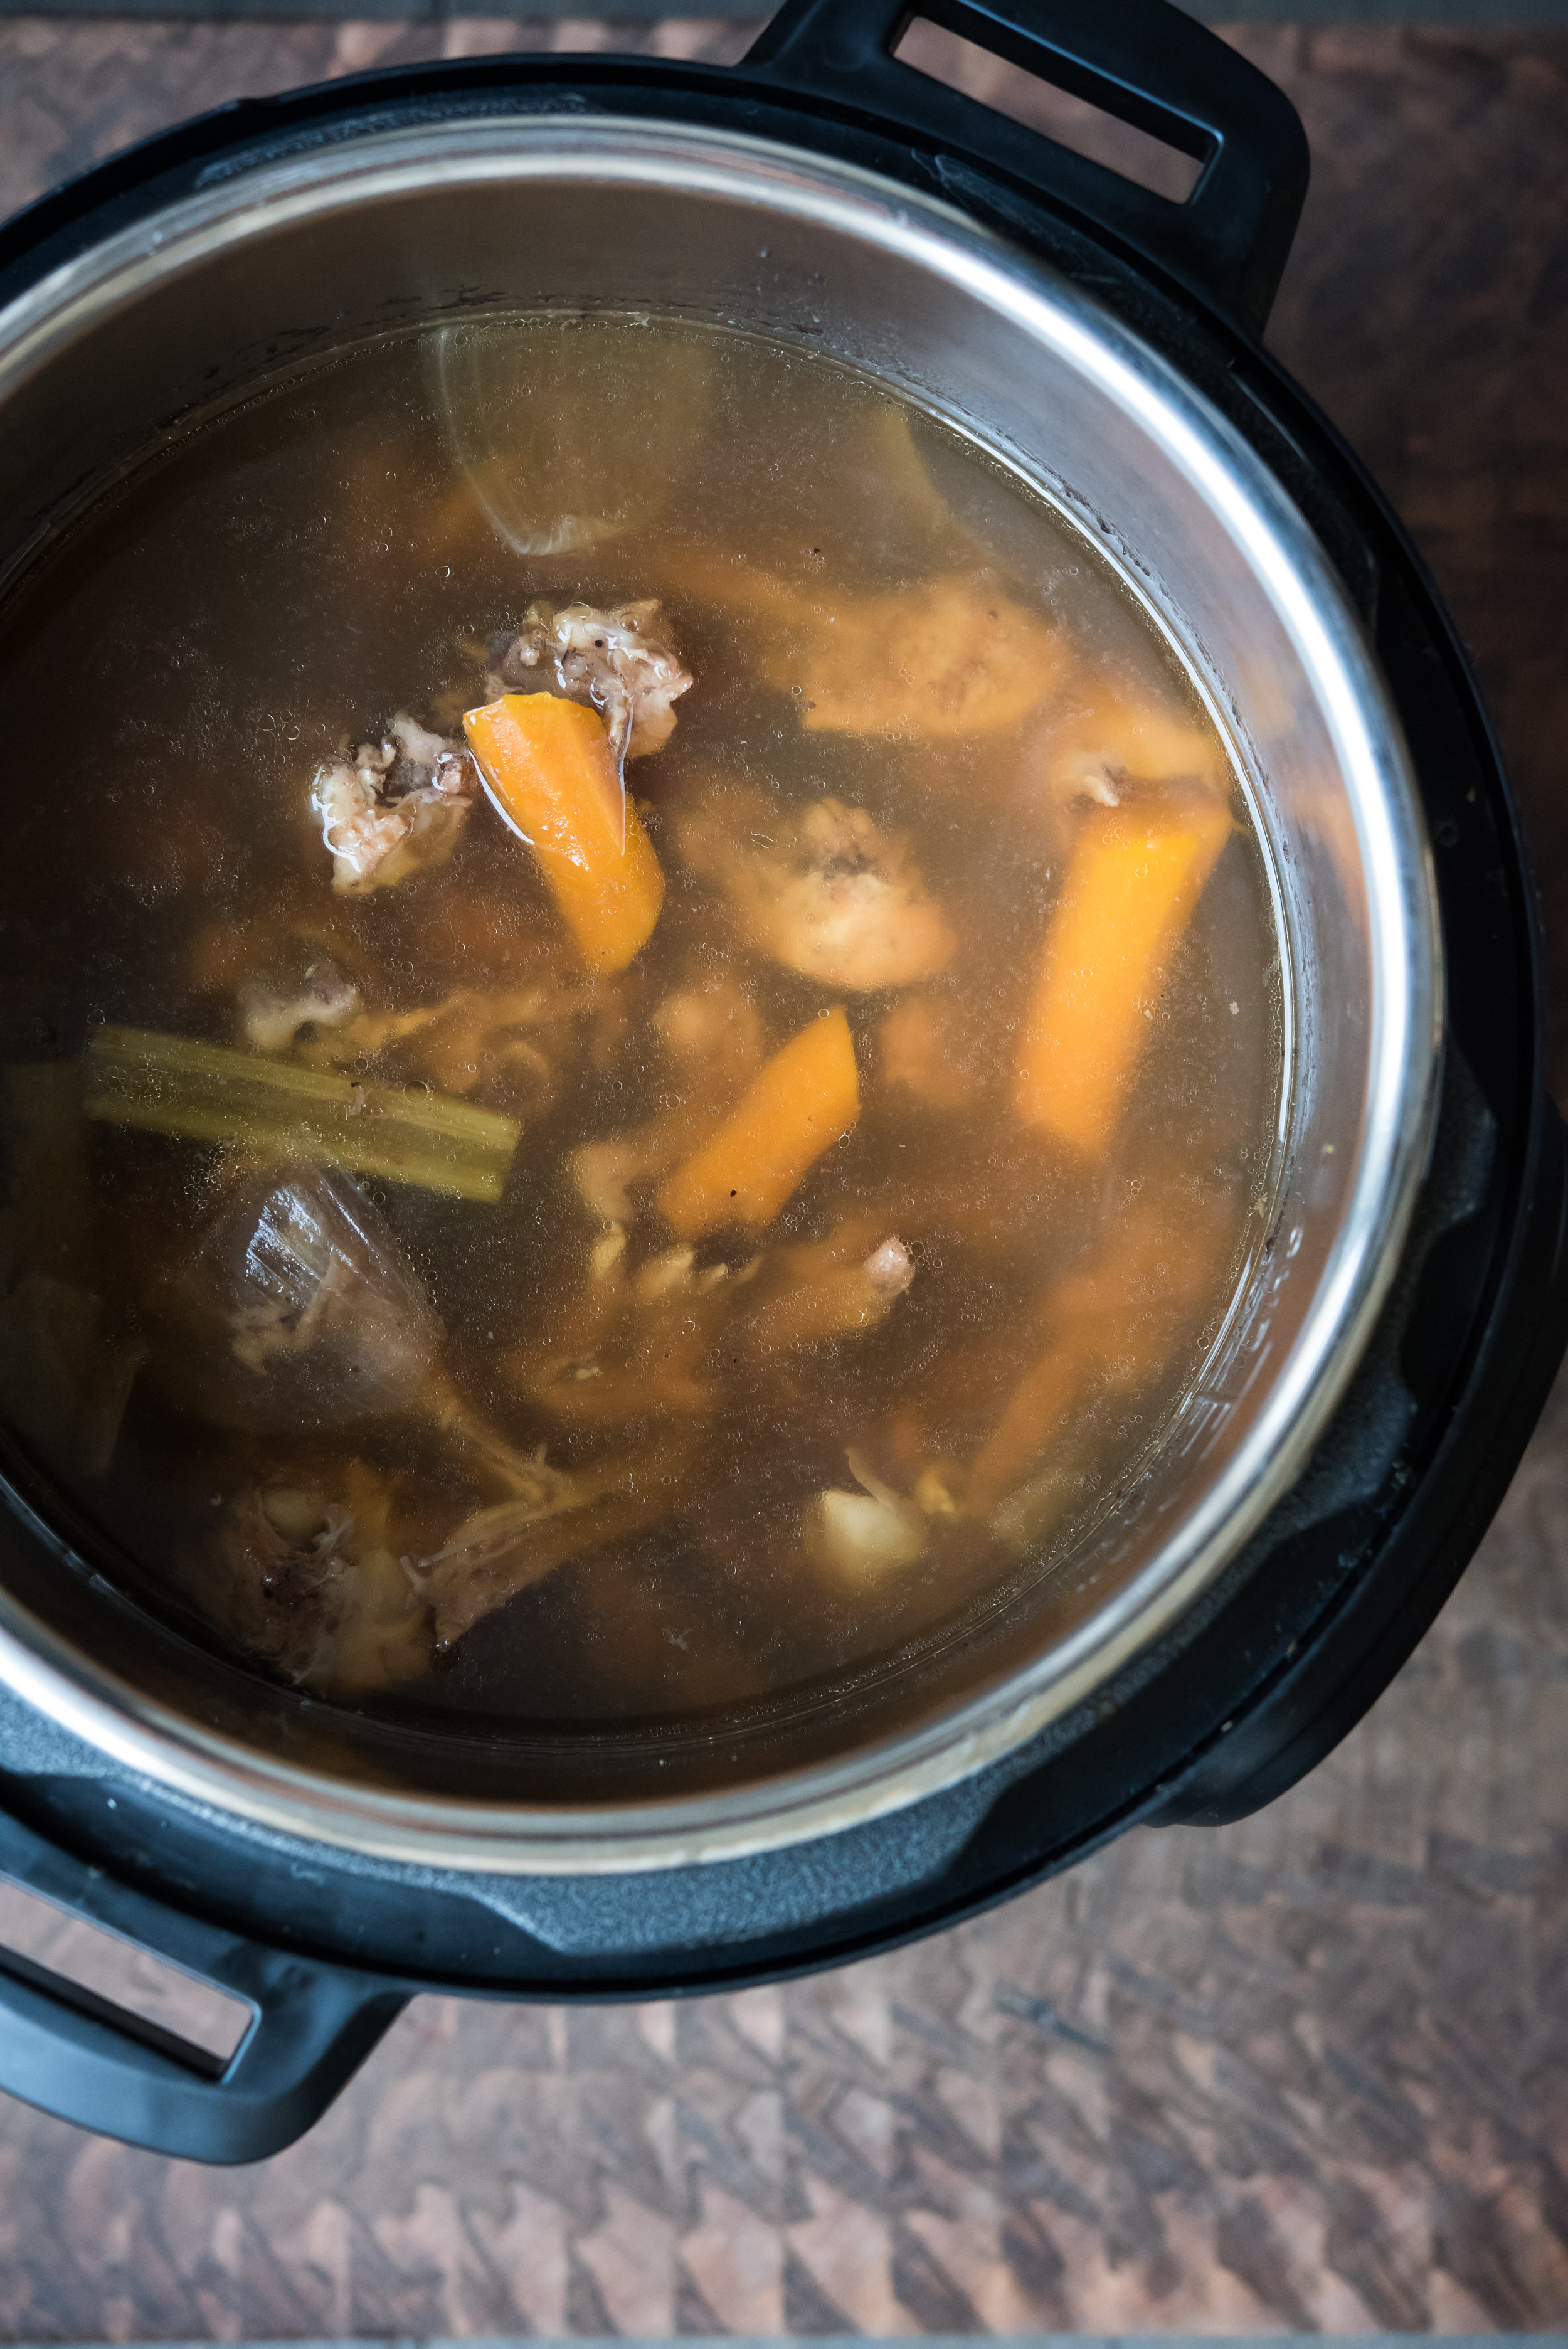
4. If you are using fresh (uncooked) bones, I recommend a preliminary step of boiling them vigorously for 15 minutes to rid scum and blood. Drain it in a colander set inside the sink and give it a rinse before returning it to a cleaned stock pot or Instant Pot. This parboiling step is customary in all Chinese soups. I used to skip this step but I really think it yields a cleaner broth. Ultimately it's up to you. I skip this step if I am using cooked bones (ones saved from other meals) or if I’m just topping up with a few raw bones - like pictured above.
5. Alternatively, instead of boiling in water, some people roast their fresh bones on a sheet plan in a 400f oven first until they get very brown (how long depends on the type/size of bones being used). This may not rid scum per se but it definitely extracts more flavor. I opt for the vigorous boil described in 4 above.
6. If freezing your broth in a glass container, make sure to leave a good amount of head space or else it may explode as the air inside expands during the freezing! I aim for the liquid line to hit just under where the glass begins to curve in on a mason jar, no higher. I have wept over cracked containers and wasted broth a few too many times. Silicon ice cube trays with large compartments are fantastic too for an assortment of smaller frozen portions to use in sauces etc.
STOVE TOP METHOD. SCROLL DOWN FOR INSTANT POT METHOD
Bone Broth - Stove Top Method
Stove top recipe makes about 5 litres of broth, give or take depending on evaporation.
INGREDIENTS { STOVE TOP }
3.5-lb to 4-lb of bones (chicken, turkey, beef, pork, lamb etc) - see notes above
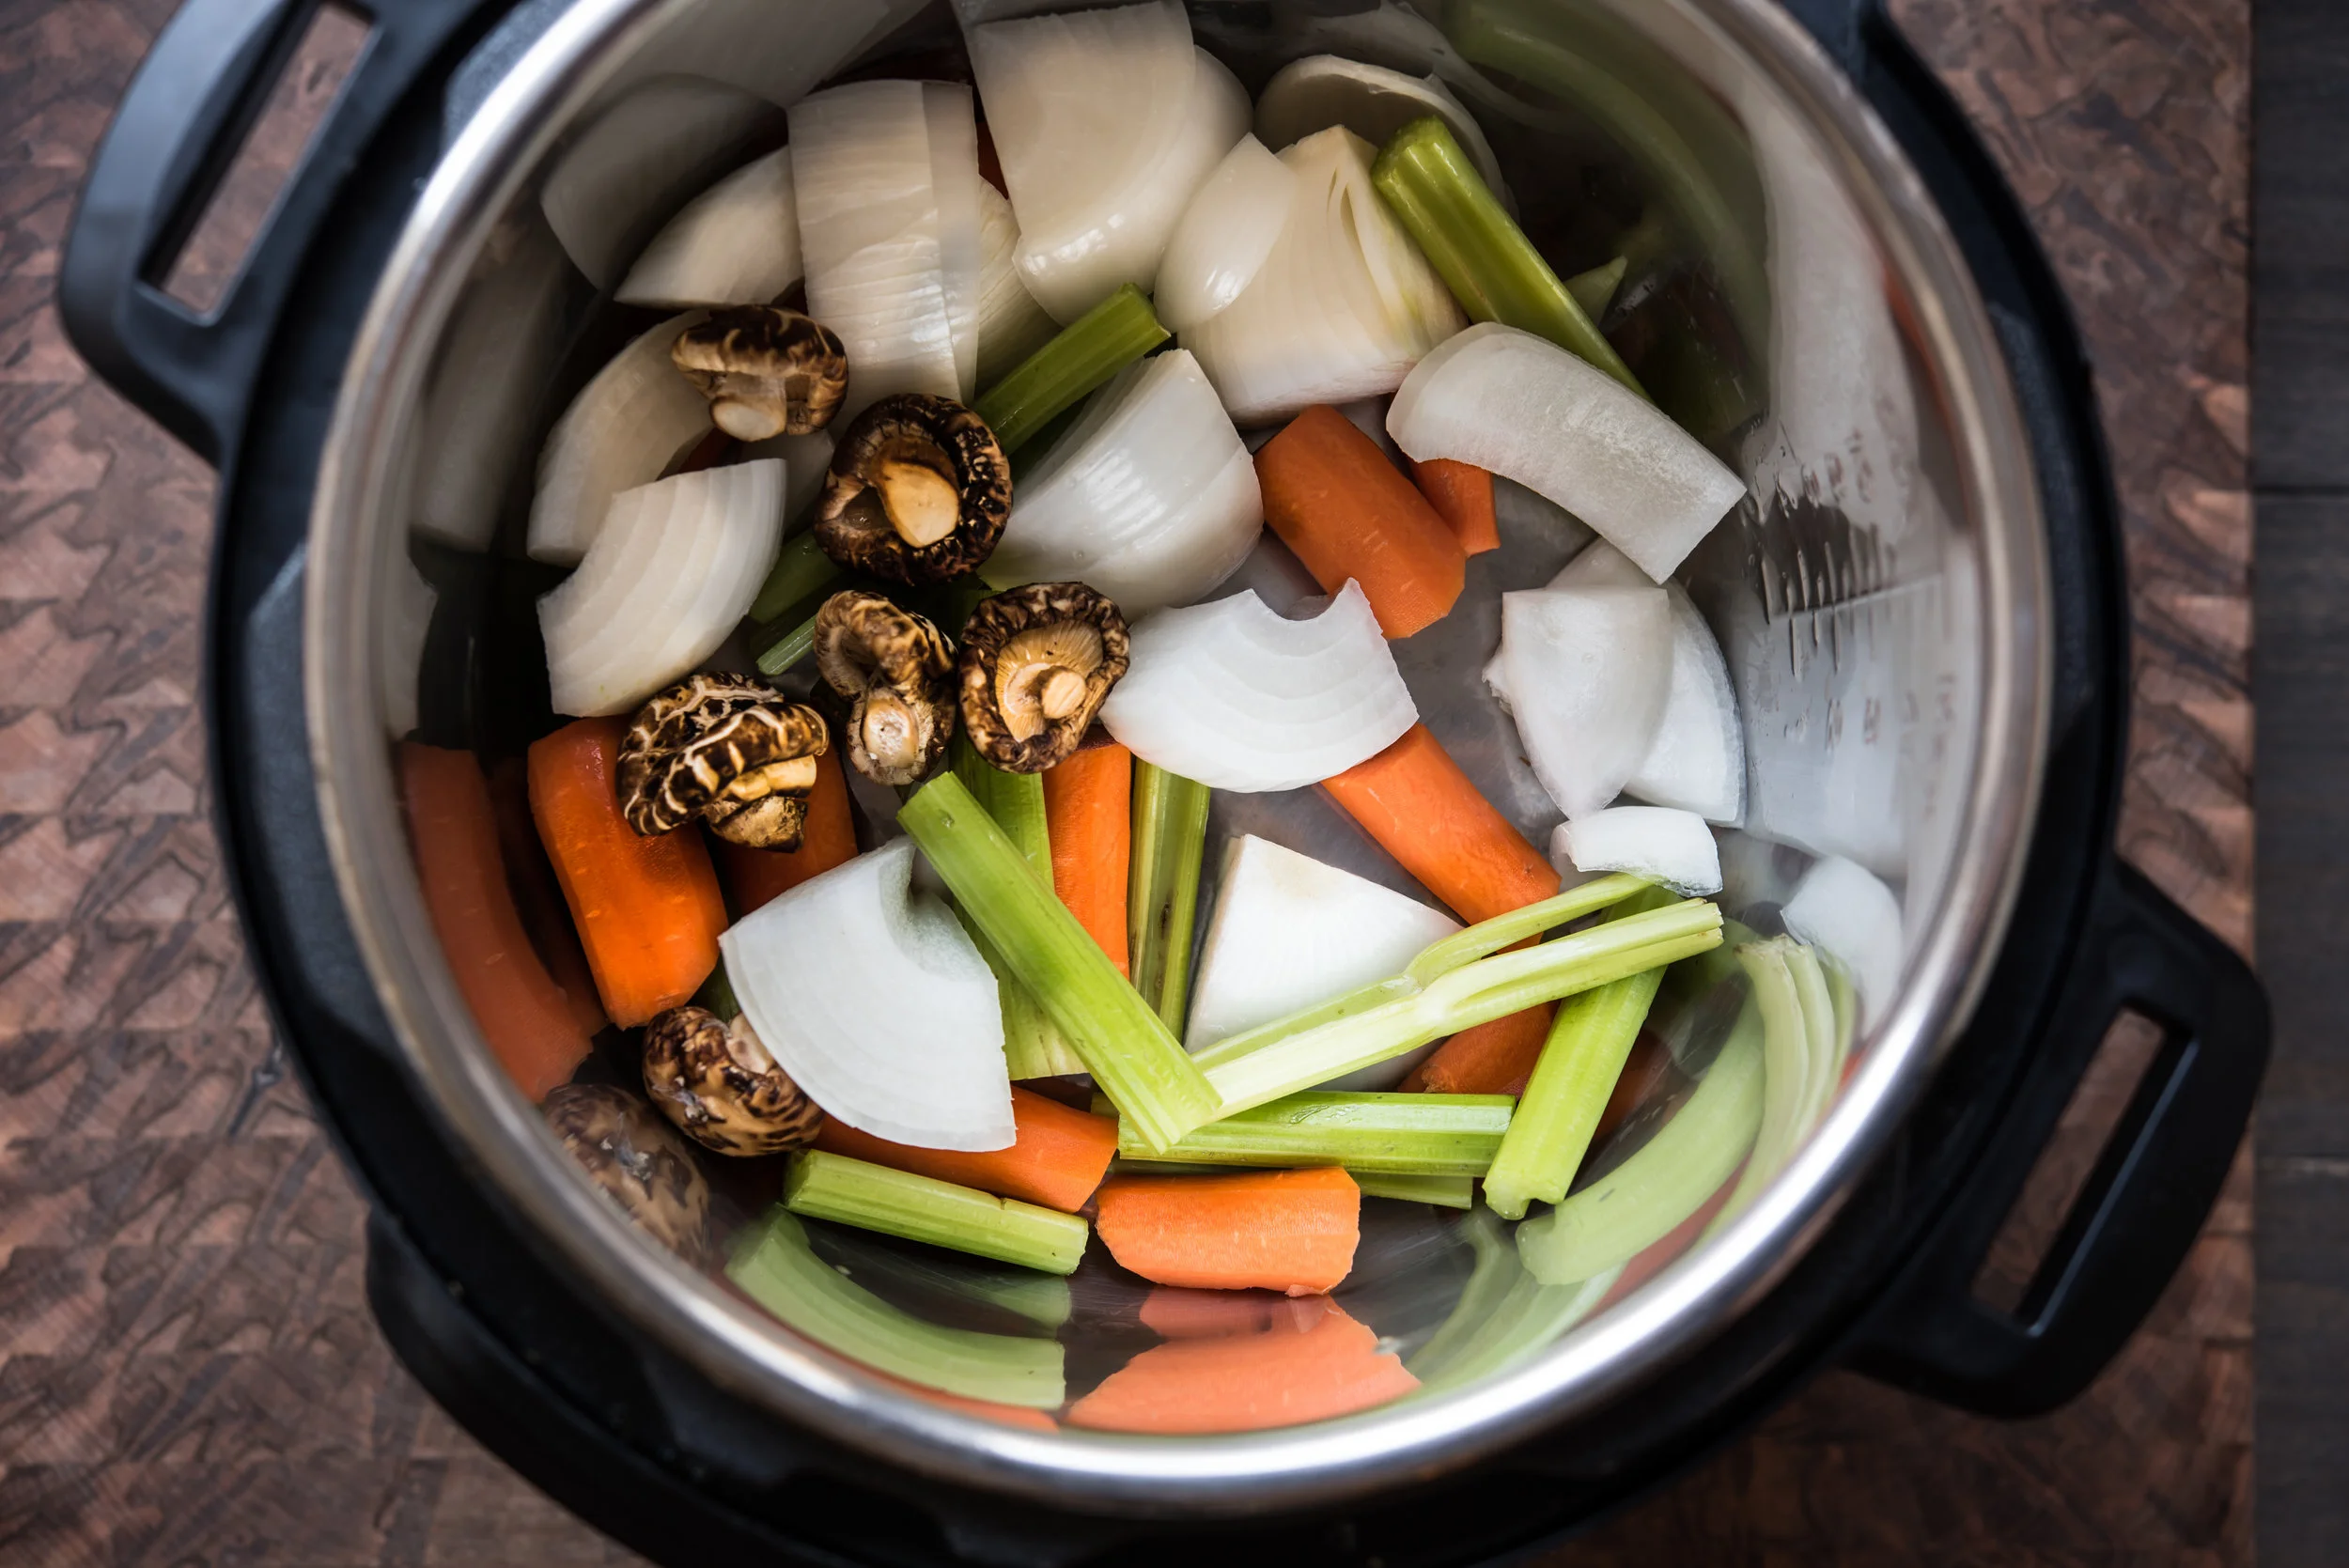
2 or 3 handfuls of any vegetable odds and ends you have on hand like onions, carrots, celery, leeks etc., chopped up a few times to fit into the pot
Small handful of shiitake mushrooms, optional
Splash of apple cider vinegar, optional
Water
METHOD { STOVE TOP }
1. Put the bones in a large stock pot and fill with cold tap water up to 2" above the bones, but leaving room at the top of the pot to avoid boil-over. Place the pot on the stove over high heat until it comes to a rolling boil and foam starts rising to the surface. Boil for another few minutes up to 15 minutes. You should see foam at the top, this is the scum from the bones.
2. You have 2 options to rid the scum:
a. First option (my preferred): Dump the entire contents of the pot (bones and water) into a colander inside the sink. Be careful of the steam and not to splash yourself! Wash the pot thoroughly, you don't want any of that scum inside your beautiful broth. Place the bones back into the clean stock pot and fill with fresh cold tap water up to 2" above the bones. Bring the water back to a rolling boil over high heat.
b. Second option: Do not dump out the original water. Turn heat down to simmer. Skim the scum continuously with a mesh sieve, rinsing the sieve out in a bowl filled with water in between, until no more scum rises to the top.
3. Once the scum has been removed, toss in your vegetables, shiitake mushrooms (if using) and a splash of vinegar (if using). The vinegar is said to help extract trace minerals from the bones during cooking. Don't worry you won't taste it in the final broth.
4. Adjust the heat until you are getting a very gentle simmer with the lid on, in other words, at a level when the bubbles barely break the water's surface. [ Update: previously my direction was to simmer for the first 15-20 minutes before turning it down for the remaining time but I have stopped doing that completely, to avoid any breakdown of the proteins in the gelatin which can happen due to excessive heat ].
5. For small bones like chicken, simmer for anywhere between 6-12 hours but I like to go 24hrs. For larger bones like beef, pork and lamb, simmer between 12 to 24 hours, or more until the bones are softened. A good way to check if you've extracted as much out of the bones as possible is to see if the bone gives when you squeeze it between your fingers.
6. Strain the broth over a fine mesh strainer to ensure all the bones bits are removed. Use right away or cool and store in the fridge for a few days, or freeze for up to 6 months. See notes above for freezing tips.

INSTANT POT METHOD. SCROLL UP FOR STOVE TOP METHOD
Bone Broth - Instant Pot Pressure Cooker Method
Instant Pot recipe makes ~6 C of broth.
INGREDIENTS { INSTANT POT }
1.5-2 lb of bones (chicken, turkey, beef, pork, lamb etc) - see head above
2 or 3 handfuls of any vegetable odds and ends you have on hand like onions, carrots, celery, leeks etc., chopped up a few times to fit into the pot
Small handful of shiitake mushrooms, optional
Splash of apple cider vinegar
Water
METHOD { INSTANT POT }
1. Optional but recommended step if you're using fresh (uncooked bones) (see head notes above -- or skip to step 2 below): Put the bones in a large stock pot and fill with cold tap water up to 2" above the bones, but leaving room at the top of the pot to avoid boil-over. Place the pot on the stove over high heat until it comes to a rolling boil and foam starts rising to the surface. Boil for another few minutes up to 15 minutes. You should see foam at the top, this is the scum from the bones. Dump the entire contents of the pot (bones and water) into a colander inside the sink. Be careful of the steam and not to splash yourself! Give the bones a quick rinse. [ Add July 2020 ] You can theoretically use the IP “Sauté” function for this step but I don’t find it as effective / hot enough to draw out as much scum as doing it on the stove. I really dislike scum and impurities in my broth so the extra pot is worth it to me. You decide!
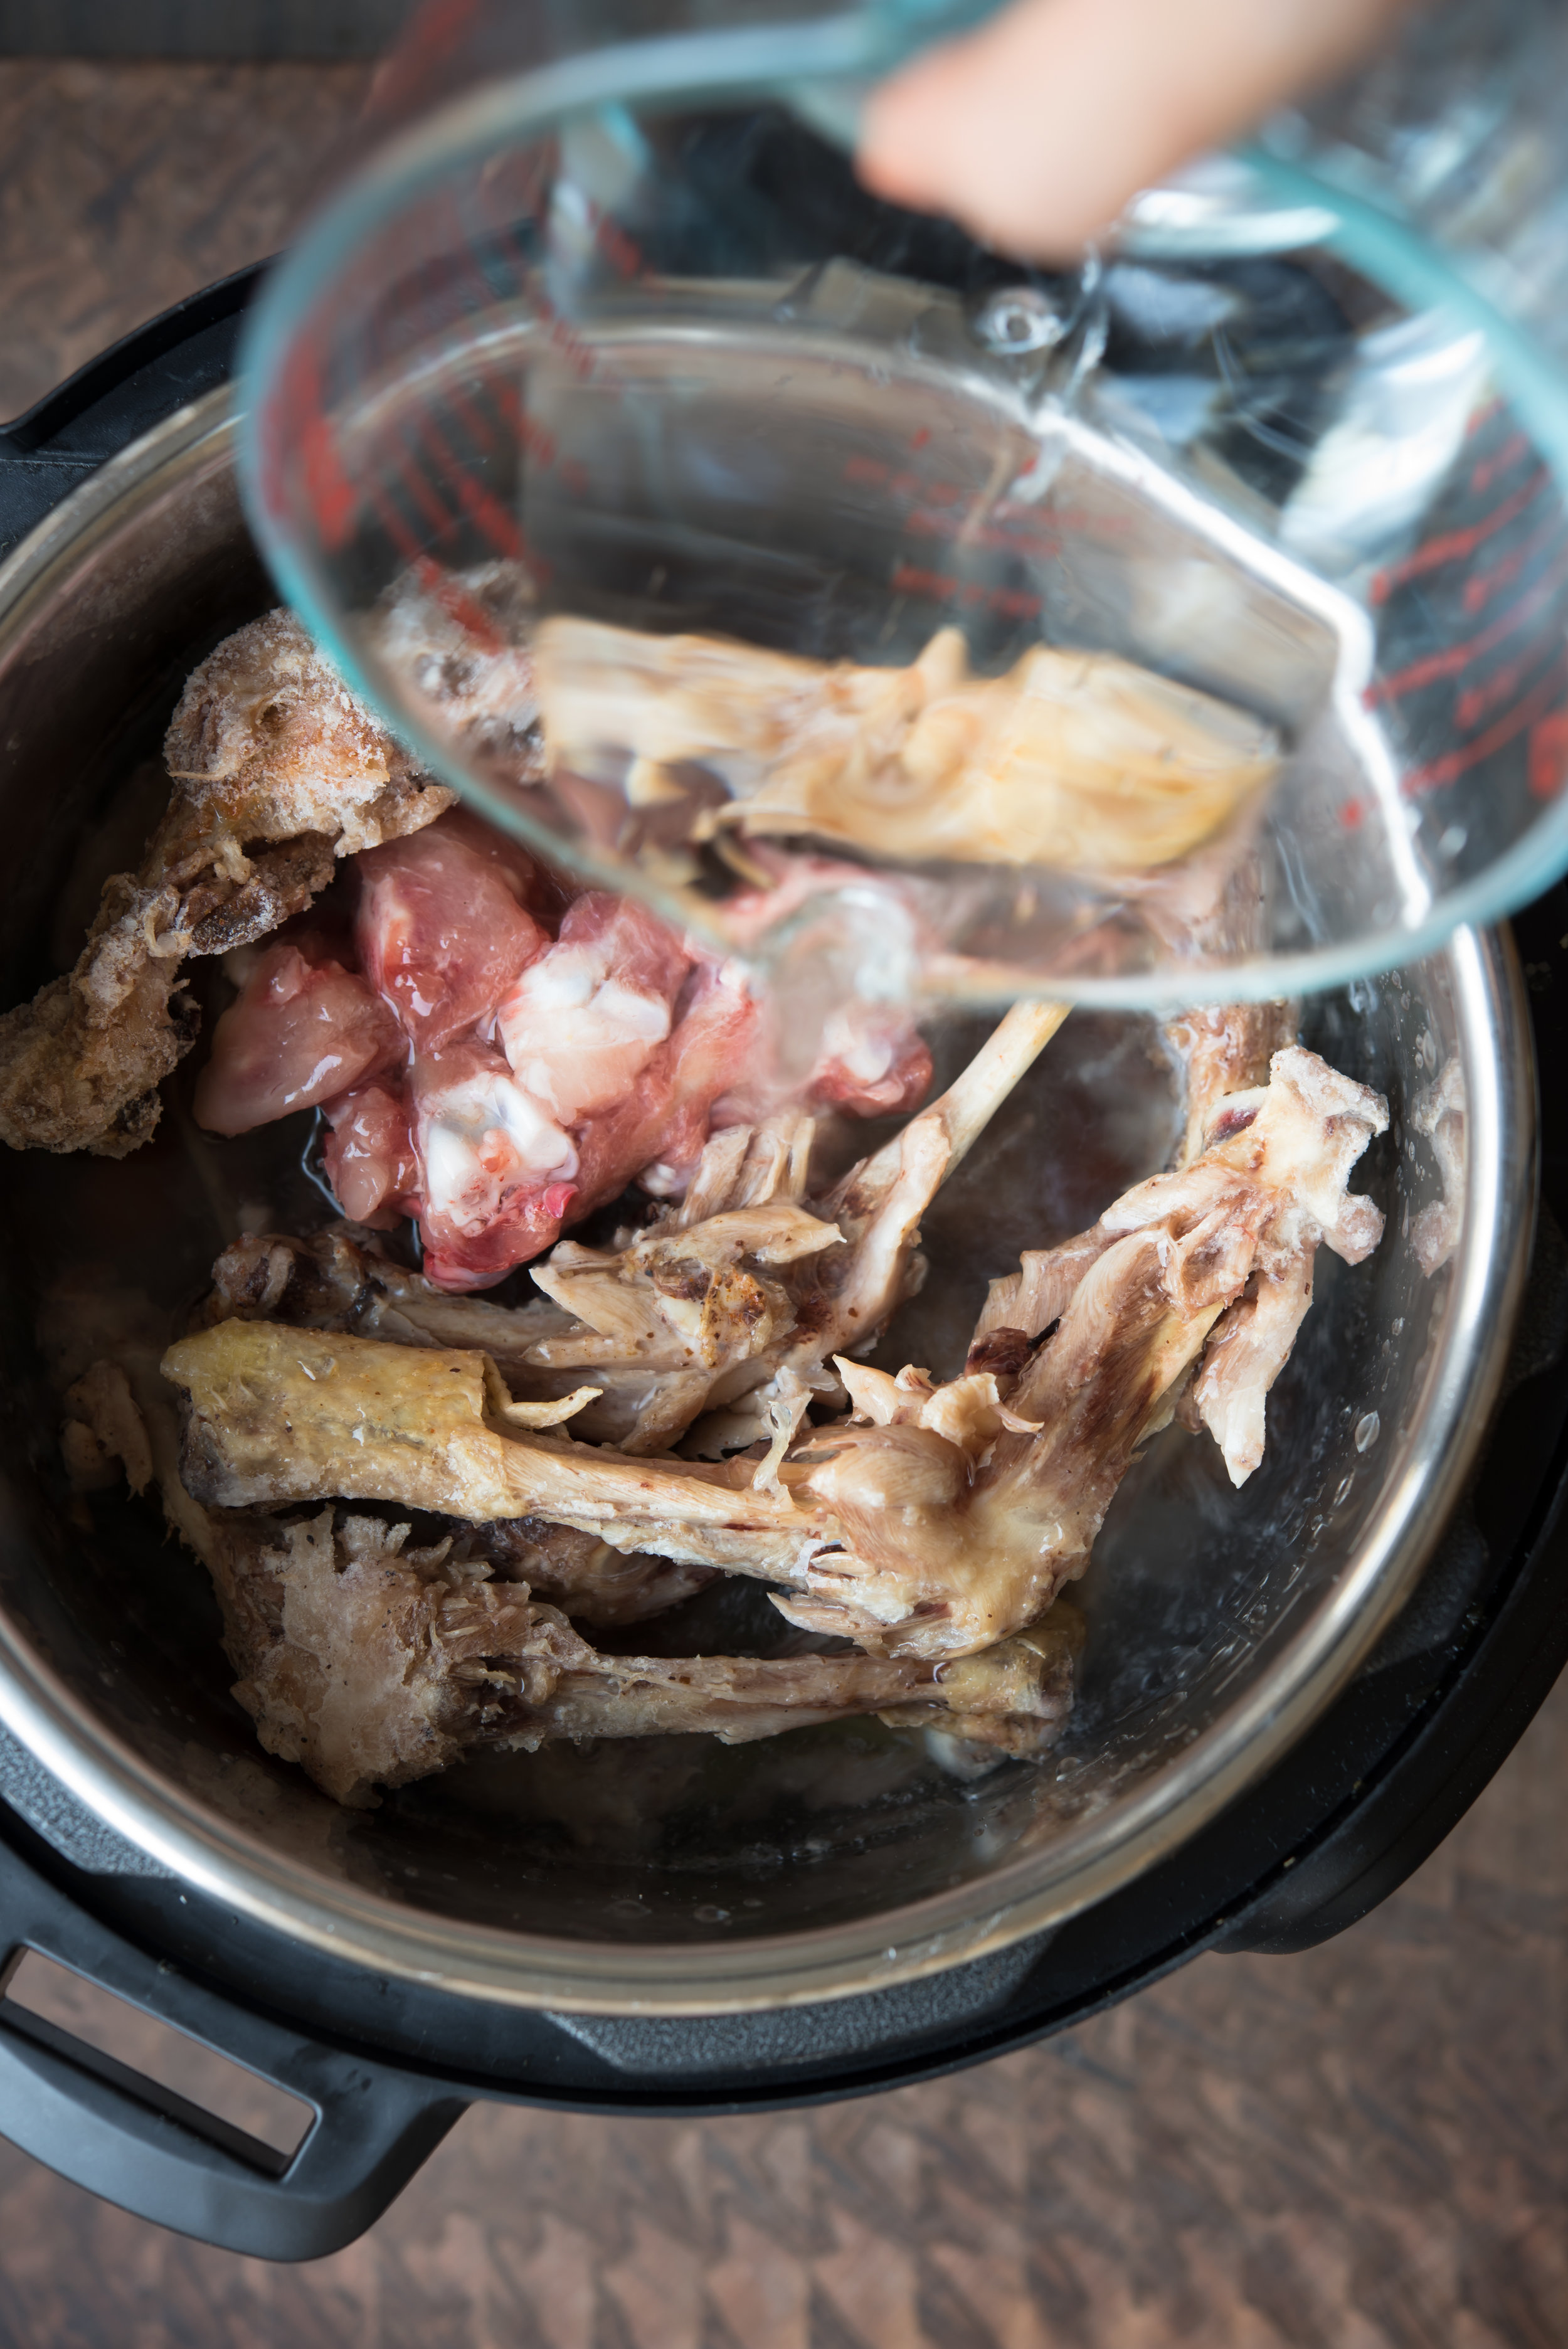
2. Place your vegetables, shiitake mushrooms (if using) and vinegar (if using) inside the Instant Pot. Add the bones and about 8 cups of fresh water up to approximately the "9 Cup" line on the inside of the pot. You don't want to overfill as the pressure cooking function needs head room for the pressure to build properly (or else the Instant Pot will turn itself off, that's happened to me a couple of times).
3. Close the lid, turn to seal and make sure the black valve on the lid is turned to "pressure" (NOT "venting"). Press "Manual" then press the "+" button repeatedly (or hold it down) until you reach 180 minutes. This sets it to pressure cook for 3 hours, the minimum default time I use. Once the 180 minutes is done, allow the Instant Pot to depressurize naturally, which takes about another 60 minutes or so in my experience in my 6-quart IP. If I feel like it (I don't feel like dealing with the straining right away), I sometimes will repeat the pressure cook cycle for another 60-90 minutes to give it extra potency. But don't forget it will take another 45 minutes or so to depressurize. Or if you know you have the time upfront, just set the initial pressure cooking cycle to 240 minutes for a max of 4 hours (180+60 minutes -- honestly I've just never tried setting it longer than that upfront).
3. Once the pressure cooking is complete and the Instant Pot fully depressurized, strain the broth over a fine mesh strainer to ensure all the bones bits are removed. Use right away or cool and store in the fridge for a few days, or freeze for up to 6 months. See notes above for freezing tips.

A quality broth makes all the difference in a simple bowl of dumpling soup. So nourishing!


Hi, I’m Sonia
I share recipes inspired by my food cravings and what I make for my family. My role as a working mom of two girls, my life in Toronto Canada and my background as a Chinese immigrant from Hong Kong all inform the things I love, crave and create. This means an emphasis on wholesome recipes that are approachable for busy weeknights and fun recipes to make on weekends and for friends!
homemade food to nourish and indulge …
More about Sonia >