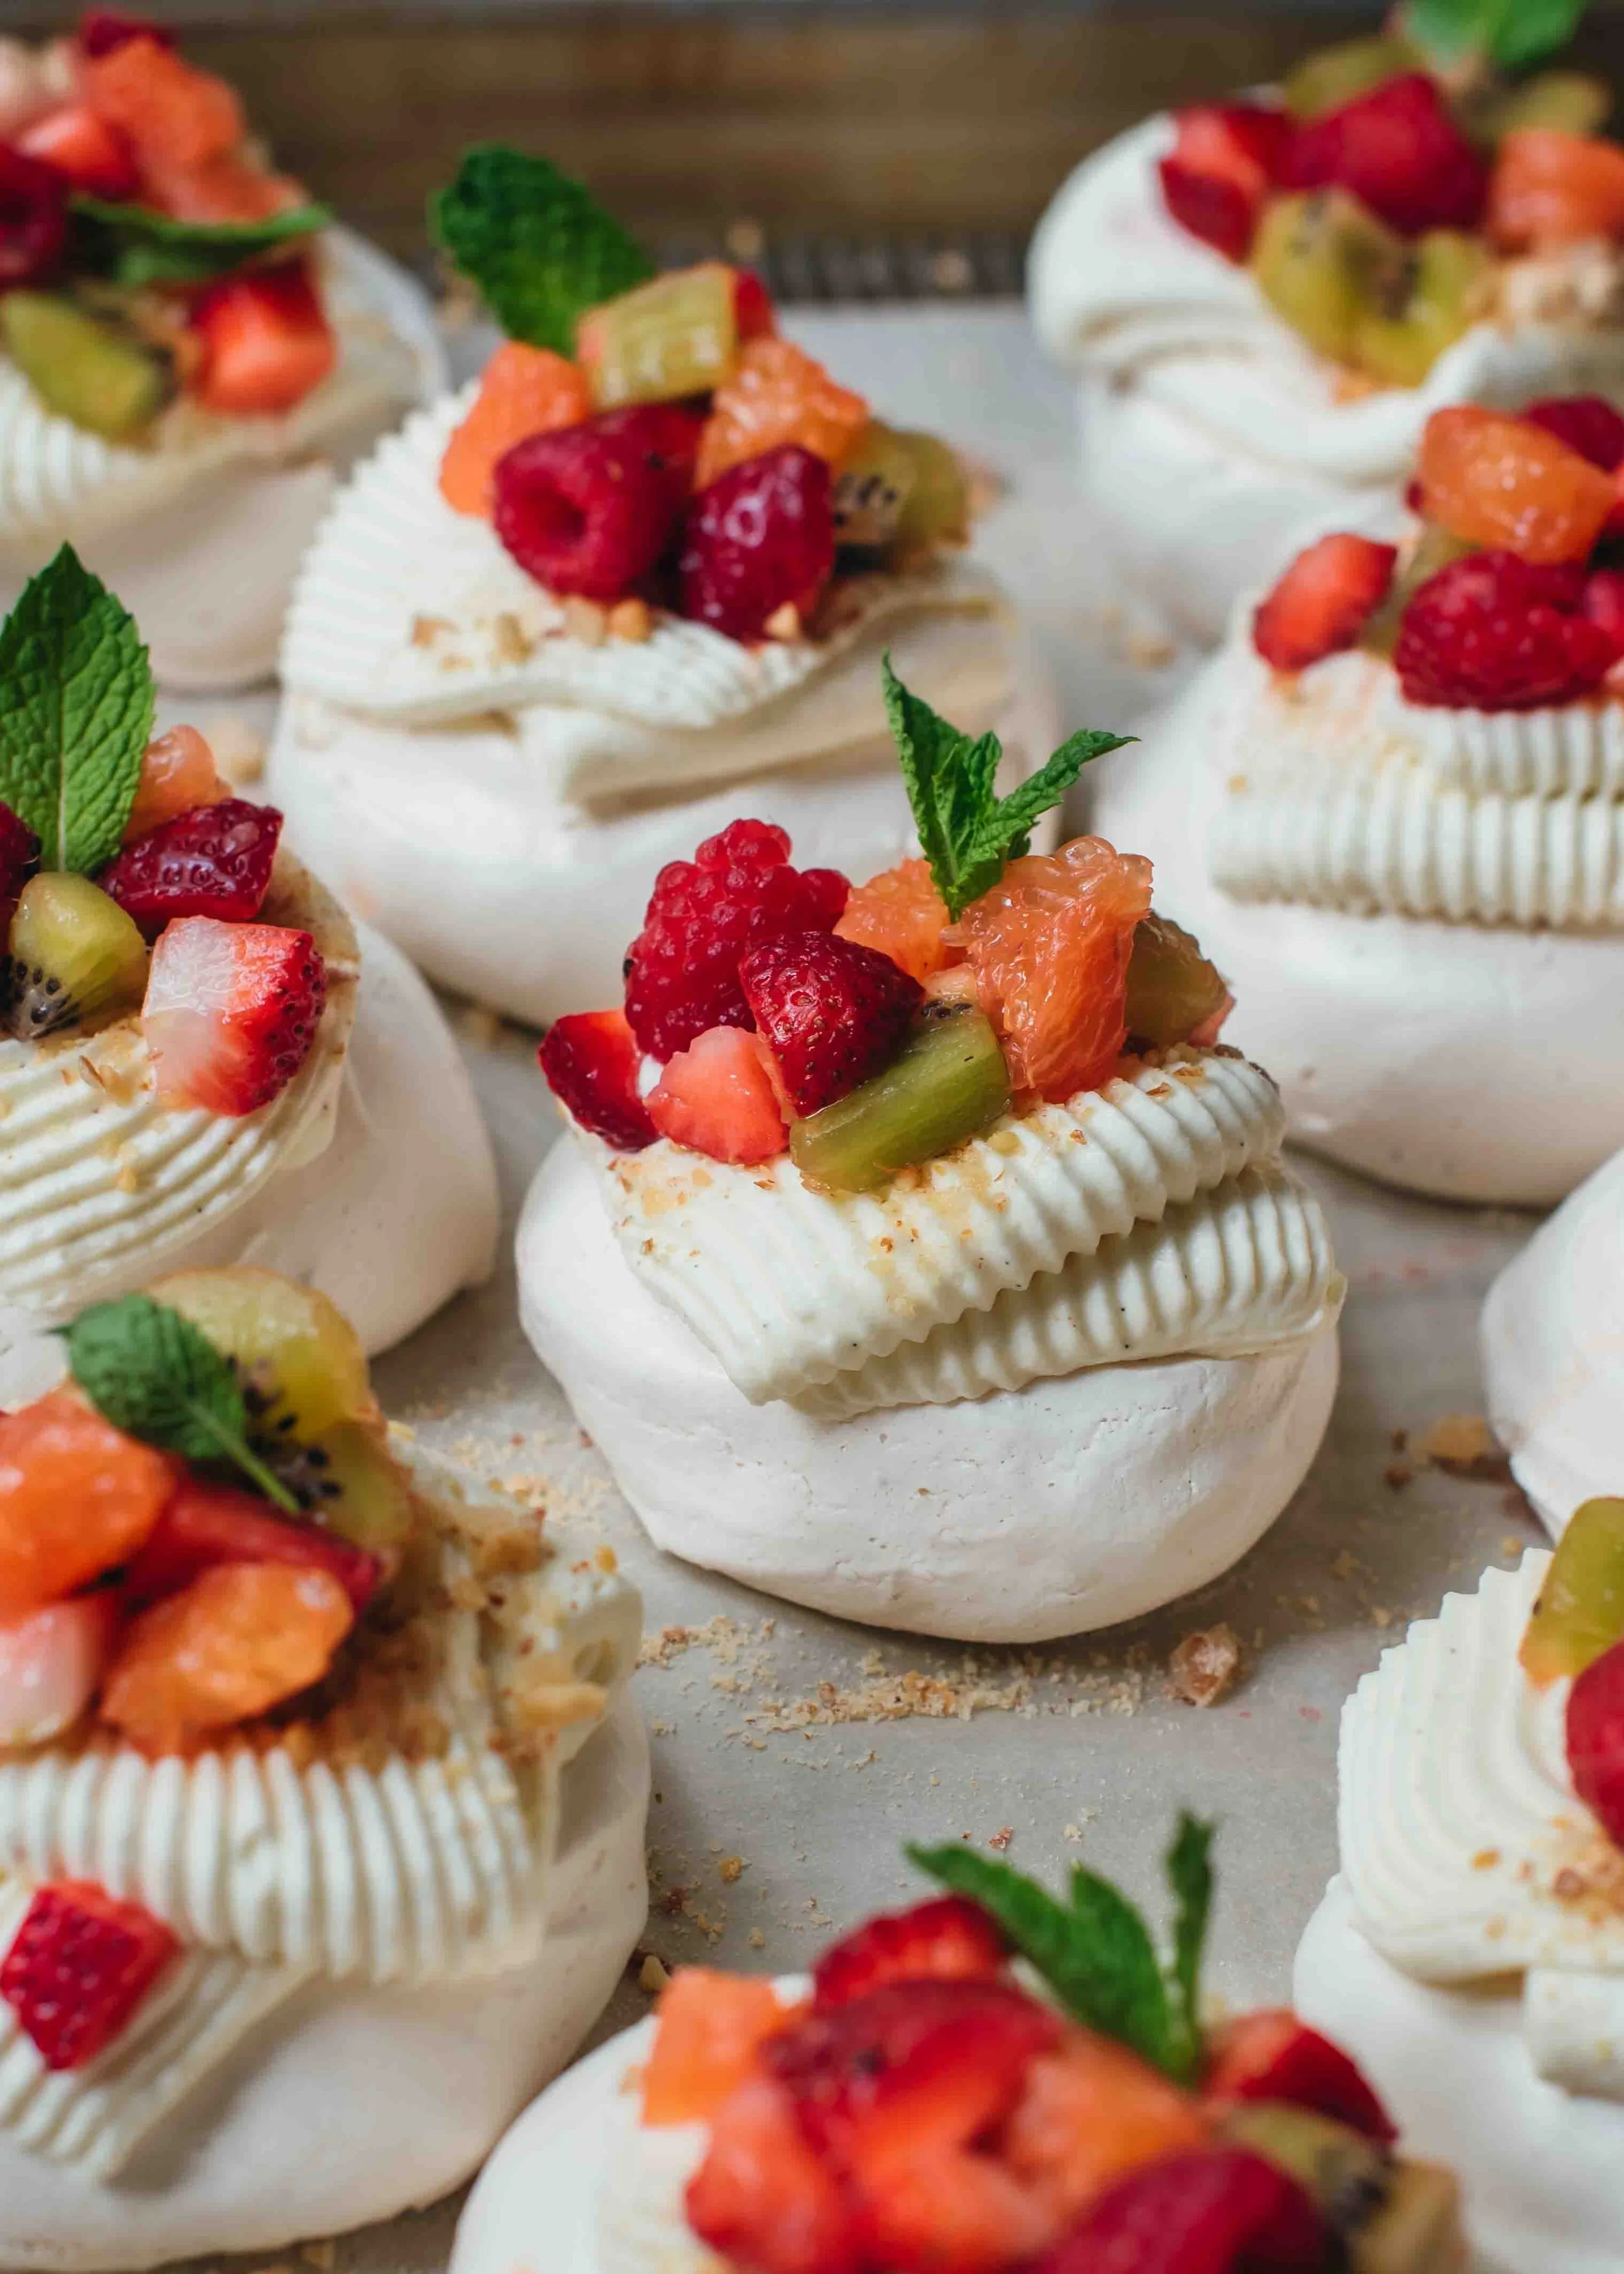
Meringue Nest Cookies with Mascarpone Cream
Crisp yet chewy meringue nests hold a cloud of mascarpone whipped cream, creating a light sublime base ready for your favourite toppings. In this case, mini chocolate eggs are an absolute must for Easter!

We love pavlovas and meringues, and I’m not privy to a better way to use up random, orphaned egg whites in the freezer than a delightful meringue treat. And since it’s almost Easter, topping these with mini chocolate eggs is a necessary move. But I also love love love fresh fruit and/or a dollop of lemon curd, so definitely feel free to do that in addition to — or instead of — chocolate eggs.

When you’re feeling extra, adding mascarpone cheese to the whipped cream makes it oh-so luxurious. It’s also a great trick to stabilize the whipped cream so it weeps less into the meringue, which means the meringue stays crispy and dry longer.

Tips & FAQs
Freezing egg whites:
A lot of people seem surprised to learn that egg whites are freezable. If for whatever reason, you used egg yolks and find yourself with orphaned egg whites — freeze them! The best way to do so is individually in an ice cube tray. One large egg yolk fits perfectly in each cavity of this silicon ice cube tray, making it so easy to use later. Once frozen solid, transfer them into a freezer bag/container. Frozen egg whites keep well for 3-4 months. To defrost, place egg white(s) in a bowl to defrost overnight in the fridge. Use as you would regular egg white.
Tips for meringue success:
Make sure mixing bowl and balloon whisk are pristine with no traces of grease. Fats/oils prevent egg whites from whipping up properly.
Use a kitchen scale: Ideally, weigh your whites on a scale since not all “large eggs” are identical. This recipe uses 3 large egg whites which should weigh 3 ¾ oz (106g).
Traditional white granulated sugar versus organic granulated sugar: organic granulated sugar bakes up slightly more yellow because it is not whitened the way regular granulated sugar is. Apart from colour, there is no difference.
Separate the whites while the eggs are fridge-cold because it’s easier. You do not want any bit of yolk (fat) in the whites which makes it harder for the whites to whip up. Then wait for the whites to come to room temperature before starting as room temperature whites whip up fluffier than cold whites.
Cream of Tartar is an acid that helps keep the structure of the whipped whites. It comes in powder form that keeps forever in the pantry, found in the spice aisles or at bulk food places. If you don’t have or don’t want to keep cream of tartar, substitute with white vinegar or lemon juice. These acids work just as well.
Oven temperature: For my full-sized pavlovas, I start the oven high at 275°F (135°C) then turn it down to bake it at 250°F (120°C). For these smaller cookies where deflation is less of an issue, I prefer the simplicity of baking at one constant temperature of 250°F (120°C). Not all ovens are equal i.e. mine runs hot and I bake mine for 45 minutes. Yours may take up to 60 minutes or more. Check that they lift off the parchment easily and sound hollow when you tap the bottom.
Bake the meringue and allow ample time to gradually cool and dry out without disturbing it or taking it out of the oven – at least one hour for small meringues like these. The slow cooling prevents collapsing and cracking, and properly drying out the inside.
Even in the fridge, baked meringue will absorb moisture from the cream and fruit, becoming softer over time. To keep it crisp, leave prepared whipped cream and fruit separate until just before serving.
Humidity is the enemy of baked meringues. As mentioned above, baked meringue absorbs moisture from the toppings. They also absorb moisture from the air. On humid days, baked meringues don’t stand a chance against getting soggy. Once, I had dozens of mini pavlovas weep into soggy puddles because I brought them to a non air-conditioned party during a downpour. I’ll never forget that lesson. If you must still make it, make sure the environment is well air-conditioned! You can also freeze naked baked meringues to keep dry, if making ahead. They are delicate so make sure to use a hard container to protect them from getting crushed or banged around by other things in the freezer.
Why does meringue turn golden instead of staying white?
Oven temperature is a major factor. This recipe uses the French meringue technique, which is quickest and most straight forward but is slightly less stable than meringue made from one of the other techniques. As a result, we bake these at 250°F while other more stable meringues can be baked at as low as 150°F (for a lot longer) and maintain white colour. A secondary tip is to make sure to use white sugar (not raw cane sugar or any other sugar) for a whiter finish.
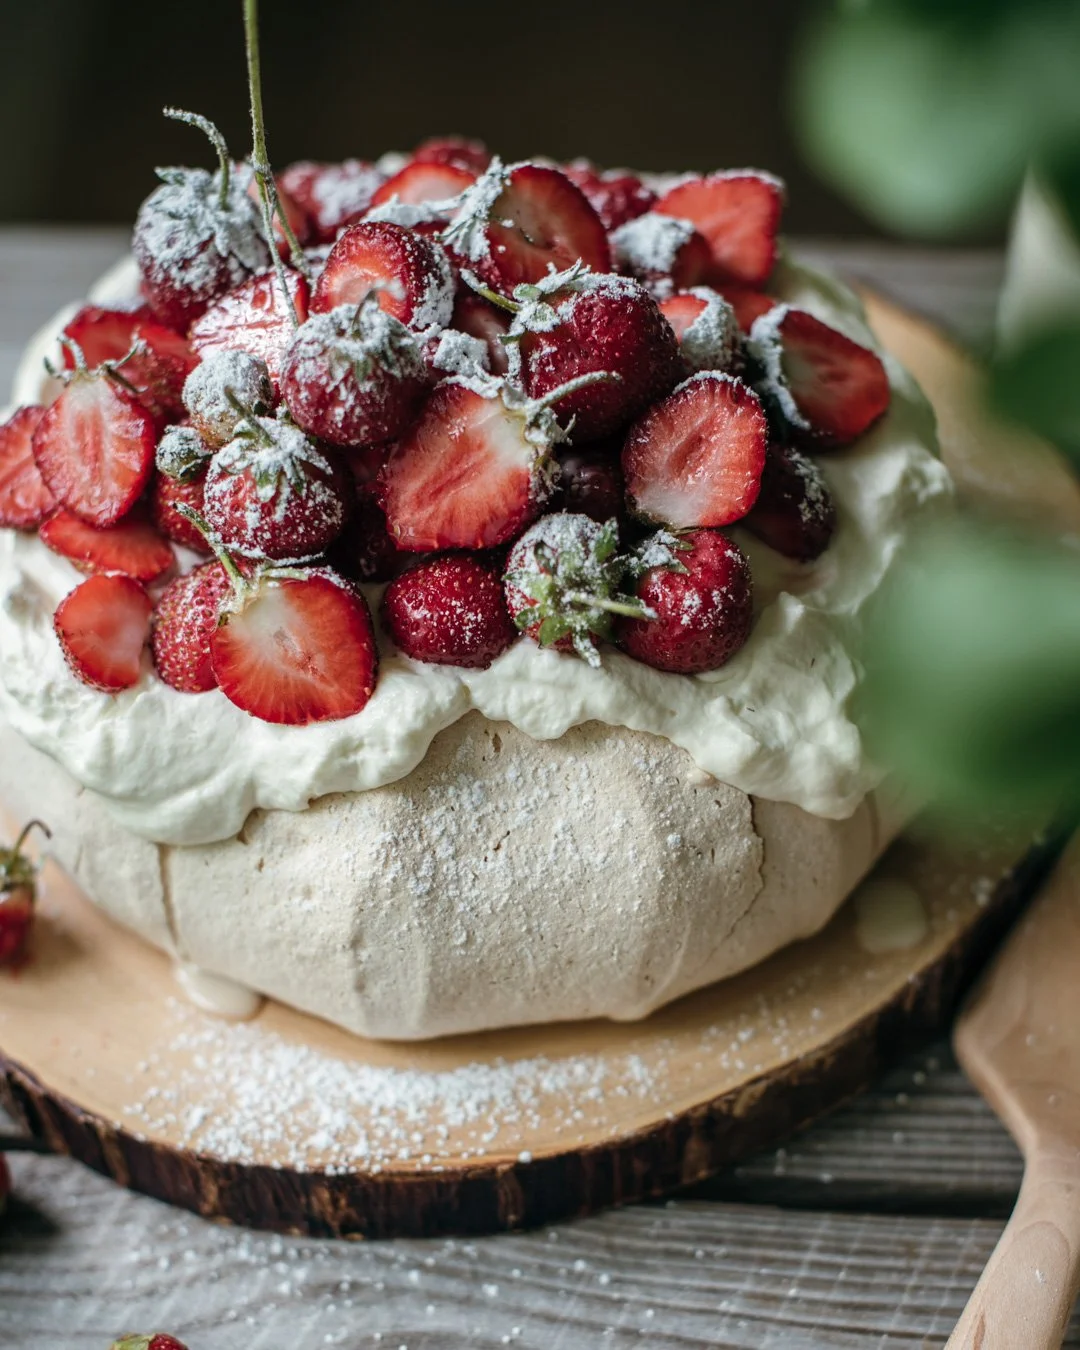
You may also like these meringue-based recipes:

Meringue Nest Cookies with Mascarpone Cream

Meringue Nest Cookies with Mascarpone Whipped Cream
Crisp yet chewy meringue nests hold a cloud of mascarpone whipped cream, creating a light sublime base ready for your favourite toppings.
Ingredients
Instructions
- Tip: If you’re new to making meringues, I highly recommend reading the “Tips for Meringue Success” on the blog before beginning.
- Prepare the mixing bowl: Take out the bowl of your stand mixer and the whisk attachment. Make sure both are completely clean and free of any grease or water.
- Separate egg whites: Separate the whites when eggs are still cold from the fridge, as it is the easiest to get clean separation. Be careful not to get a single drop of yolk in your whites. The safest way is to separate one egg at a time into a small bowl first and only place the white in the stand mixer bowl once you're successful. Don’t use any whites contaminated with yolk (keep those for breakfast scramble). If time allows, let the egg whites come to room temperature before proceeding as they will whip up fluffier.
- Prepare meringue: Preheat oven to 250°F (120°C). Line either one large or two smaller baking sheets with parchment paper. Whisk egg whites on medium high (level 6 of 10 on KitchenAid stand mixer) until soft peaks which means the peaks are just starting to form but falls back onto itself when the whisk is turned upside down, 2-3 minutes. Add the cream of tartar (or vinegar or lemon juice). Turn the mixer to high speed (level 8 of 10) and start adding the sugar by the tablespoon as the machine is running. Ensure each spoon of sugar is fully incorporated before adding the next, 3 seconds between. After all the sugar is in, rub a bit of mixture between your fingers to confirm there is no/little grit from undissolved sugar. If there are sugar granules, whisk another minute longer but do not over whip as this can deflate the meringue. At this point, the meringue should be stiff and glossy.
- Form meringue cookies: Dab a bit of meringue on the underside of each four corner of the parchment to hold it in place. Transfer meringue mixture into a piping bag fitted with a star or round tip if you want them to look like my nests (I used a Wilton #32 tip). Otherwise, simply use a spring-loaded ice cream scoop or two spoons to dollop them onto the parchment paper – pushing a spoon down the center to create an indent for toppings later. For nests, first pipe a 2” disc onto the parchment paper, then pipe twice around the edge to form a ¾”-high wall all the way around. Space nests with 1” clearance all around.
- Bake: Bake 50-60 minutes or whenever the meringue lifts easily off the parchment and sounds hollow when you tap the bottom. If you want to check one, the center should not be gummy or sticky. Once you’ve confirmed they’re done, don’t remove the trays from the oven. Turn oven off, open the oven door a bit and wedge a wooden spoon to keep it ajar and allow the cookies to cool fully – at least 1 to 2 hours, or up to overnight if more convenient.
- Prepare Mascarpone Whipped Cream: Add the heavy cream, mascarpone cheese, sugar and vanilla extract into the clean bowl of a stand mixer fitted with whisk attachment. Start whisking at medium-low speed (to avoid splashing) and increase promptly to medium-high speed (8 of 10 on KitchenAid) to whip until thick and airy soft peaks. This should take no more than 45-60 seconds on a stand mixer so keep a close eye.
- Assemble: Do this as close to, up to a couple of hours, before serving as the meringue absorbs moisture from the cream and surrounding air and gradually loses crispness. Spoon a small dollop of mascarpone whipped cream into the center indent of each cookie. Top with chocolate mini eggs or fruit or lemon curd or any other toppings of choice.
Nutrition Facts
Calories
75Fat
5 gSat. Fat
3 gCarbs
8 gFiber
0 gNet carbs
8 gSugar
8 gProtein
1 gSodium
12 mgCholesterol
13 mgDisclaimer: nutritional information is auto-generated and should only be used as an approximation.
Did you make this? Please leave a comment below to let me know what you think of this post - I would love that!